How to create an Email Template
- Select Email Templates from the Administration menu. This will take you to the Email Templates DataGrid. To learn more about DataGrids, click here.
- Click Add at the top of the DataGrid. This will open the Email Templates dialog box.
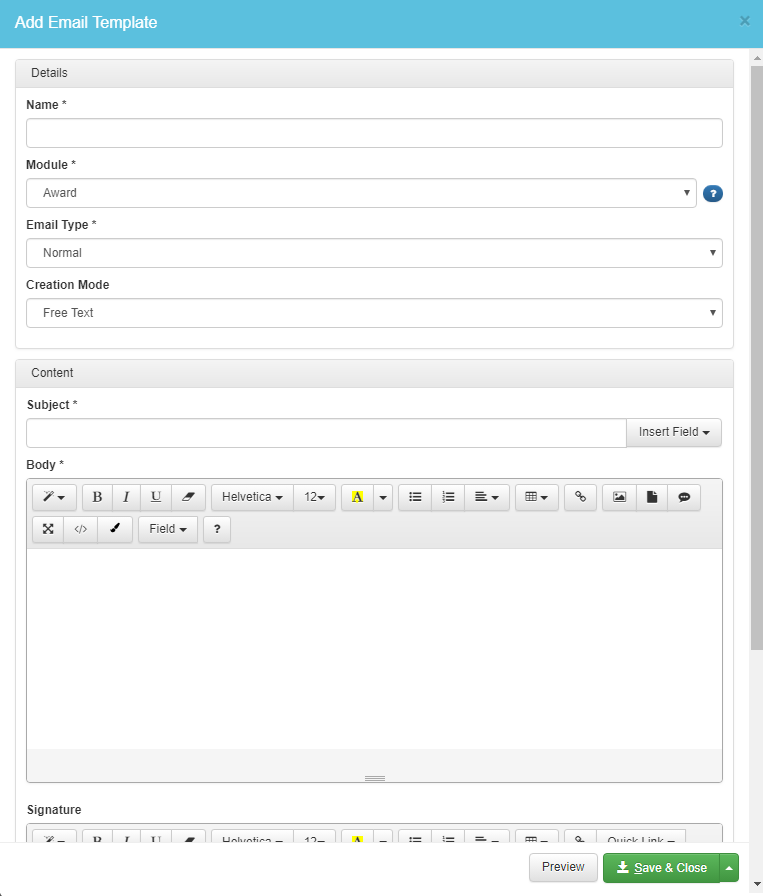
- Enter the Name of your Email Template, and select the Email Type and Creation Mode. If Free Text is selected as the Creation Mode, use the rich text editor to enter in your content. If Templates is selected, attach the relevant Document Templates to the Subject, Body, and Signature fields (where applicable).
- Click Save & Close to save your Email Template.
How to preview an Email Template
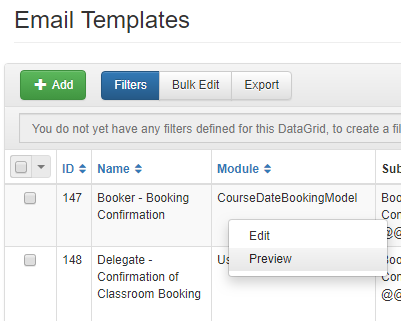
- To see what an Email Template will look like to recipients, select Email Templates from the Administration menu.
- Right click the Email Template you wish to preview and select Edit from the context menu.
- From the Email Template dialog box, click Preview. This will open the Preview Email dialog box.
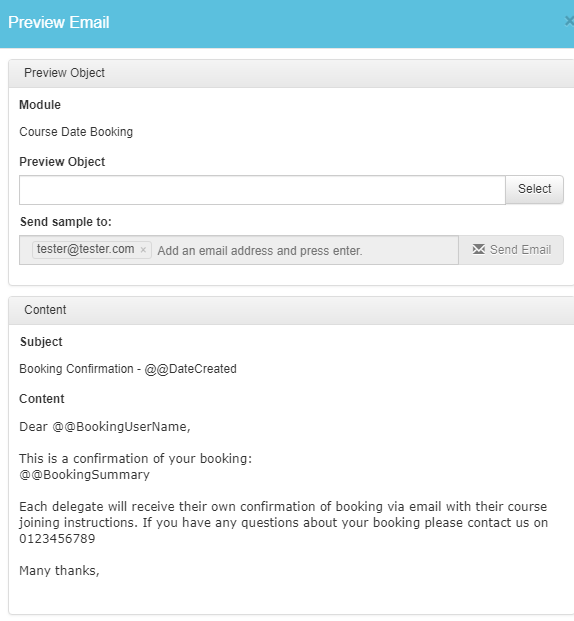
- Select a preview object. This will generate the Email Template based on an email that has previously been sent out for this template.
- Enter your email into the Send sample to field. Be sure to press enter after you have added your email to store it within the field.
- Click Send Email to send the Preview to yourself.
- If you have stored the Email Template in a Workflow's Actions, you can alternatively preview the template from this area instead.
How to send an Email Template from a Datagrid
- Navigate to the relevant Datagrid (e.g. Users or Tasks).
- Find the objects that you want to send the email about (e.g. overdue tasks, booked delegates).
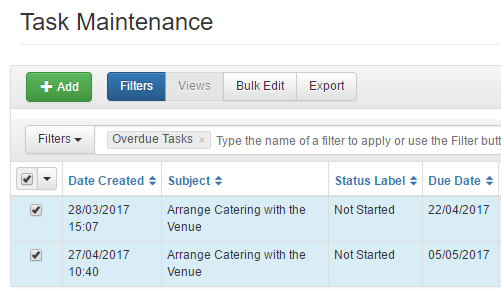
- Select these from your DataGrid, and click on the down arrow at the top of the DataGrid to open the Bulk Edit context menu.
- From the context menu, select the Email option.

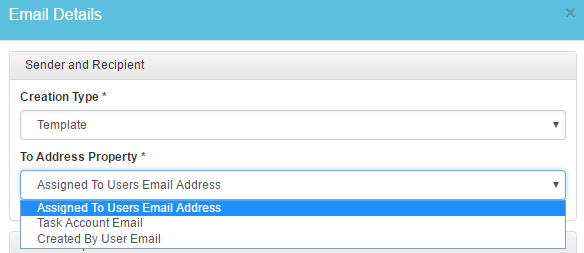
- The email window will then open. From the Creation Type field select Template, and then select the recipient of your email from the To Address Property.
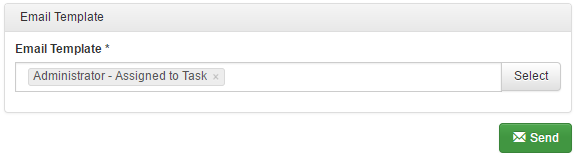
- Select the Email Template, and click Send. You can then track this email by accessing the Communications DataGrid.
How to include Email Templates in Workflow Actions
To utilise your Email Templates within your Workflow Actions, you will need to create a Workflow. For more information on Workflows, please click here.
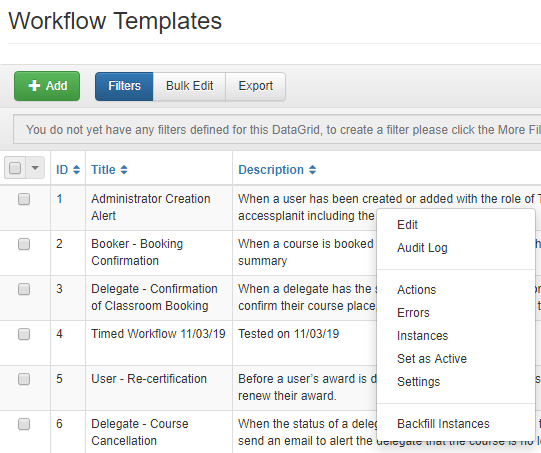
- Select Workflow Templates under the Administration menu.
- Right click the Workflow you wish to add the Email Template to, and select Actions from the context menu.
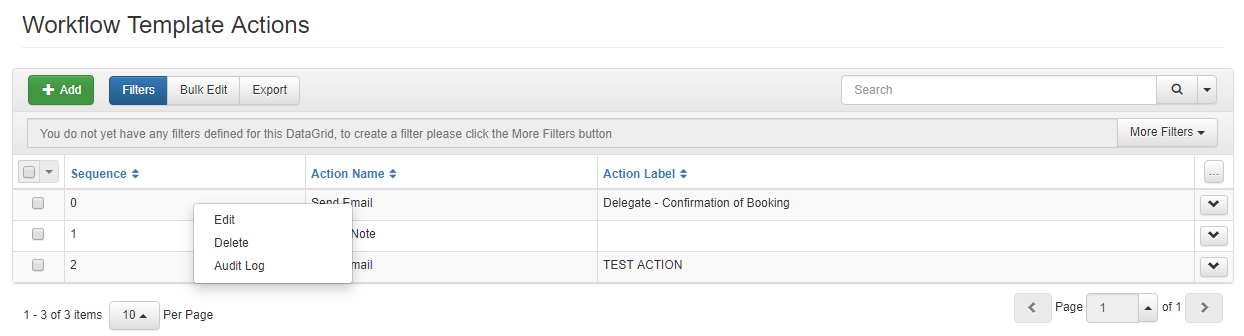
- Right click the Workflow Action you wish to add the Email Template to, and select Edit from the context menu.
- Go to the Email Template field, and click Manage. Select the Email Template you want to apply to this Workflow.
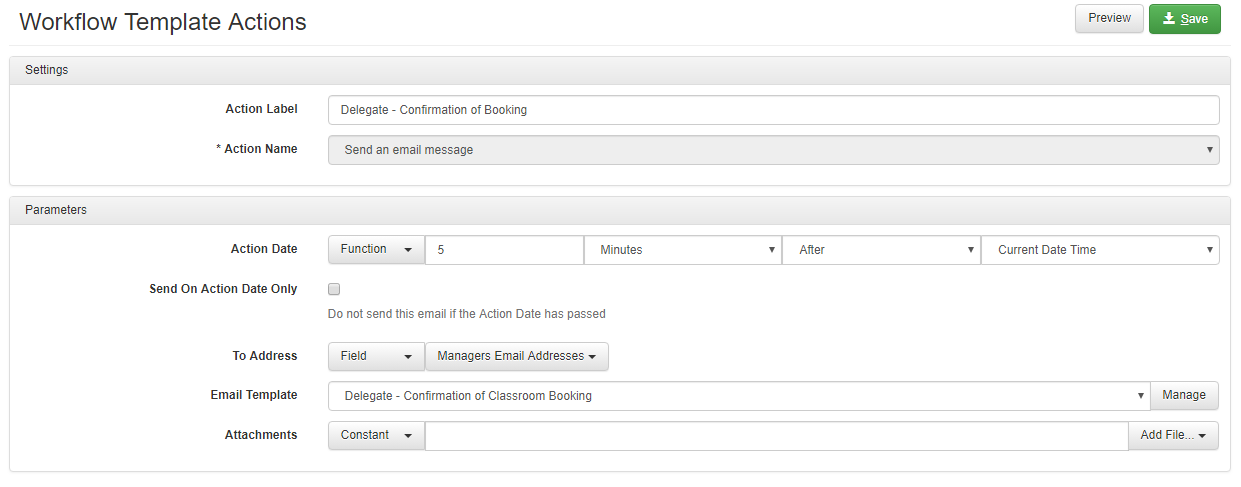
- Click Save to save your changes.