Steps to manage your DataGrid Filters
| Table of Contents | ||||||
|---|---|---|---|---|---|---|
|
Related Helpguide Pages
Popular DataGrid Filters
Courses
View all Courses that are missing a Venue
View all Courses that are missing a Trainer
View upcoming Courses with low profitability
View all future, available, Courses
Delegates
View all the Delegates on a Course
/wiki/spaces/HG/pages/2919236701
View all Delegates that are booked on a Course which starts next week
Invoices
| Panel | ||||||||
|---|---|---|---|---|---|---|---|---|
| ||||||||
Learn how to create and manage filters in your platform DataGrids |
Filters are possibly the most powerful and useful feature in your platform DataGrids!
Filters support you completing a wide range of tasks; from finding a specific customer to email them, or finding all of your Delegates currently on a waiting list, through to complex data refining and analysing!
Whether you're sorting through your data, focusing on specific criteria, reporting on numbers, or looking for trends, DataGrid Filters empower you to navigate your DataGrids based on your specific criteria!

Follow this page to learn what you can do with your DataGrid Filters.
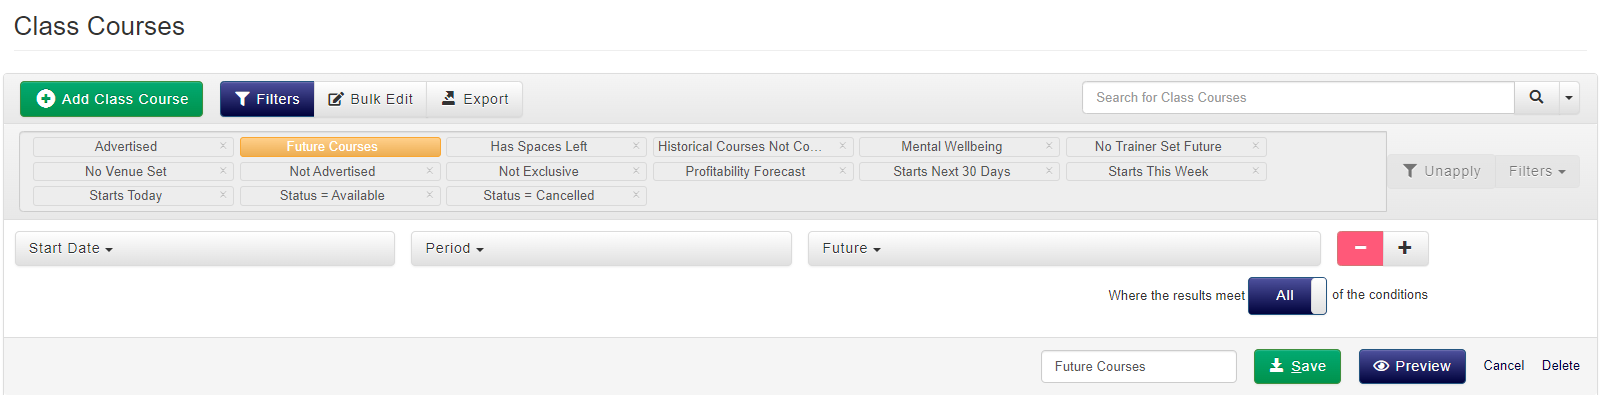
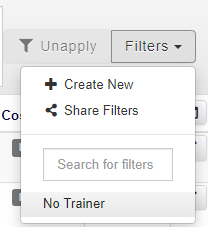
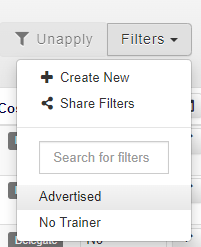
 Create a new DataGrid Filter
| Panel | ||||||||
|---|---|---|---|---|---|---|---|---|
| ||||||||
This step will walk you through how to apply filters to your platform DataGrids to limit the results to just those you need to be able to view and action. |
| Expand | ||
|---|---|---|
| ||
|


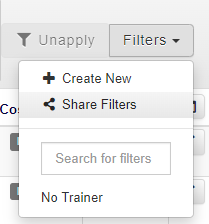
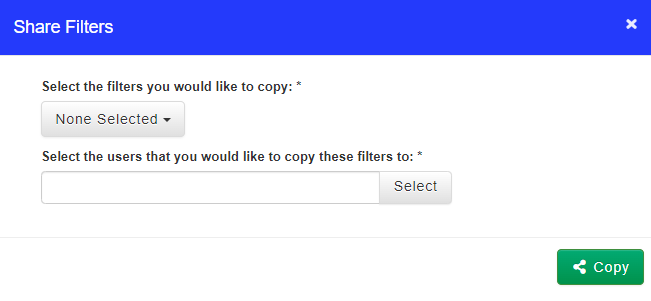
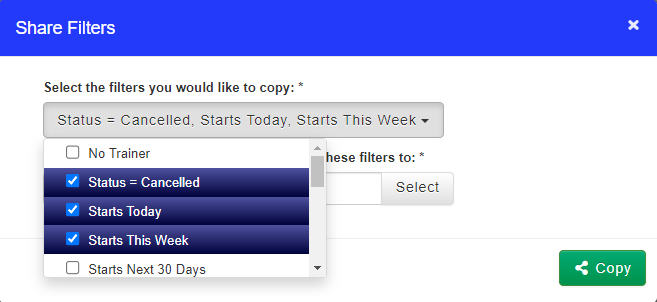
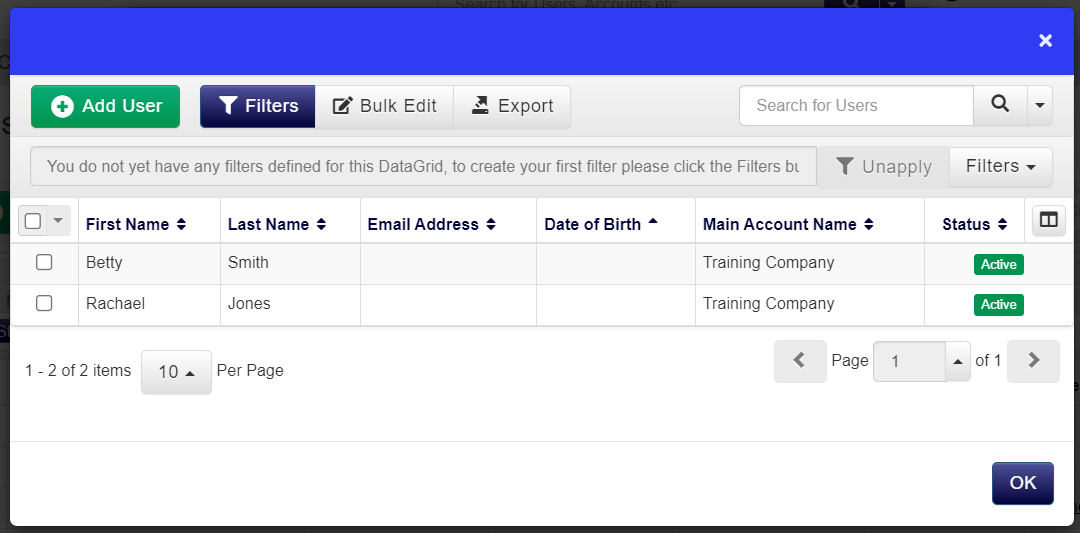
🎁 Share a DataGrid Filter with other Administrators
| Panel | ||||||||
|---|---|---|---|---|---|---|---|---|
| ||||||||
This step will walk you though how to share any useful filters that you have created with your team, so that they can benefit from them within their DataGrid views too! |
| Expand | ||
|---|---|---|
| ||
|


✍️ Rename an existing Filter
| Panel | ||||||||
|---|---|---|---|---|---|---|---|---|
| ||||||||
This step will walk you through how to rename an existing Filter on your DataGrid. |
| Expand | ||
|---|---|---|
| ||
|

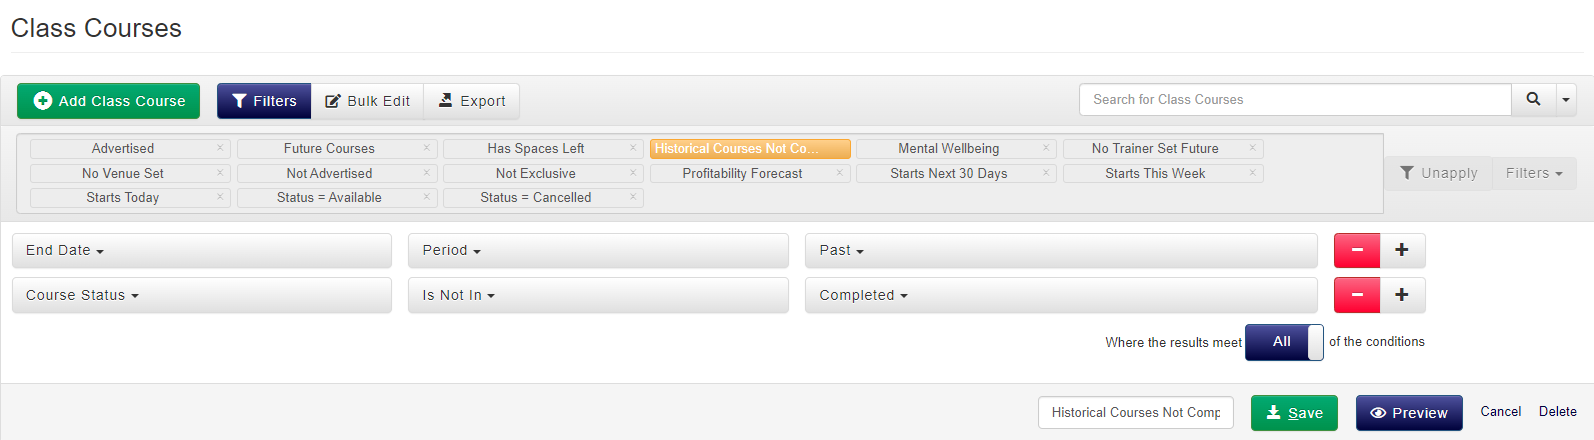

✍️ Edit an existing Filter
| Panel | ||||||||
|---|---|---|---|---|---|---|---|---|
| ||||||||
This step will walk you through how to change an existing Filter on your DataGrid. |
| Expand | ||
|---|---|---|
| ||
|

 Remove a Filter from your Filters Bar
| Panel | ||||||||
|---|---|---|---|---|---|---|---|---|
| ||||||||
If you have a filter that you do not use regularly, but you do not want to delete it, this process will show you how you can hide it from your Filters bar but still be able to access it again later! |
| Expand | ||
|---|---|---|
| ||
|

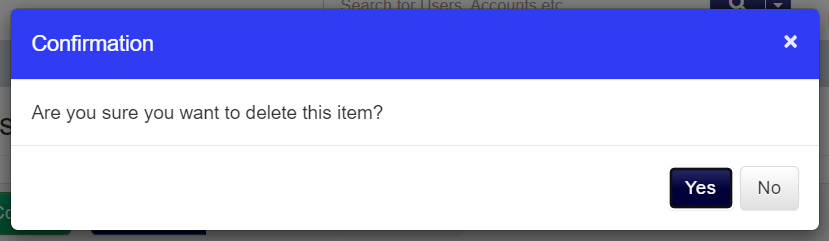
 Delete a Filter
| Panel | ||||||||
|---|---|---|---|---|---|---|---|---|
| ||||||||
If you have a Filter that you will not need to use again, this step will walk you through how to permanently delete a filter from your DataGrid. |
| Expand | ||
|---|---|---|
| ||
|

🕐 Common Filters and Settings
Here are a list of filters that are commonly created in platform DataGrids
Area | Label | Setting |
|---|---|---|
Courses | Future Courses | Start Date - Period - Future |
Courses with spaces left | Spaces Left - Greater Than or Equal to - XX | |
Is Advertise | Advertise - Equals To - Yes | |
Not Advertised | Advertise - Equals To - No | |
Course Status = | Course Status - Is In - XXX (select Course status from drop down) | |
Delegate Status = | Status - Is In - XXX (Select Delegate Status from drop down) | |
Starts in the next 30 Days | Start Date - Period - Next 30 Days | |
No Trainer Set | Trainer ID’s - Is Empty | |
No Venue Set | Venue ID - Is Empty | |
Sessional Courses | Sessional - Equal To - Yes or No (select from drop down) | |
User | User Role | Main Role ID - Is In - XXX (Select Role from list) |
User Status | Status - Is In - XXX (Select status from drop down) | |
Last Booking | Last Booking - Period - Today | |
Accounts | Account Status | Status - Is In - XXX (Select status from drop down) |
Outstanding Invoices | Outstanding Invoice Count - Greater Than - XX | |
Training Provider | Industry ID’s - Is In - XXX (Select Training ID from list) | |
Created Today | Date Created - Period - Today | |
Finance > Invoices | Invoices Statuses | Status - is in - XXX (select status from drop down) |
Invoice Due Date | Due Date - Period - XXX (select time period you wish to see from drop down) | |
PO Number missing | PO Number - Is Empty |