| Live Search | ||||||||
|---|---|---|---|---|---|---|---|---|
|
On this page:
| Table of Contents | ||||
|---|---|---|---|---|
|
| Info |
|---|
What is Checkout?Checkout is accessplanit’s latest shopping basket/cart and is integrated into your accessplanit platform for your customers and end-users to use to purchase your courses and products. Checkout provides NEW features such as a Registration Form builder, the ability to capture additional delegate information post-booking, and the ability to automate reminders to your customers about their abandoned baskets to encourage booking completion. |
Why should you switch to Checkout?
There are many benefits to using Checkout in comparison to previous shopping basket versions:
Checkout has been designed to be mobile-friendly which means is easier for your customers to book your Courses from any device
Checkout is built using modern technology which means that bookings are processed efficiently
There are also several new features that are only available in Checkout:
You can design your own Registration Form per training provider and make changes to it when you need to
You can capture additional information about the Delegates attending your Course at the end of the booking, this means that you can get up-to-date information about these attendees each time they book with you and reduce the size of a lengthy, off-putting registration form
You can create a Workflow to email your customers who abandon their booking to remind them of the Courses or Products that they were purchasing
In addition, there are also several usability improvements including:
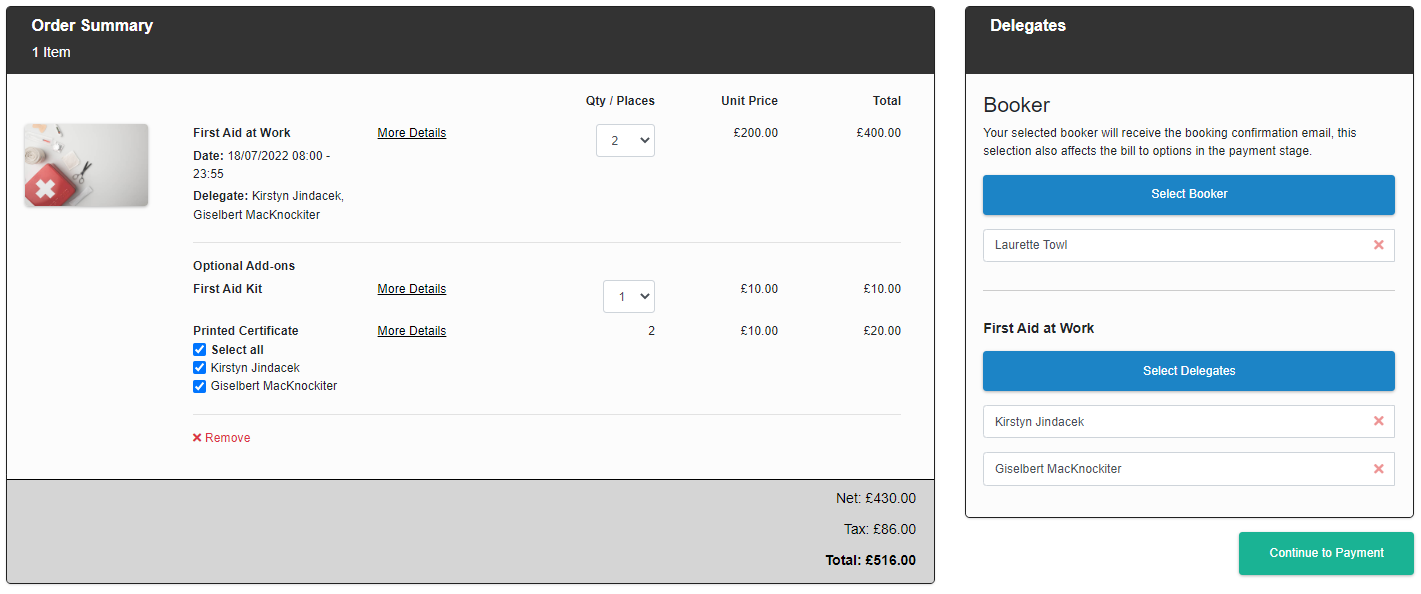
You can view the content of the basket at every step of the booking
You can select multiple Delegates for a Course in one action
You can remove items, and clear your basket, from your Administrator view
You can choose to only display the PO Number option when your customer is selecting to be issued an Invoice for their booking
How to switch to Checkout
Switching is simple. There are
Display Settings
Finance
This section details the set-up information that we need from you to complete Step 2: Configuration.
Please complete the below attachment and provide it back to your CSM, see below this for more information and context for each requirement.
| View file | ||||
|---|---|---|---|---|
|
Checkout appearance
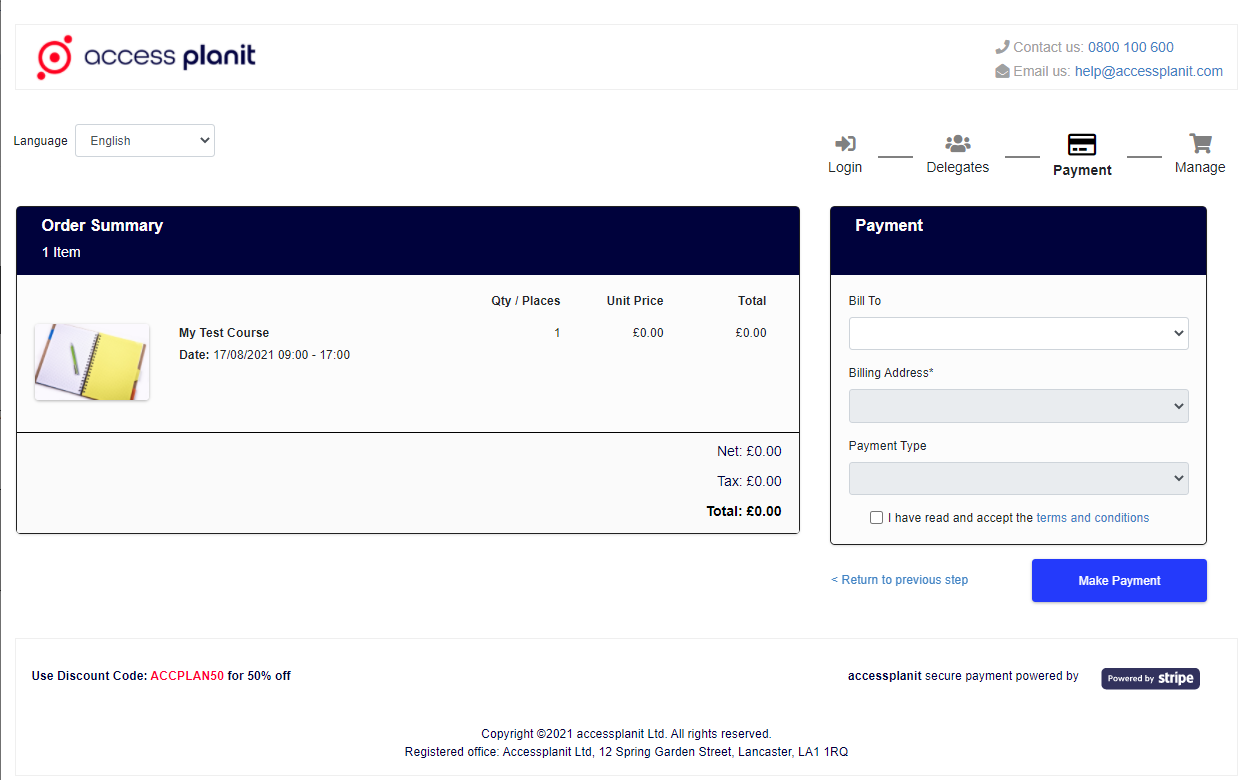


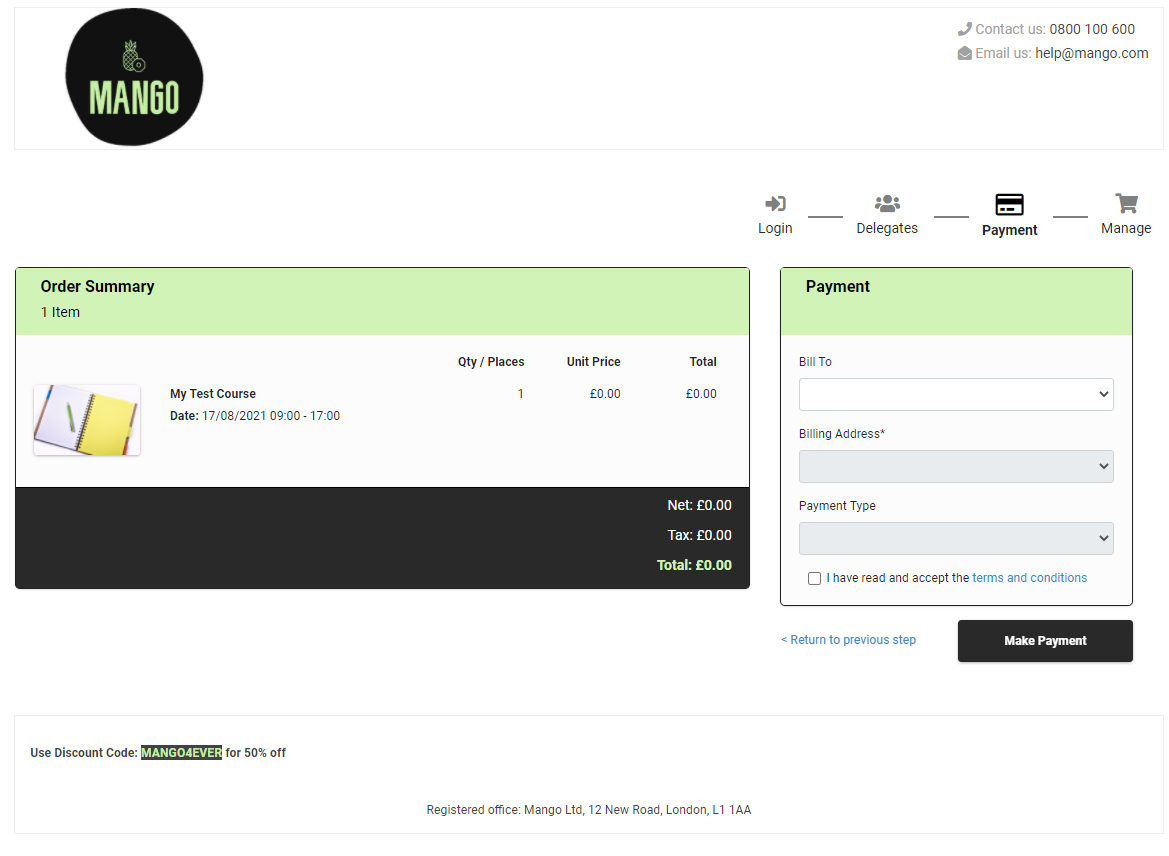
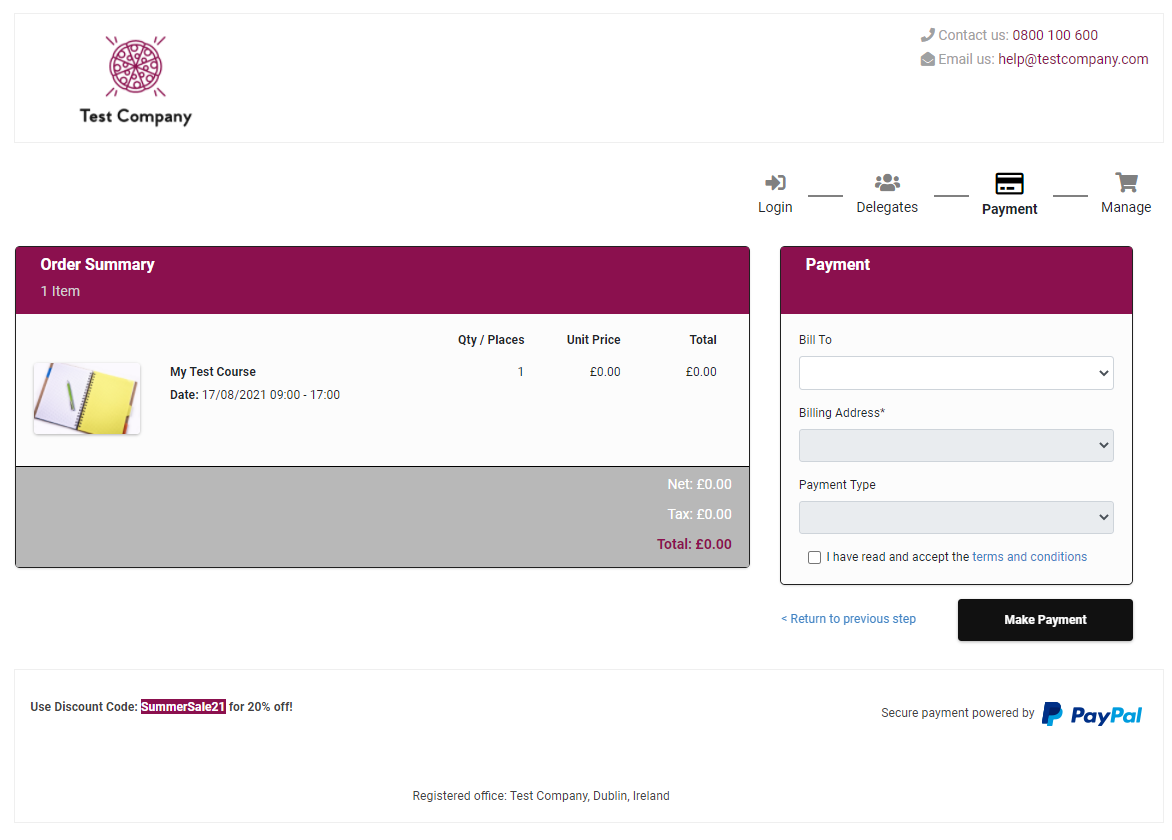
If you would like accessplanit to set this up for you, please provide us with
A company logo to be displayed at the top of your Checkout basket
Preferably a maximum of 100px by 50px, in a .png format
Company contact information to be displayed at the top of your Checkout basket
Preferably, a phone number and an email address for any customers who may be struggling with their booking or have any questions for you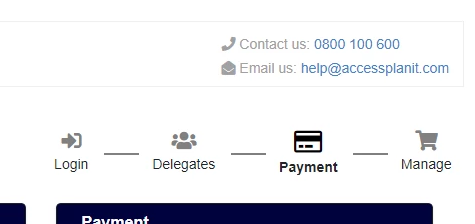
A core colour; this will be used on in the headers of each section, and on the buttons within the pages
Preferably in a hex colour code format i.e. #000000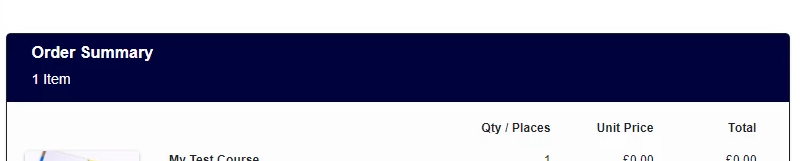
A secondary colour; this will be used on the progress buttons (call to actions) that the booking user uses to move to the next step
Preferably in a hex colour code format i.e. #000000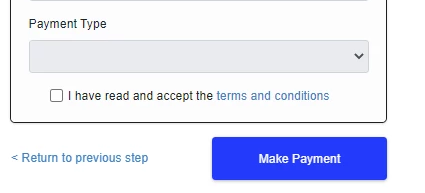
A third colour; this will be used on the cancel/close buttons
Preferably red or grey, choose a colour that does not stand out too much against your core colour.
A web-safe font choice
You can choose fromArial
Courier
Courier New
Georgia
Helvetica
Roboto
Times New Roman
Verdana
A standard, default image to be used for your courses in the basket
We recommend that you use an image size between 300 x 200 px to 450 x 300px.
You will be able to override this per Course Template, this default image ensures that you never have a course that is missing an image!
We recommend choosing something generic, or using your own logo.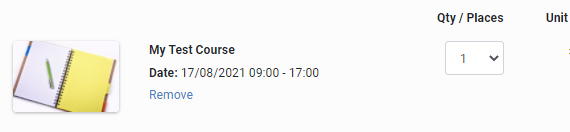
If you would prefer to set this up yourself, please access the Checkout Options page from Administration.
On this page:
toc