For a video tutorial on Workflows, click this link.
How to create a Workflow Template
Select Workflow Templates from the Administration area. You will be taken to the Workflow Templates DataGrid. To learn more about DataGrids, click here.
Click the Add button at the top left hand corner of the DataGrid. This will open the Workflow Maintenance Details page.
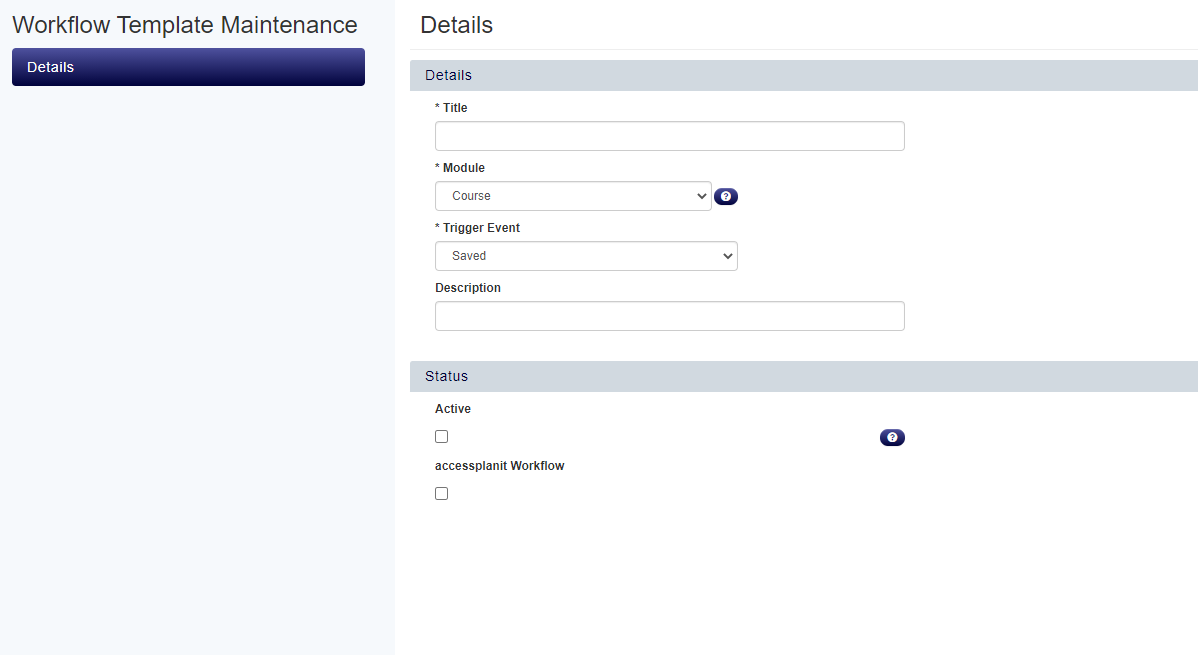
Enter the title for the Workflow, and select the Module and Trigger event. Add a Description if you wish. At this point, we recommend leaving the Workflow as inactive until you have entered some rules into the Workflow.
Click Save to save your Workflow.
How to turn on a Workflow
Select Workflow Templates from the Administration area.
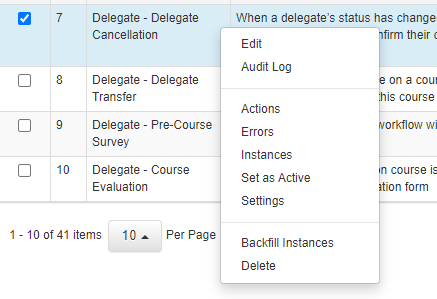
Right-click the Workflow you wish to activate and select Set as Active from the context menu.
How to edit an existing Workflow
Select Workflow Templates from the Administration area.
Right click the Workflow and select Edit from the context menu.
How to add Settings to a Workflow
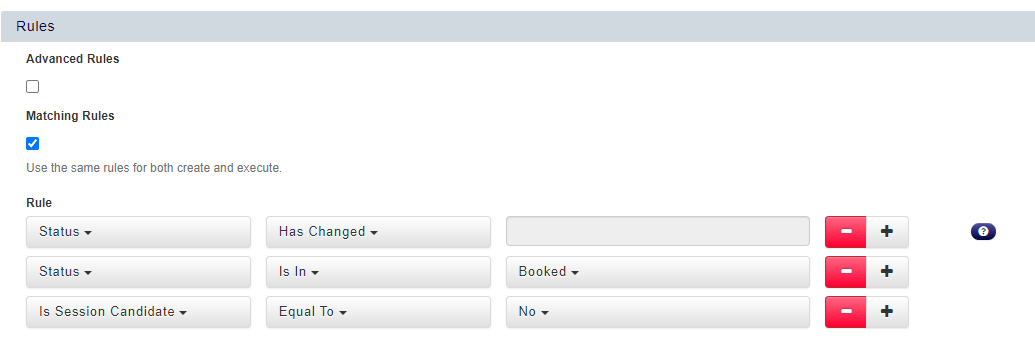
Navigate to the Settings tab within the Workflow.
Ensure that the Matching Rules tick-box is ticked.
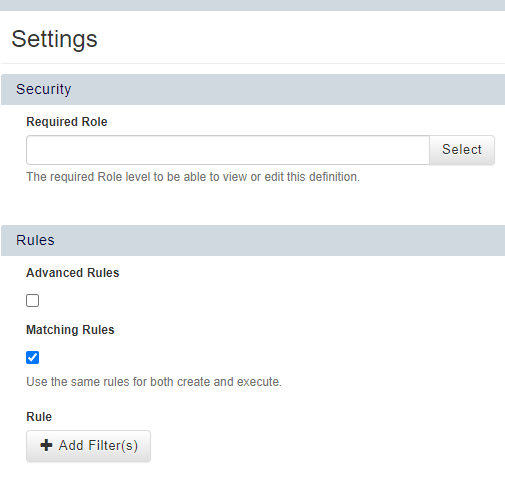
To add a rule to the Workflow, click the Add Filter(s) button.
Use the drop downs to select the rules you wish to apply to the Workflow. To add additional rules, click the + button. To remove rules, click the - button.

Click Save to save your Workflow Settings.
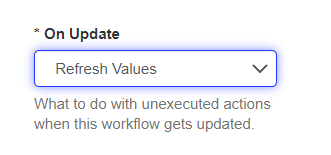
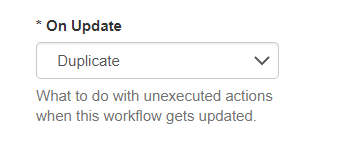
* On Update Setting Guidance:
This setting determines what Workflows do with unexecuted actions when settings are changed.
When set to ‘Refresh Values’ a workflow will only trigger once per object (e.g. each course, each delegate, etc.).
The 'Duplicate' option allows multiple emails to be sent whenever the trigger object is changed, e.g. the Venue field against a Course Date.
Important:
If you don't include a 'Has Changed' rule when using the Duplicate option, an email could send every time anything related to that delegate is changed on the system.
How to add Advanced Rules to a Workflow
Navigate to the Settings tab within the Workflow.
Ensure that the Advanced Rules tick-box is ticked.
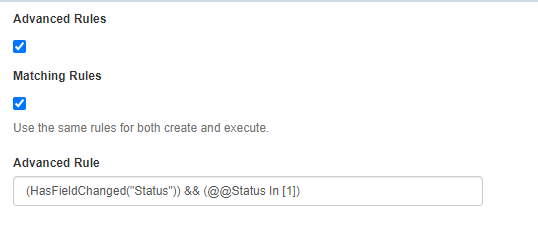
Your rules will now appear in a line. To add an AND rule, use && between your rules. To add an OR rule, use || between the appropriate rules. Ensure that you use brackets if your Workflow has more than two rules.

Click Save to save your Workflow Settings.
How to create a Workflow Action
Navigate to the Actions tab within the Workflow.
Click the Add button at the top of the page.
Select the appropriate Workflow Action from the drop-down, and add an Action Label if you wish.
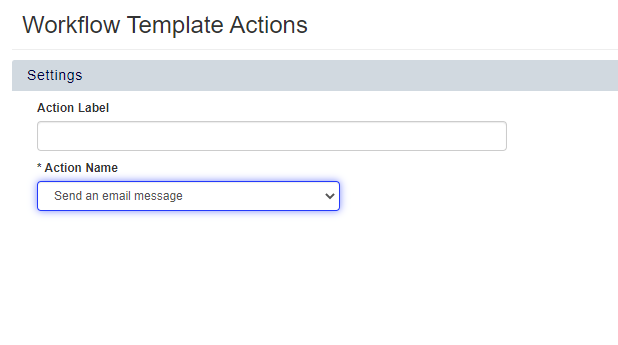
Click Save to save your Workflow Action. You will now be able to configure the settings of your Workflow Action.
How to Preview an Email Action
Navigate to the Actions tab within the Workflow.
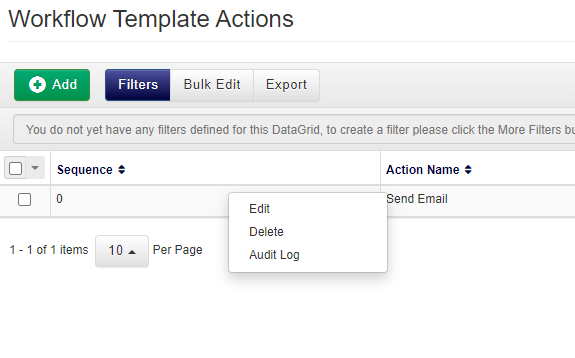
Right click the Email Action you wish to preview and select Edit from the context menu.
Click the Preview button at the top of the page. This will open the Preview Email dialog box.
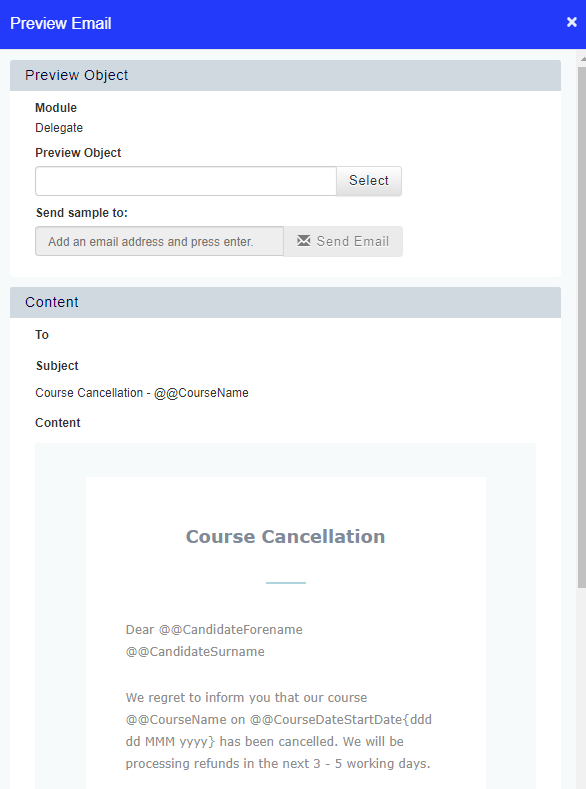
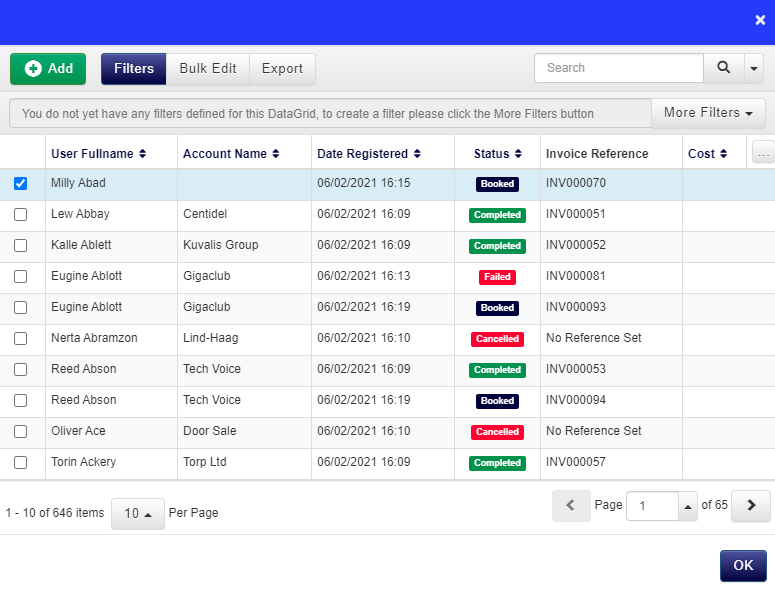
Click Select and find the object you wish to preview from the Preview Object dialog box. Select it, and click OK.
Enter your Email into Send Sample to field. Click Enter to save the email in this field.
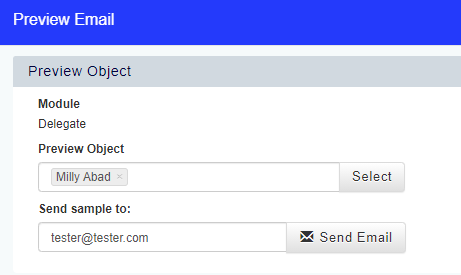
Click Send Email to send the email to your email address.
How to manually execute a Workflow
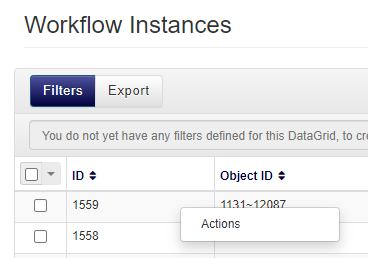
Navigate to the Instances tab within the Workflow.
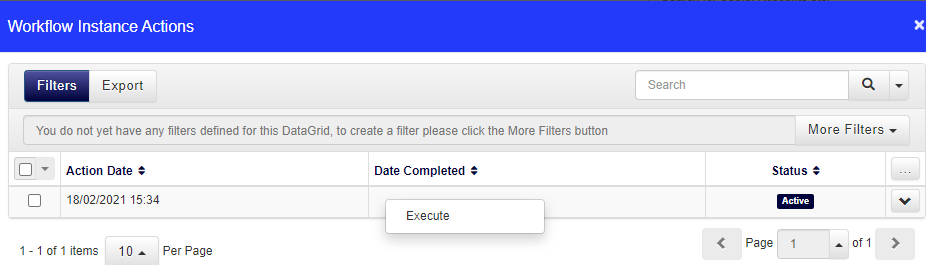
Right click the Instance you wish to execute and select Actions from the context menu. This will open the Workflow Instance Actions dialog box.
Right click the Action you wish to execute, and select Execute. Please note, this will send out the Action even if it has already been delivered.
However, if the Instance has failed due it not meeting the current rules of the Workflow, the execute function will not work.
How to backfill a Workflow
Select Workflow Templates from the Administration area.
Right click the Workflow you wish to backfill, and select Settings from the context menu.

Temporarily remove any Has Changed rules from the Workflow - the backfill won't work if these are in place. It is also recommended to add a Course Start Date >Period > Future (if applicable) to any Delegate-based Workflow to prevent the backfill from triggering for historic bookings. Click Save to save your changes.
Navigate back to the Workflow Templates DataGrid. Right click the Workflow and select Backfill Instances from the context menu. Once the backfill is complete, go back to the Workflow's settings and re-add any Has Changed rules back into the Workflow.
Additional Support
If you would like additional support on any of the above information please raise a ticket with our Support team.
Please note: The customer support team and ticket portal is available to all platform Training Administrators. If you are an individual user, manager or trainer please contact your Training Administrator for access to this support.