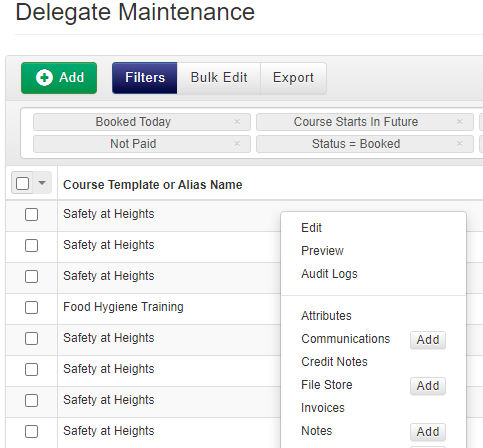
When you click on Smart Grids, you will be able to navigate to five different Delegate-specific Smart Grids:
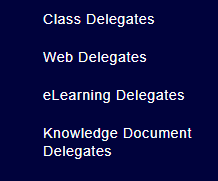
These pages take you to a Smart Grid of all Delegates on accessplanit that have a record on courses with that type.
How to change a Delegate's status
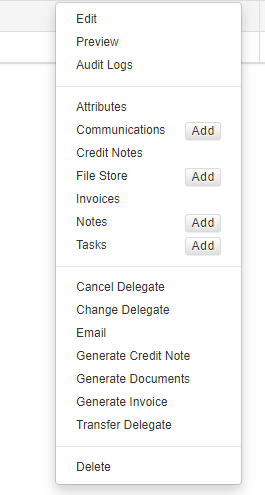
- Right-click on the Delegate and select Edit from the context menu.
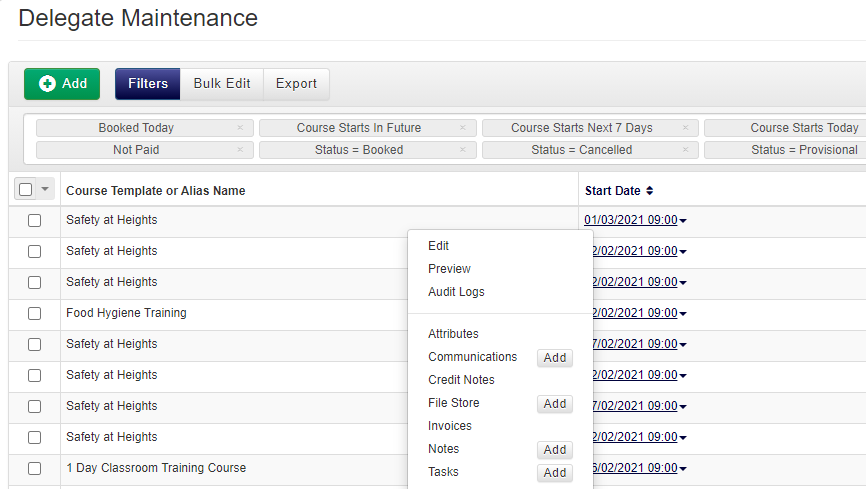
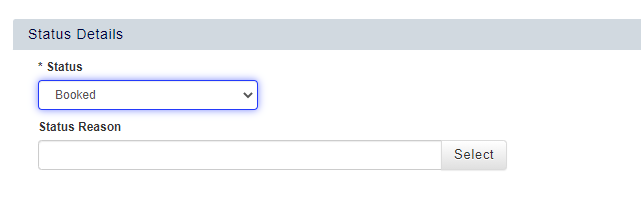
- In the Delegate Details tab, drop down the Status box and select the correct status.
- Once complete, click Save to update.
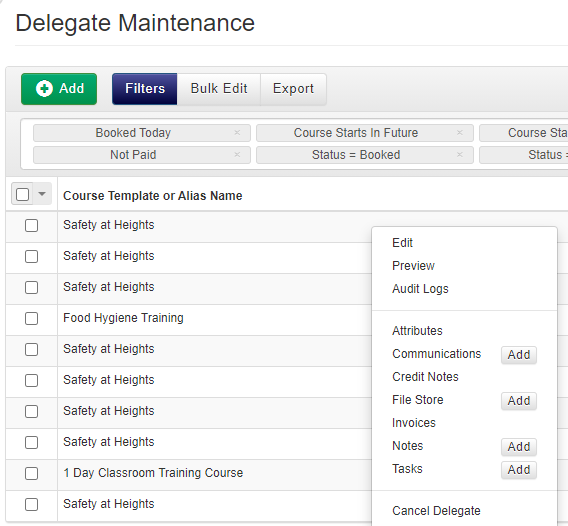
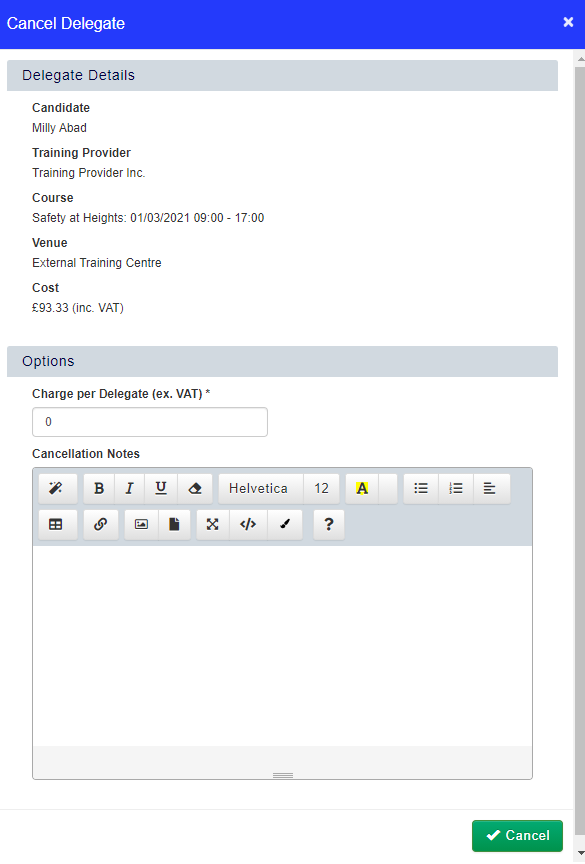
How to Cancel a Delegate
- Right-click on the Delegate and select Cancel Delegate from the context menu.
- In the dialog box, enter in any Cancellation Notes or Charges.
- Click Cancel to confirm the cancellation.
How to Transfer a Delegate
- Right-click on the Delegate and select the Transfer Delegate option from the context menu.
- In the dialog box, click Select next to Course to choose which course you would like to transfer the Delegate to.
- By ticking the box next to Copy Source Notes, any notes that have been stored against the Delegate on the original course date will be copied across and available on the course date they have been transferred to. Notes about the transfer can be stored in the Transfer Notes field.
- Once you are finished, click Transfer.
How to change the Delegate attending the course
- Right-click on the Delegate and select Change Delegate from the context menu.

- In the dialog box, click Select next to Delegate.
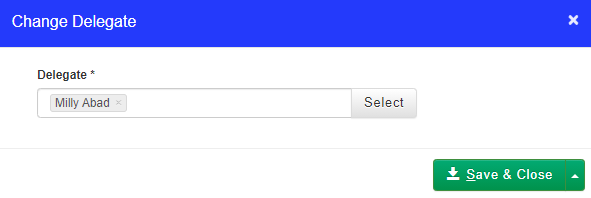
- This will launch the Delegate selector window. Select the correct Delegate you would like to change to and click Save and Close.
Note
Using the 'Change Delegate' option will not resend any Communications or trigger workflows and so if you would like the new delegate to be treated as a brand new booking, we recommend cancelling the original delegate and booking the new delegate on the course separately.
How to store a note against a Delegate
- Right-click the Delegate and select Add to Notes in the context menu.
- In the dialog box, select the Type of Note and enter the content of the Note.
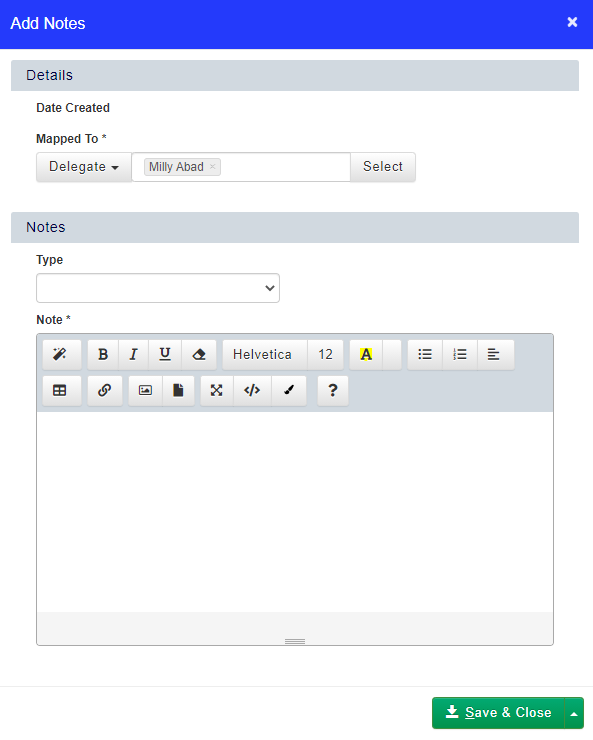
- Click Save and Close to save the Note against the Delegate.
How to generate a document for one or multiple Delegates
- Select the Delegate, or the multiple Delegates, that you want to generate a document for.
- If multiple Delegates, click on the down arrow in the top left corner of the Smart Grid and select Generate Documents.

- If only one Delegate Right-click on the Delegate and choose Generate Document from the context menu.
- A new dialog box will open, where can then select which document you want to generate and the format that you would like the output to be (PDF or Word).
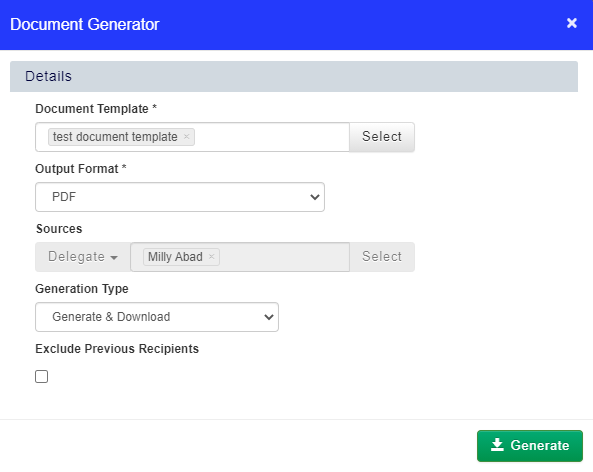
- Click Generate.
How to generate an invoice against a Delegate
- Right-click on the Delegate and choose Generate Invoice from the context menu.
- In the dialog box, you will be able to choose how to group the invoice (Booking, Course, Course Template or Invoice Target), set a due date manually, and choose whether to include any associated fees with the Invoice.
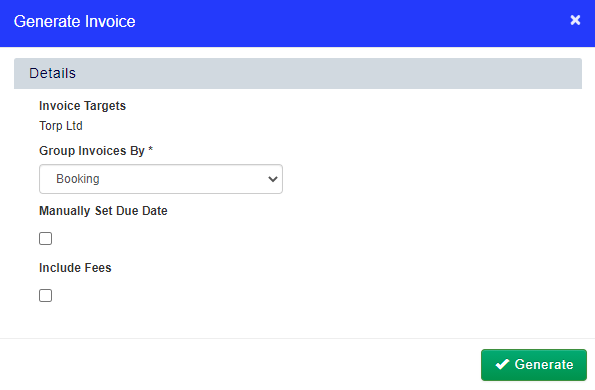
- When you have entered all of the information, click Generate.