| Live Search | ||||||||
|---|---|---|---|---|---|---|---|---|
|
How to create a Discount
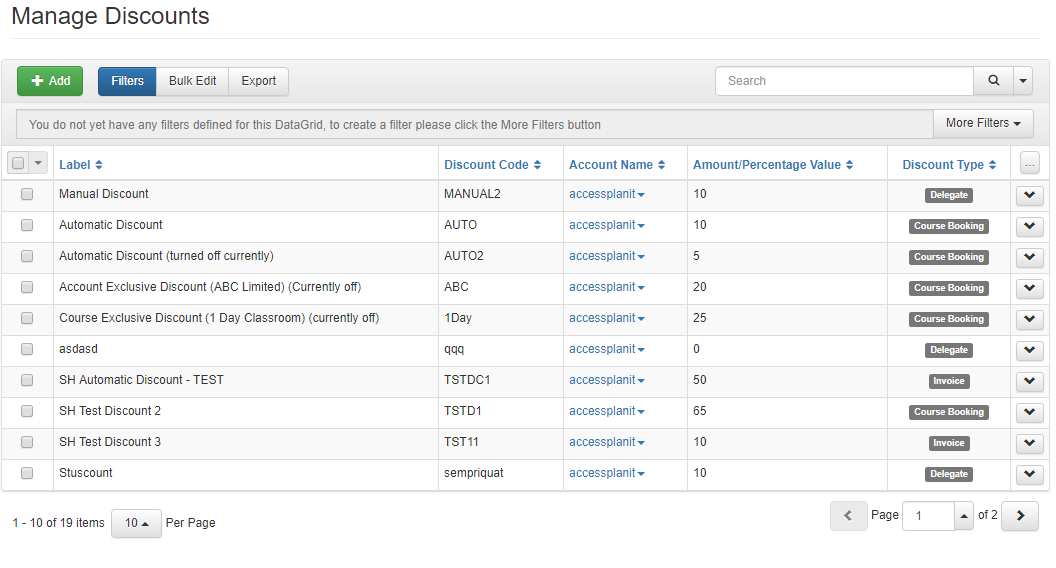
- Select Discounts from the Administration menu. You will be taken to the Discounts DataGrid. To learn more about DataGrids, click here.
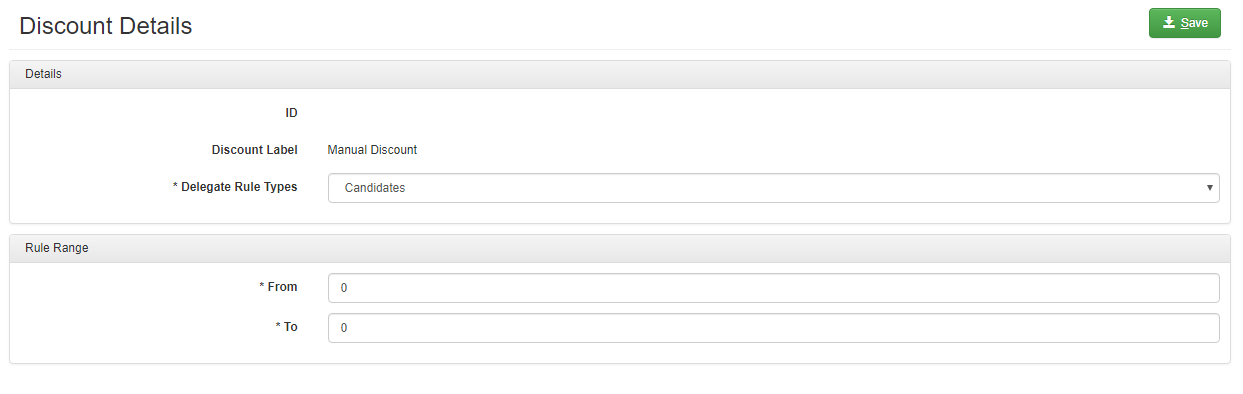
- Click the Add button at the top of the DataGrid . This will open the Discounts Maintenence page.
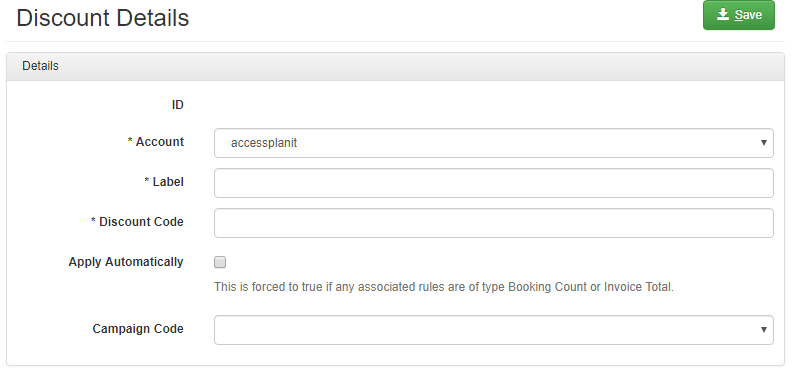
- Select the Account you wish the Discount to be stored under, and enter your Discount's name under the Label field.
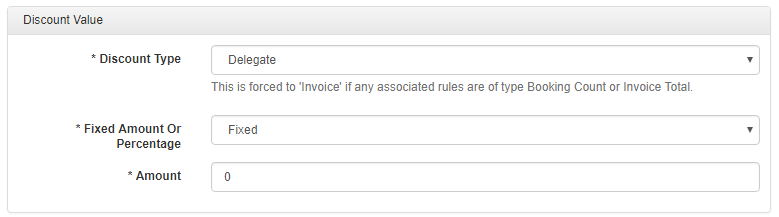
- Decide on the type of Discount you want to create, and assign a Discount Amount. Choose whether you want this Amount to be a Fixed Discount, or a Percentage.
- If you wish, you can then limit the number of uses the Discount has.
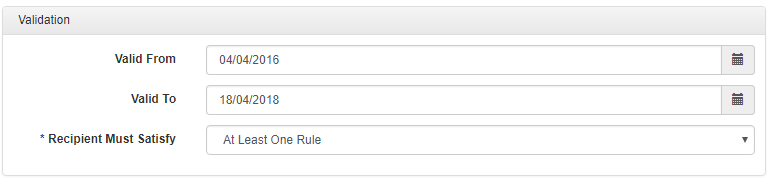
- You may also set Validation for your Discount at this point.
- Once you have entered all of the Details for your Discount, click Save to save your Discount.
How to delete a Discount
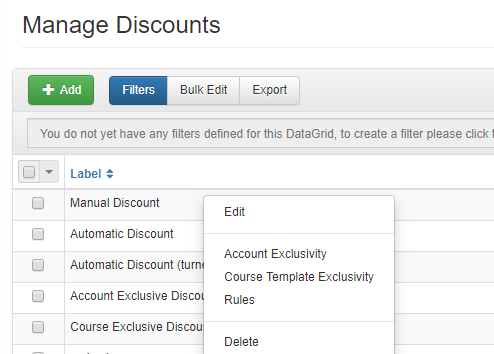
- Navigate to the Discounts area within Administration.
- Right click the Discount you wish to delete to and select Delete from the context menu.
How to edit an existing Discount
- Navigate to the Discounts area within Administration.
- Right click the Discount you wish to edit to and select Edit from the context menu.
How to set up Discount Rules
- Navigate to the Discounts area within Administration. Right click the Discount you wish to add Rules to and select Rules from the context menu.
To add a new Rule, select Add. You will be presented with a dialog box.
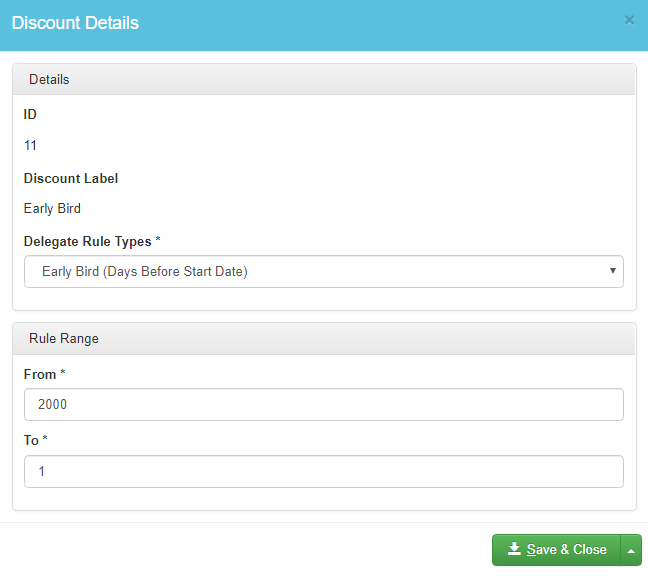
- Choose the Rule Type you wish to apply, and the Range you wish to apply it to. To find out more information about the Rules available for each type of Discount, click here.
- Click Save to save your Rules.
How to define Account Exclusivity
- Navigate to the Discounts area within Administration. Right click the Discount you wish to add Account Exclusivity to and select Account Exclusivity from the context menu.
Click Add to define the Accounts and Account Groups that the Discount should apply to. Users within these Accounts and Account Groups will be able to use the Discount.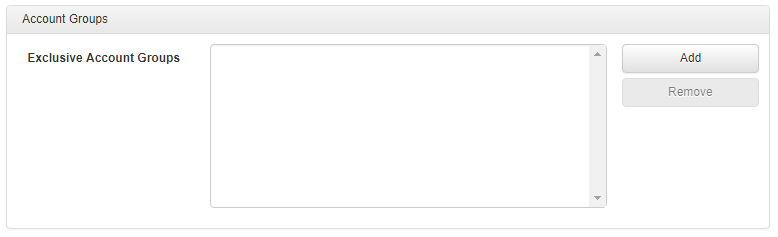

- To remove an Account or Account Group, click its name in the list then select Remove.
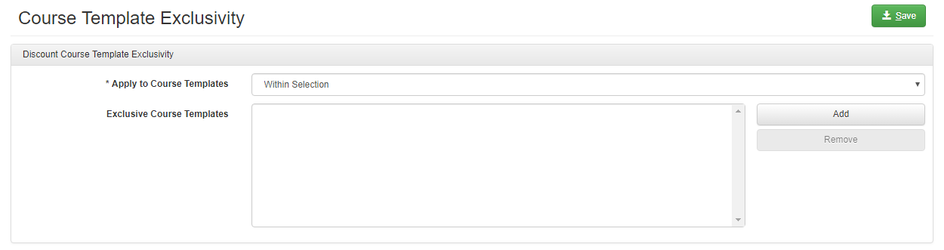
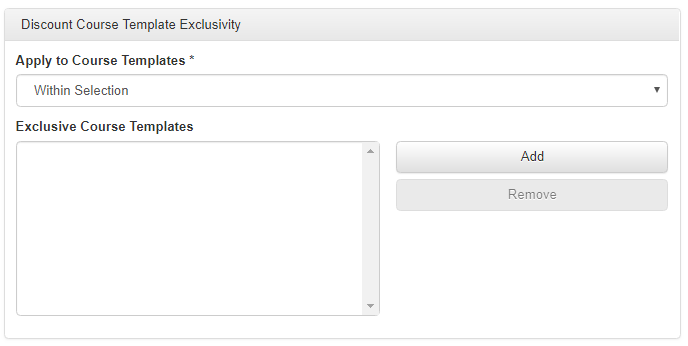
How to define Course Template Exclusivity
- Navigate to the Discounts area within Administration. Right click the Discount you wish to add Course Template Exclusivity to and select Course Template Exclusivity from the context menu.
- Use the drop down next to Apply to Course Templates to define whether you wish for the Course Templates that are selected to be included within the Discount, or excluded from it to.
- Click the Add button to add exclusive Course Templates. Select a Template and click Remove to remove a Course Template's exclusivity.
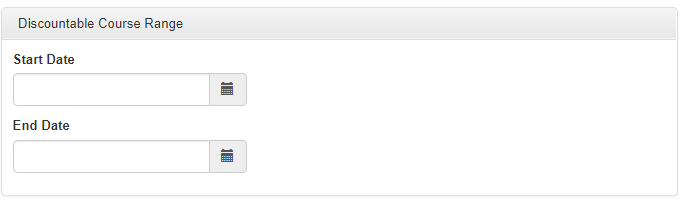
- To limit the Discount to courses that run within a set time frame, add dates to the Start and End Date fields.

- To specify that the Discount is only available to Delegates who have or have not booked on previous courses, select the appropriate option from the Apply to Course Templates drop down.

.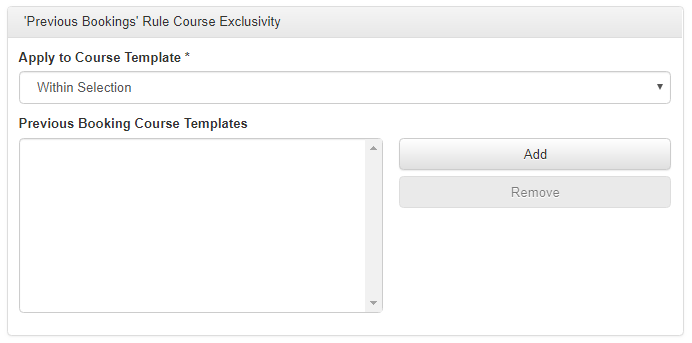
- Click Add to add Course Templates to the Previous Course Bookings field. Select a Template and click Remove to remove it from this field.
- Click Save to save your changes.