| Live Search | ||||||||
|---|---|---|---|---|---|---|---|---|
|
| Info |
|---|
What are Opportunities? Opportunities are used to record, track and manage your leads and enquiries. Your sales pipeline is added to and managed from your Opportunities DataGrid where you can quickly lookup contact details from your other accessplanit pages, and build Dashboard Gadgets to report on your pipeline for forecasting. As an Administrator you also have access to your very own Opportunities Kanban Board which only displays Opportunities that are assigned to you, decluttering your view, and allowing you to focus on the right enquiries. Continue reading to learn more about Opportunities best practice and common uses of Opportunities, or learn how to use, add, and edit Opportunities within your accessplanit platform. |
How to switch to Checkout
There are just 3 tasks to complete before you switch over to the new Checkout from our previous Shopping Basket.
- Check that Checkout has everything you need from a shopping basket.
- Configure your brand
- Practice!
Step 1: Can I use Checkout yet?
We will work with you to ensure that the features and functionality that you need & use in your current basket are available within Checkout, if not we will take note of the missing features and contact you again when these are available.
This section details the functionality that is and is not yet available in Checkout, if you need to use any of these features please let your Customer Success Manger know.
| Not yet available | Available soon! | Already available | |
|---|---|---|---|
| Features | Provisional Bookings Editing Delegate/User details Promote Courses within the basket* | Purchasing Products & Services |
Display Settings
Hide costsEmail your customers about their abandoned baskets | Build your own Registration Form* Delegate Bookings Placeholder Bookings Bookings from Opportunities Brand your Checkout basket Google Analytics Capture Delegate information | |
| Display Settings & Configuration options | Display a Continue Shopping button Auto-select the booking user as the delegate Hide costs entirely Hide payment step Hide free, mandatory sessions Hide the registration form | Change the |
date format Include the course's time |
zone |
Choose a default Country Password validation message | Set the Billing Address as mandatory Define the information needed for Allow bookings on past courses |
| Finance | Multiple currency platforms Price |
Schemes Support for purchasing Vouchers Support for spending Vouchers Partial Payments |
Payments using WorldPay Payments using Barclays ePDQ |
Payments using Global Payments |
Payments using Adyen |
Payments using WPM Education | Automatic Discounts Manual Discounts Payments using Stripe Payments using PayPal Payments using Opayo PO Number settings |
*Features which are only available in Checkout, these features are not available in any previous accessplanit shopping basket
Review the changes in functionality between your current shopping basket and the new Checkout basket:
Checkout is not compatible with the legacy system, please get in touch with us if you are unsure what this means and if you are affected
- Your current shopping basket does not display the final ‘complete’ message until all bookings, delegates, invoices, and transactions are completely logged. This leaves the booker unable to leave the basket process until everything is complete. With Checkout, a final check is run when the user clicks to make payment, then the user is taken directly to the next page while the items are created in the background, this means that there can be a couple of minutes delay (at the maximum) before you can see the generated delegates and invoices following a booking.
Booking Based Discount exclusivity looks at the booker/invoice target instead of the account for the selected Delegate(s).
- Placeholder places are able to use Delegate Based Discounts.
Invoice Based Discounts are merged into Booking Based Discounts as they behave the same.
The booker can always be selected as the invoice target, even if they have selected other users as the delegates, whereas your current shopping basket only allows the booker to choose from their account(s) when they are booking others.
Other area to check:
accessplanit will also complete checks on the following areas before switching you onto the new Checkout basket:
- Your customer managers are set up with the role 'Manager Role' instead of the legacy 'Customer Manager'
- You do not have any invalid countries assigned to your Accounts or Users (i.e. 'UK' instead of 'United Kingdom')
- Your selected Payment Gateway, some gateways (such as Opayo) require additional information adding into the integration to work with the new Checkout basket
If any of the above need to be amended before your switch, we will direct you to make these changes.
Step 2: Configuration
This section details the set-up information that we need from you to complete Step 2: Configuration.
Please complete the below attachment and provide it back to your CSM, see below this for more information and context for each requirement.
| View file | ||||
|---|---|---|---|---|
|
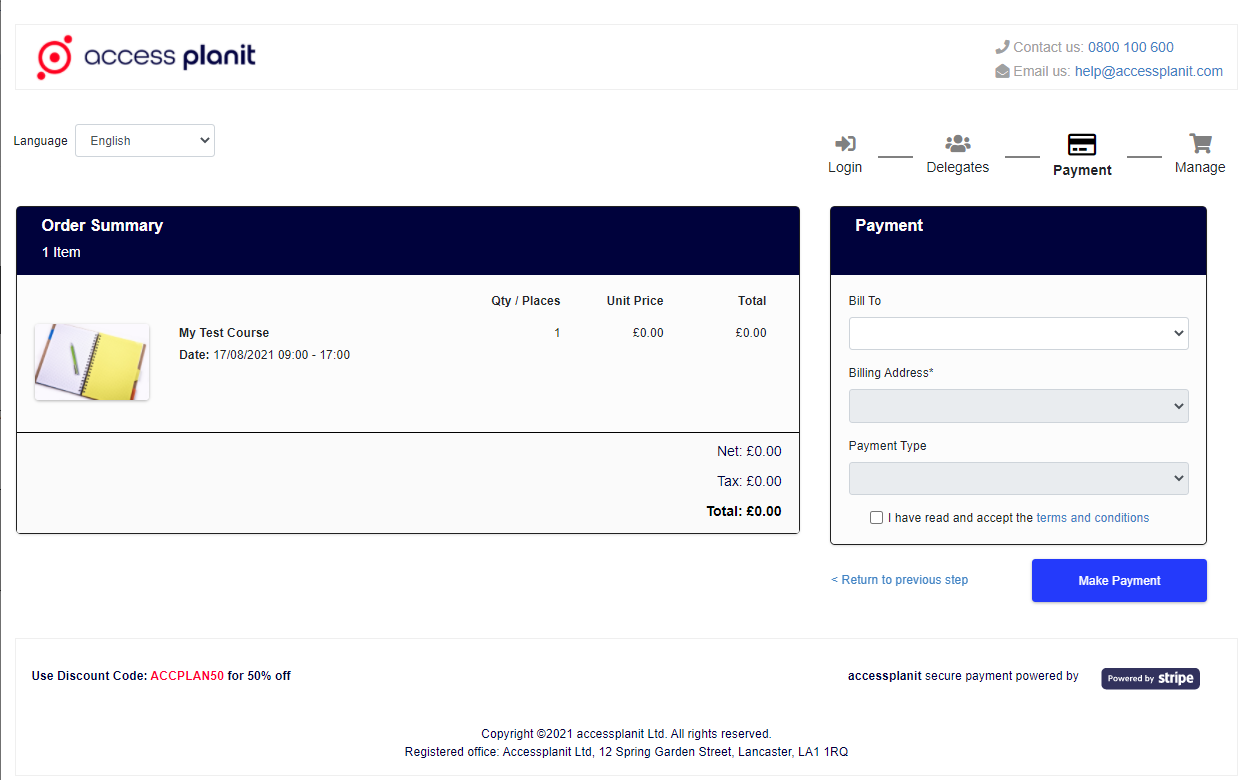
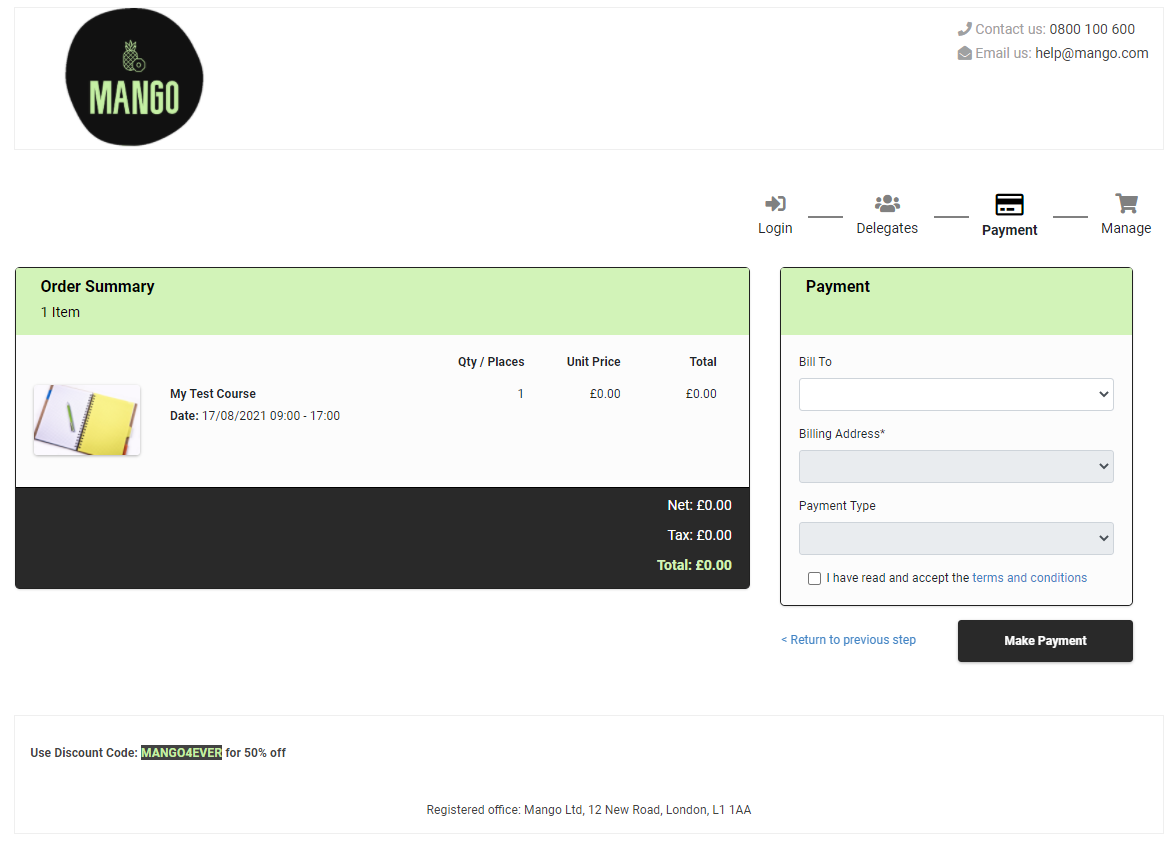
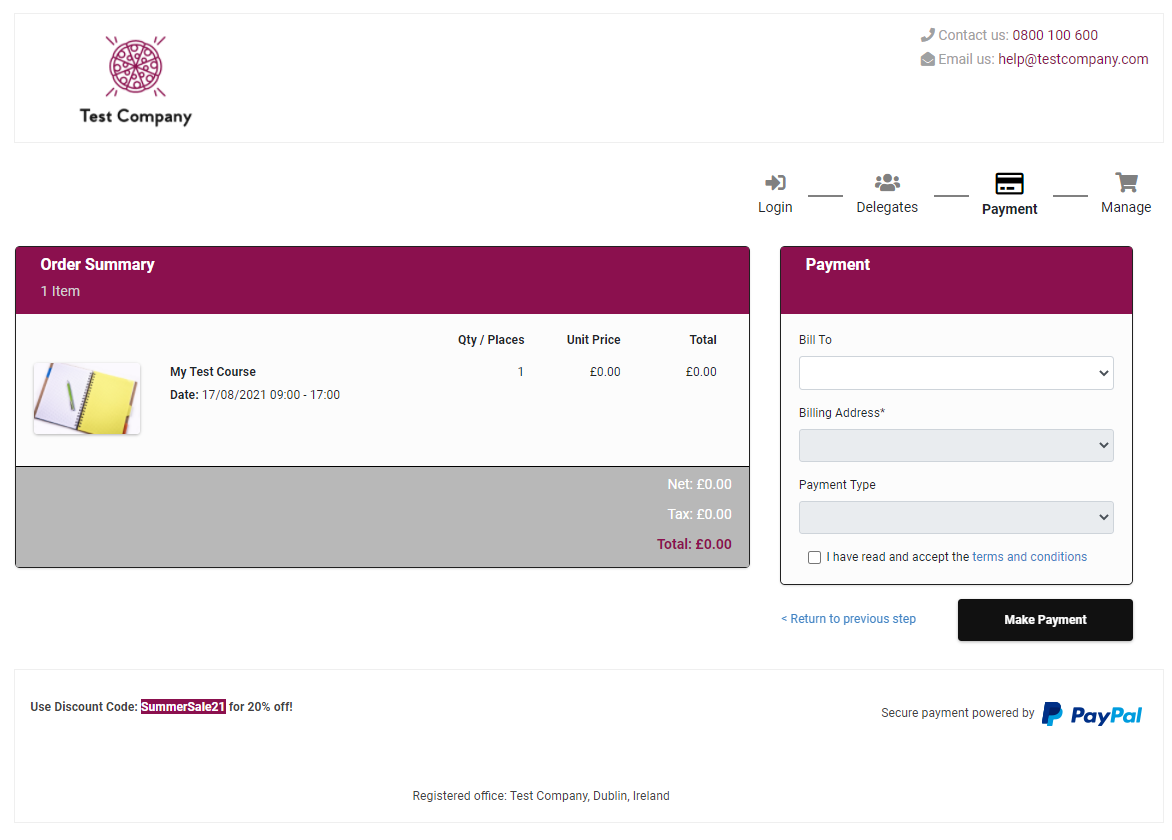
Checkout appearance
You can change the look and feel of your Checkout basket, best practice is to match your Checkout basket as close to your website as possible to give your customers a seamless booking experience!
Here are a few examples (click to enlarge):
If you would like accessplanit to set this up for you, please provide us with
- A company logo to be displayed at the top of your Checkout basket
Preferably a maximum of 100px by 50px, in a .png format
- Company contact information to be displayed at the top of your Checkout basket
Preferably, a phone number and an email address for any customers who may be struggling with their booking or have any questions for you
- A core colour; this will be used on in the headers of each section, and on the buttons within the pages
Preferably in a hex colour code format i.e. #000000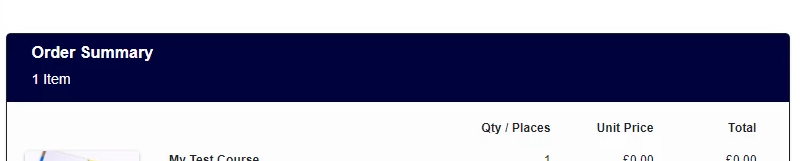
- A secondary colour; this will be used on the progress buttons (call to actions) that the booking user uses to move to the next step
Preferably in a hex colour code format i.e. #000000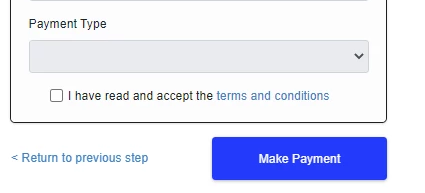
- A third colour; this will be used on the cancel/close buttons
Preferably red or grey, choose a colour that does not stand out too much against your core colour.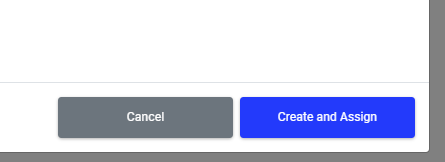
- A web-safe font choice
You can choose from- Arial
- Courier
- Courier New
- Georgia
- Helvetica
- Roboto
- Times New Roman
- Verdana
- A standard, default image to be used for your courses in the basket
You will be able to override this per Course Template, this default image ensures that you never have a course that is missing an image!
We recommend choosing something generic, or using your own logo.
If you would prefer to set this up yourself, please access the Checkout Options page from Administration.
See our dedicated knowledge base page for support with this.
Registration Form & Manage Booking Step
You can decide which information your capture about your booking users and your delegates!
If you would like accessplanit to set this up for you, please provide us with
Registration Form
The registration form captures information about the person making the booking (the booker)
We recommend capturing as little information as possible, to reduce the number of drop-outs.
Please let us know from the following list; what information you would like to know about your booking users.
You must include whether the field should be mandatory for your bookers to provide.
Commonly Used Fields
- First name (mandatory)
- Last name (mandatory)
- Email address (mandatory)
- Password (mandatory)
- Phone number
- Account / company name
- Account phone number
User Fields
- Title
- Middle name
- Job title
- Address
- Town/city
- County/state
- Postcode/zip code
- Country
- Preferred method of contact
- Date of birth
- Gender
Account / Company Fields
- Address
- Town/city
- County/state
- Postcode/zip code
- Country
Create Delegates
Delegate information can be provided when the delegate is first created, and again at the end of the booking
We recommend capturing as little information up front, to make the booking process as quick as possible for your bookers, and then request the rest of the information at the end of the booking.
Please let us know from the following list; what information you would like to capture when the delegate is first created, please note that these will all be mandatory:
- First Name (mandatory)
- Last Name (mandatory)
- Email Address
- Account Name (mandatory)
- Phone Number
- Date of Birth
- Address
- Town
- County
- Country
- Postcode
Please let us know from the following list, what information you would like to capture at the end of the booking:
- Date of birth
- Job title
- Address
- Town/city
- County/state
- Postcode/zip code
- Country
- Mobile number
- Shipping address
- Shipping town/city
- Shipping county/ctate
- Shipping postcode/zip code
- Shipping country
If you would prefer to set this up yourself, please access the Checkout Options page from Administration.
See our dedicated knowledge base page for support with this.
Step 3: Practice
This section details the main booking types for you to practice with
- Registering & booking as a manager
- Registering & booking as an individual
- Logging in as a manager to make a booking
- Logging in as an individual to make a booking
- Booking a classroom or webinar course
- Booking an eLearning course
- Booking a sessional course
- Making a booking as an administrator
- Paying by invoice
- Paying by payment gateway
See the below file to download our standard UAT sheet for practicing with Checkout to get you ready to switch over live!
| View file | ||||
|---|---|---|---|---|
|