How To: Building a Survey
How to build a Text Form Item
- Select Surveys from the Administration area.
- Select the Active Account you wish the Survey to be stored against, and Navigate to the Form Item Builder tab. Select Text from the Item Type drop-down.

- Enter the Name and Description of the Item. Enter the text for the question into the Text field. If you want this text to display in bold, tick the Display Text in Bold box.
- Click Save Item to save your Survey Item.
How to build a HTML Form Item
- Select Surveys from the Administration area.
- Select the Active Account you wish the Survey to be stored against, and Navigate to the Form Item Builder tab. Select HTML from the drop-down.
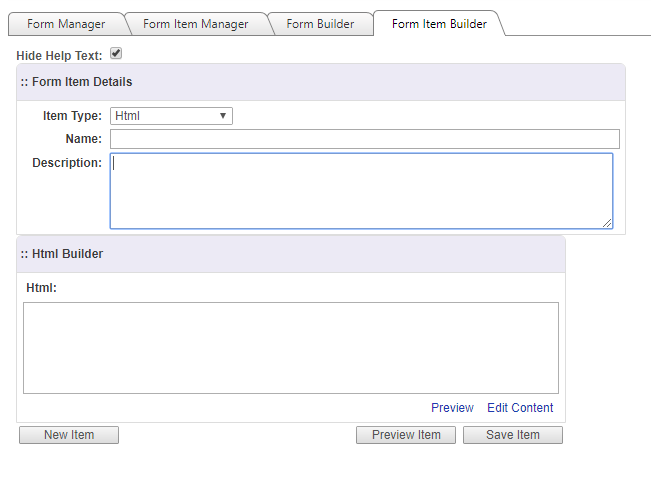
- Enter the Name and Description of the Item. Then, enter the HTML of the the Item.
- Click Save Item to save your Survey Item.
How to build a Free-Text TextBox Form Item
- Select Surveys from the Administration area.
- Select the Active Account you wish the Survey to be stored against, and Navigate to the Form Item Builder tab. Select Free-Text TextBox from the drop-down.
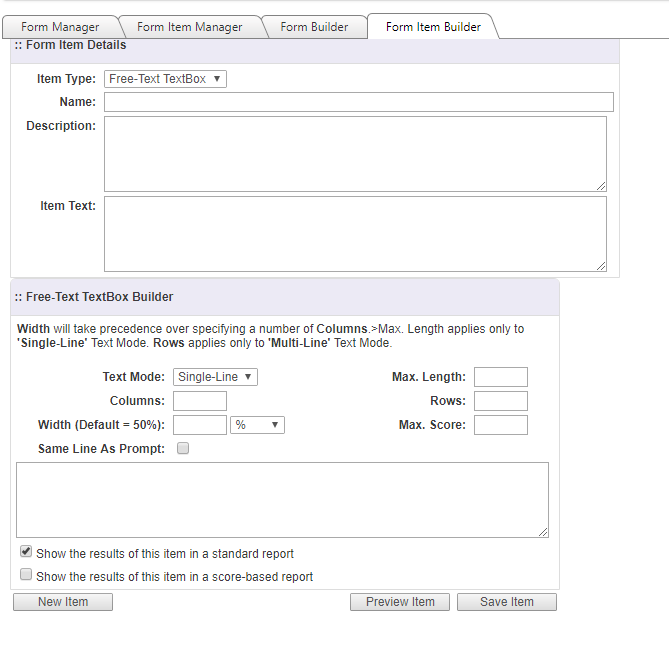
- Enter the Name and Description of the Item. Enter the text you wish to display as the question within the Item Text field.
- In the Free-Text TextBox Builder area, configure how you want the answer box to look by adjusting the settings.
- Click Save Item to save your Survey Item.
How to build a Single CheckBox Form Item
- Select Surveys from the Administration area.
- Select the Active Account you wish the Survey to be stored against, and Navigate to the Form Item Builder tab. Select Single CheckBox from the Item Type drop-down.
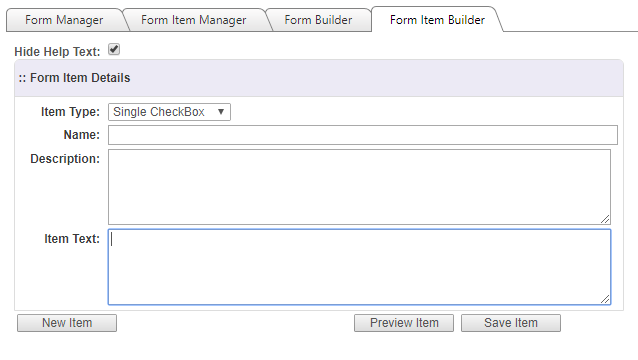
- Enter the Name and Description of the Item. Enter the text you wish to display as the question within the Item Text field.
- Click Save Item to save your Survey Item.
How to build a CheckBox List Form Item
- Select Surveys from the Administration area.
- Select the Active Account you wish the Survey to be stored against, and Navigate to the Form Item Builder tab. Select CheckBox List from the Item Type drop-down.
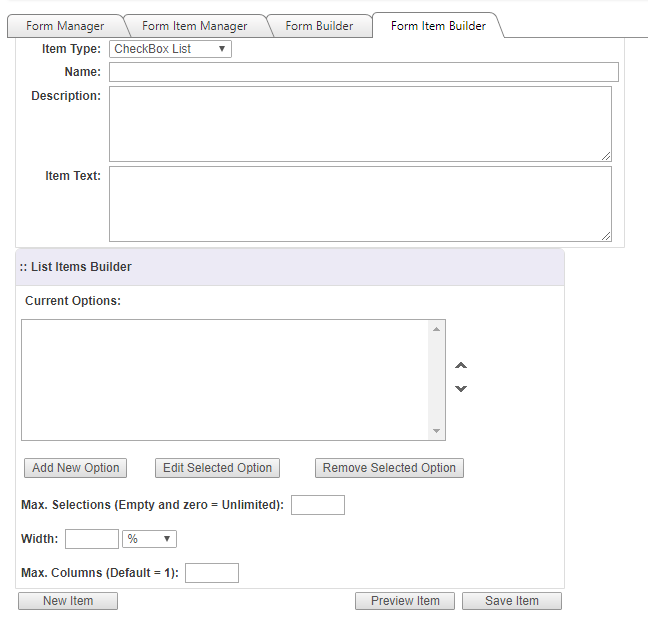
- Enter the Name and Description of the Item. Enter the text you wish to display as the question within the Item Text field.
- Click Add New Option to add a new check box option. Adding a score to your options will display them next to the option when viewing the Item only.
Existing options can be edited by selecting the option and clicking Edit Selected Option.
Options can be removed by selecting them an choosing Remove Selected Option.
- Click Save Item to save your Survey Item.
How to build a Drop Down List Form Item
- Select Surveys from the Administration area.
- Select the Active Account you wish the Survey to be stored against, and Navigate to the Form Item Builder tab. Select Drop Down List from the Item Type drop-down.
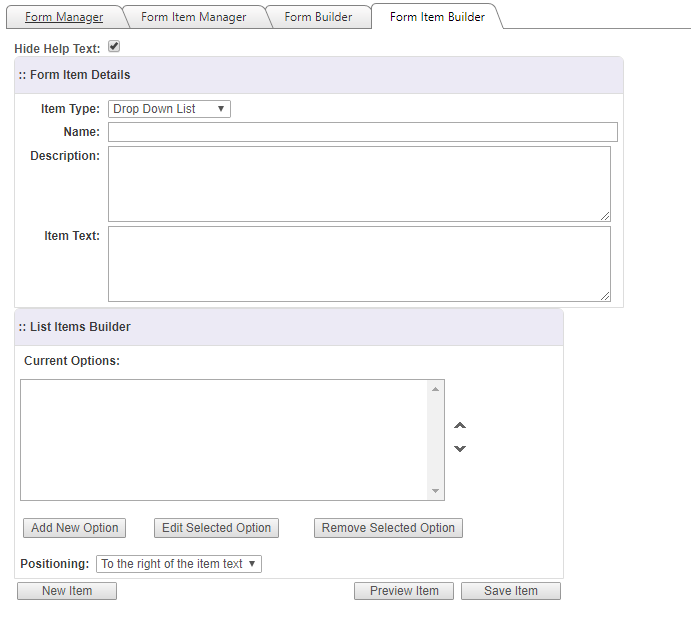
- Enter the Name and Description of the Item. Enter the text you wish to display as the question within the Item Text field.
- Click Add New Option to add a new check box option. Adding a score to your options will display them next to the option when viewing the Item only.
Existing options can be edited by selecting the option and clicking Edit Selected Option.
Options can be removed by selecting them an choosing Remove Selected Option.
- Alter the positioning of the drop-down list by selecting an option within the Positioning drop-down.
- Click Save Item to save your Survey Item.
How to build a RadioButton List Form Item
- Select Surveys from the Administration area.
- Select the Active Account you wish the Survey to be stored against, and Navigate to the Form Item Builder tab. Select RadioButton List from the Item Type drop-down.
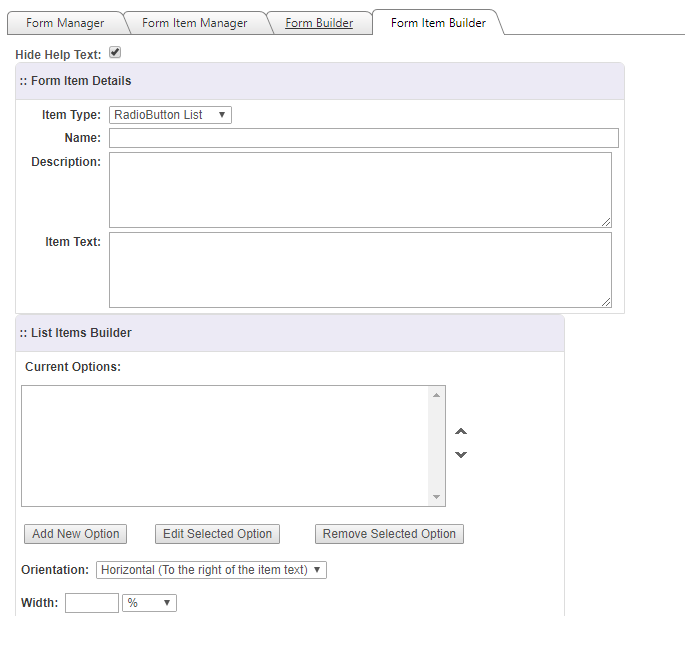
- Enter the Name and Description of the Item. Enter the text you wish to display as the question within the Item Text field.
- Click Add New Option to add a new check box option. Adding a score to your options will display them next to the option when viewing the Item only.
Existing options can be edited by selecting the option and clicking Edit Selected Option.
Options can be removed by selecting them an choosing Remove Selected Option.
- Alter the orientation of the Radio Buttons by selecting an option within the Orientation drop-down.
- Click Save Item to save your Survey Item.
How to build a Resource Selector Form Item
- Select Surveys from the Administration area.
- Select the Active Account you wish the Survey to be stored against, and Navigate to the Form Item Builder tab. Select Resource Selector from the Item Type drop-down.
- Enter the Name and Description of the Item. Enter the text you wish to display as the question within the Item Text field.
- Click the Select Resource Types... link to open the Resource Selector dialog box.
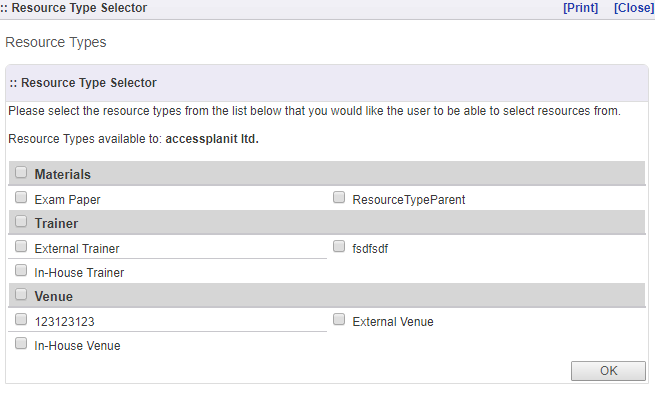
- Select the resources you wish to be displayed as part of the question. Click OK to add them to the Resource Types field.
- Click Save Item to save your Survey Item.
How to build a Survey
- Select Surveys from the Administration area.
- Navigate to the Form Builder tab.
- Enter the Form Name and select the Form Type from the drop-down.
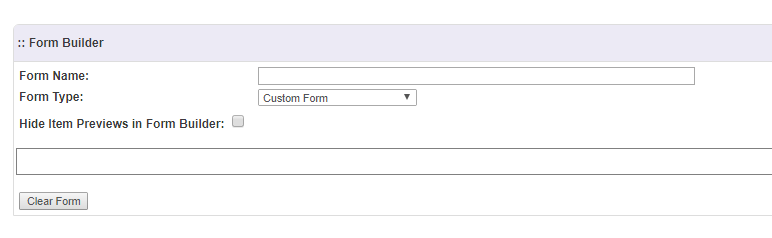
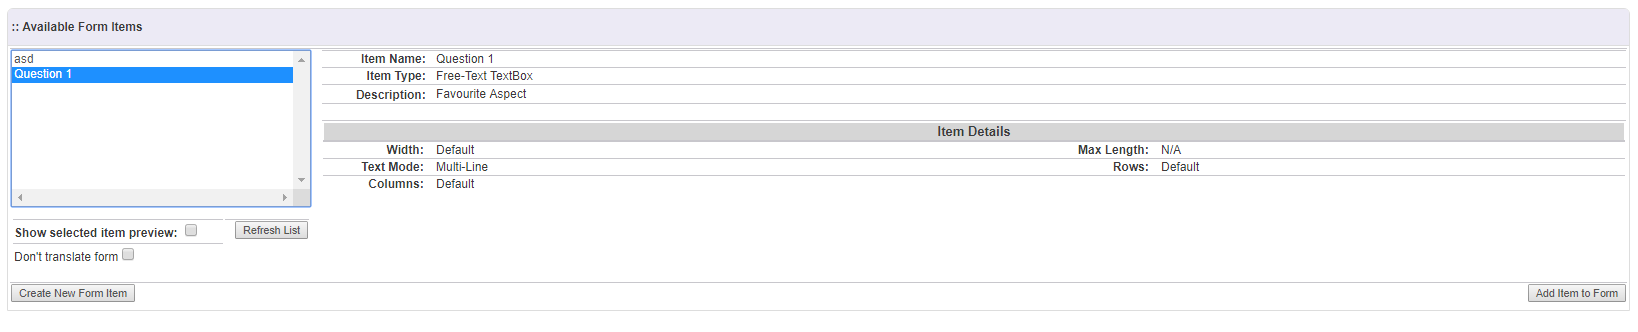
- Select an item you wish to add to your Survey from the Available Form Items box. Click Add Item to Form to add the question to your Survey.
- Within the Form Builder area, you can change the order of the questions by selecting the Form Item and clicking Move Up or Move Down.
To edit the Form Item, click Edit Form Item.
To remove the Item from the Form, click Remove.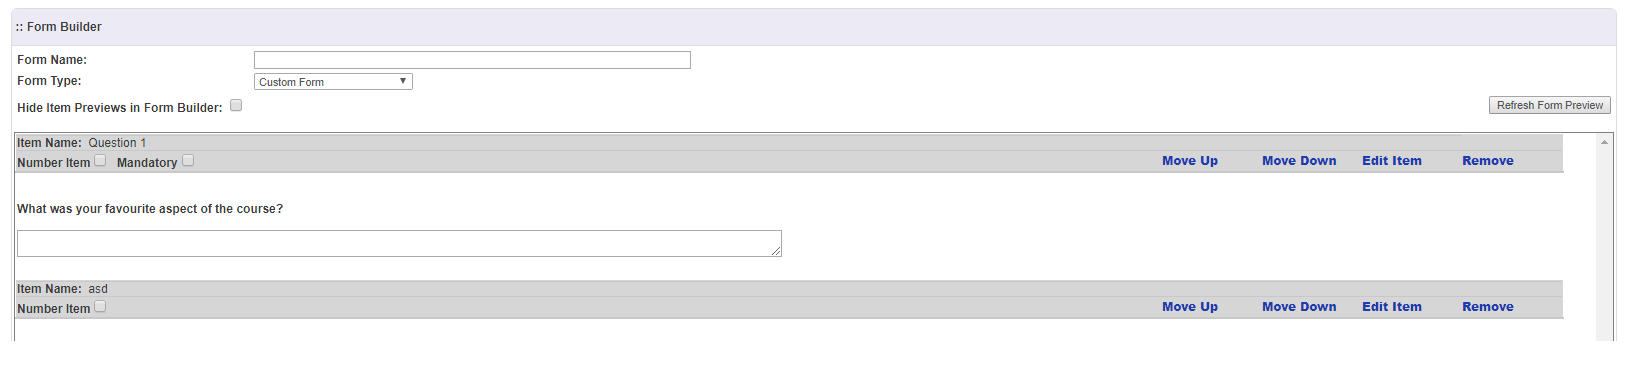
- Click Save Form to save your Survey.
How to store paper Surveys on the platform
- Navigate to the Courses-Class DataGrid.
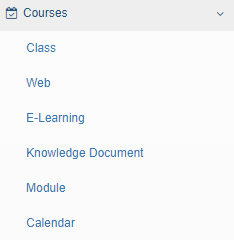
- Find the course relating to the paper Survey submission. Right click the course and select Surveys from the context menu.

To add in the survey responses, right click on a Delegate and click Create Submission.
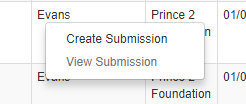
This will take you to the survey for you to enter the results.
FAQs
Can Surveys be collected from a hard copy instead of emailed?
Yes, the option to print the forms exists to print the form on the 'Form Manager' tab of Surveys. The information can then be entered in the 'Surveys' tab when right clicking on a course date.
Some of the text and screenshots refer to forms or evaluation forms rather than Surveys, why is this?
Evaluation forms was the old name for Surveys. We are transitioning the old method into the new one so this guide currently contains some references to old screenshots and old terminology. It will evolved fully into Surveys eventually.
How do I add hard copy survey results to the Course Date/Platform?
This can be completed from within the Course Date survey page. Go to Courses and select the relevant course type area. Find your course date, right click on the course and select Surveys (Add). You can either click the Add button on the menu list, or click the Add button displayed on the Surveys page.
How do I view the status of survey requests?
This can be viewed from within the Course Date survey page. Go to Courses and select the relevant course type area. Find your course date, right click on the course, and select Surveys (Add). Here you will need to ensure you have the column displayed called "Has Been Submitted". To add this column to your survey pages, click on the three dots button (...). Click on one of the plus symbols, select the field "Has Been Submitted", and click Apply. You should now have the relevant information displayed.
How can I be alerted when a survey has been submitted?
You can set up a Workflow to send to an Administrator when a survey has been submitted by a delegate. This is done within the Administration > Workflows area of your platform. You can find more information about Workflows here.