How to set up a Sessional Course
- Navigate to the Course Templates DataGrid
- Click Add to create a new Sessional Course or right click an existing course to change it to sessional.
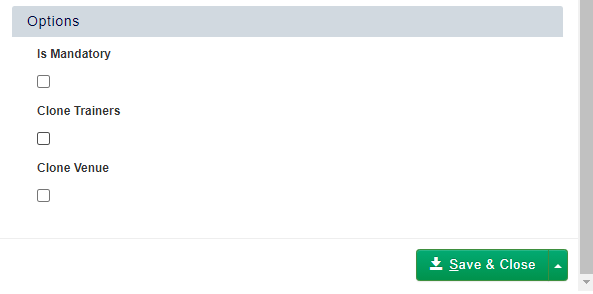
- Complete the rest of the form as you normally would for a Course Template, but tick the Is Course Sessional By Default? box. You will then get access to three additional options:
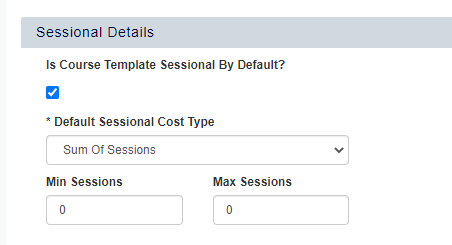
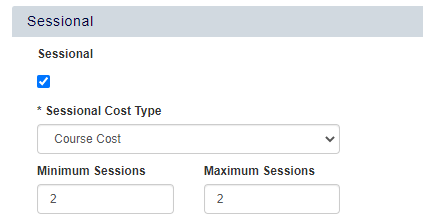
- Fill in the sessional cost details for the course.
- You then need to define the minimum and maximum number of sessions that each Delegate needs to select when they make their booking. This can be completed after you have build the actual Sessions Plan if you would prefer.
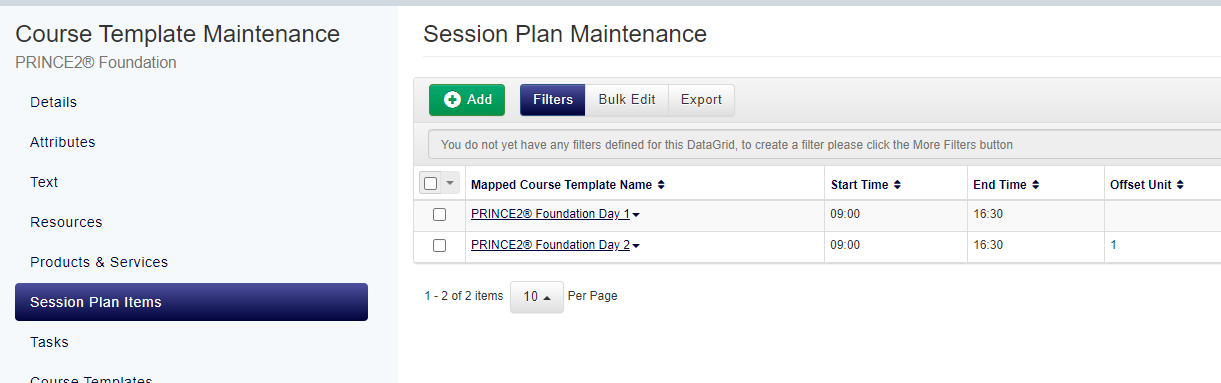
- Once you have completed this page, click Save. The Session Plan Items tab will become available where you can build up the structure of your Sessional Course.
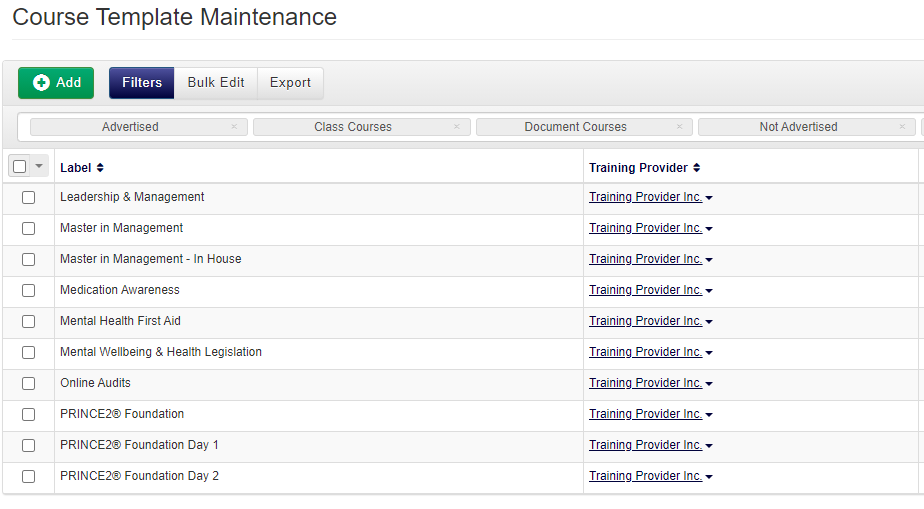
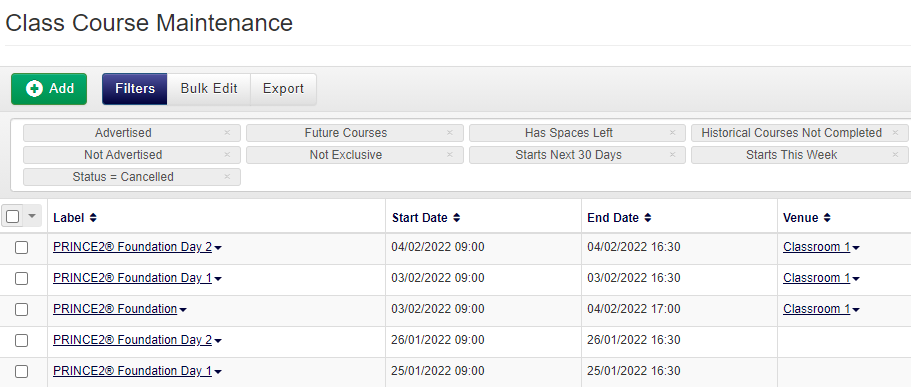
- Before you access this page, it is a good idea to check that each session of your course already exists as its own Course Template. If it doesn't you will need to create the additional Course Templates. The head (parent) course, and the sessions (child courses) should all appear within the Course Template page as below:
- Within the Session Plan Items tab click Add to add your first session plan item to your head sessional (parent) course.
- Enter in the details of the Session Plan Item into the dialog box.
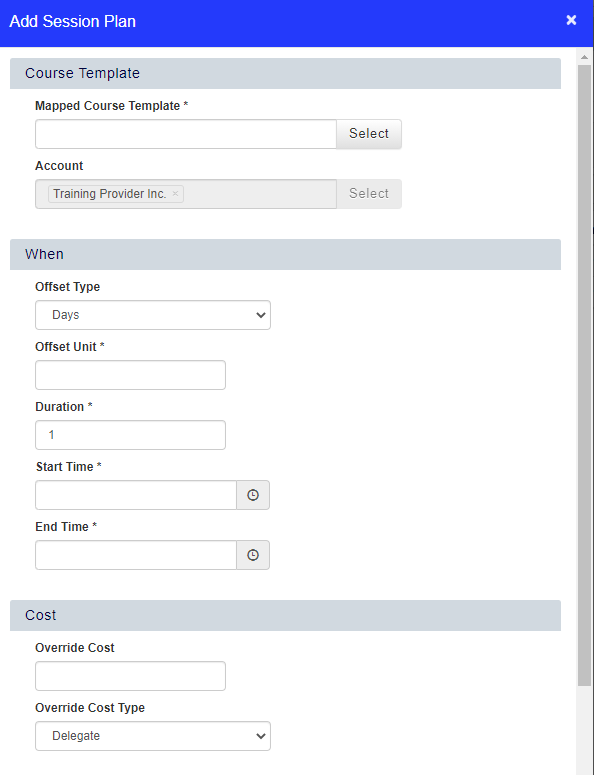
Note that the offset units determine when the subsession should be scheduled. A subsession with an offset of 0 will occur on the same day as the head session, an off set of 1 will mean that the subsession starts the day after, and so on. - Click Save & Close to save your session. Repeat this process for each session.
How to schedule a Sessional Course
- Go to the Courses - Class DataGrid and create a new course by clicking Add.
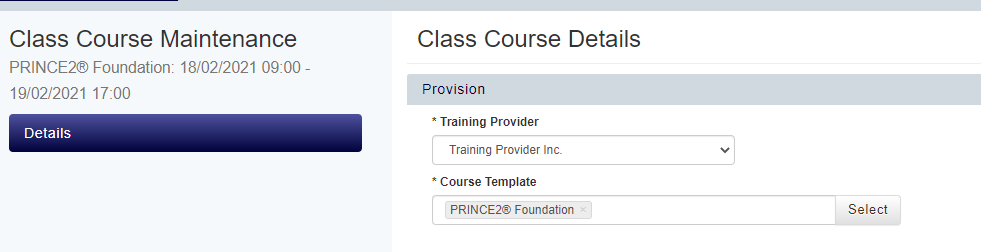
- Select the Sessional head course only as your Course Template. Complete the rest of the form as you normally would for scheduling a course.
- Make sure the sessional settings are correct, and click Save.
- Once you have saved your course, you will be able to open the Sessions tab to view the sessions which have been automatically created.
- All the predefined information that you gave when creating the Course Template will have filtered down into your new course (cost, Venue, Trainer, etc.)
The Is Session Candidate property can be clicked on the Delegates page of a sessional course to sort ascending or descending.
This column shows if the Delegate is part of a sessional course or not with a 'Yes' or 'No' in the column. For the head (parent) course, this will show as 'No', but for each of the sessions this will be 'Yes'.
How to make a booking on a Sessional Course
- Navigate to the Courses - Class DataGrid.
- Right click on the head course and select Add to Basket.
- The Sessional Course will then be added into your Shopping Basket.
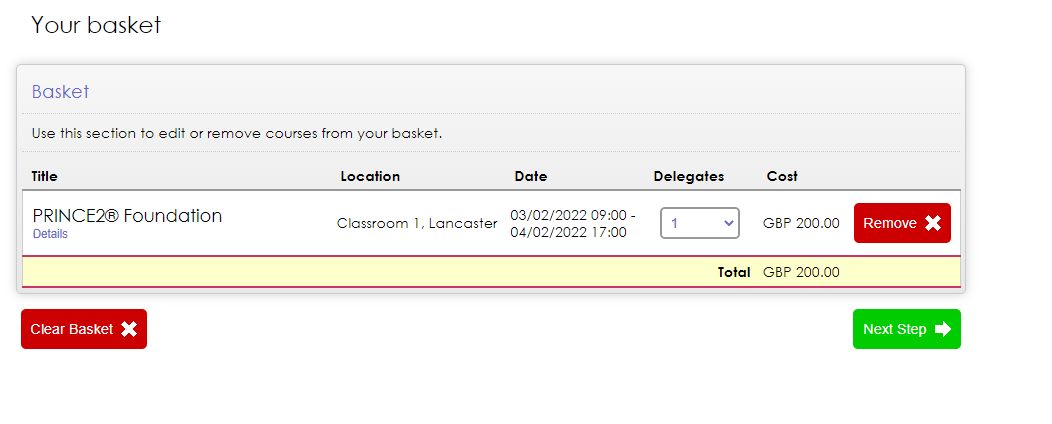
- Proceed through the Shopping Basket as you would for booking any other course.
- Once you reach the Sessions stage of the basket, select any optional sessions that the Delegate(s) should be booked onto. The mandatory sessions will already be selected and greyed out (as below):
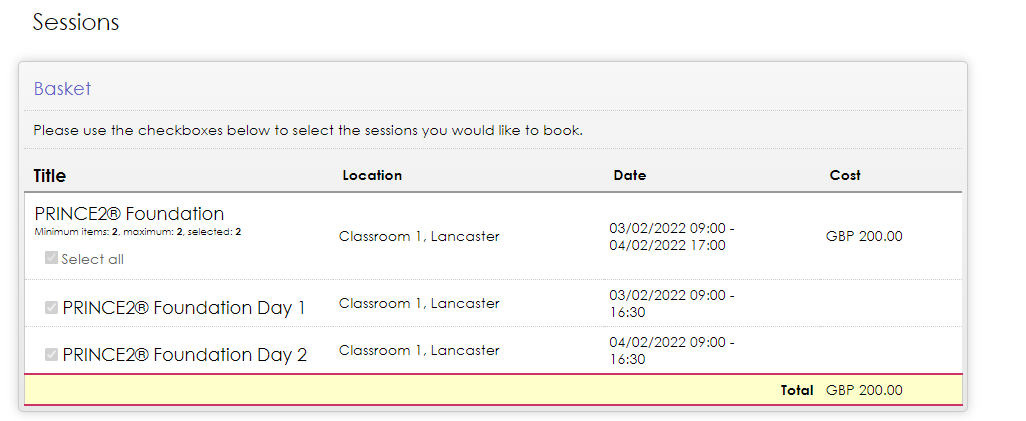
- Continue to the payment stage of the Shopping Basket to complete the booking.
How to update the Sessions
- If you need to adjust the time, date, or duration of the sessions that have been automatically created, you can do so by finding them in the Courses - Class or Courses - Web DataGrid.
- These sessions behave as courses in their own right, so you would change their details in the same way as any other course.
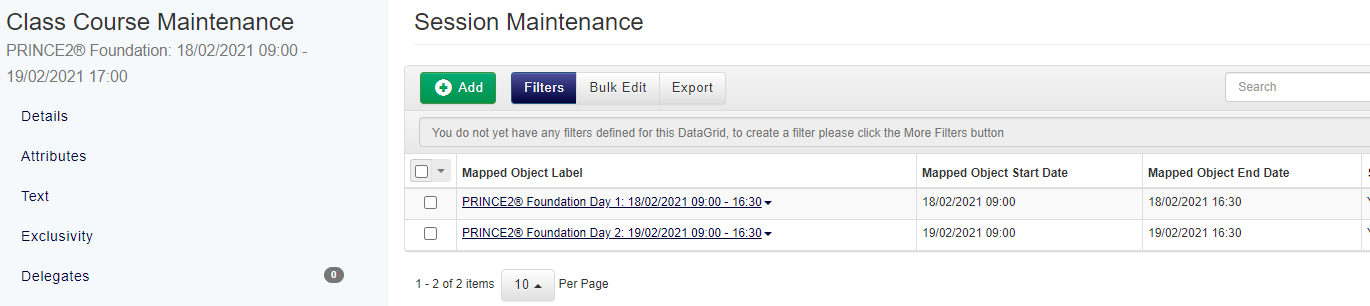
- Alternatively, you can access a shortcut each course date session from the Sessions page on the head (parent) course. This will allow you to quickly edit each session, from the head course.
- Within the sessions plan page, include the Mapped Object Label as a column in the Session Maintenance DataGrid.
- Click this link to Edit the course. This will take you directly to the session course date where you can make changes.
- When deleting sessions from the Session Maintenance page, there is an option to delete the corresponding scheduled course dates.