| Live Search | ||||||||
|---|---|---|---|---|---|---|---|---|
|
How to add an Opportunity
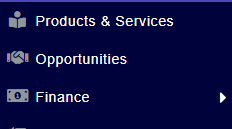
Open Opportunities on the left hand side menu and
click Add.
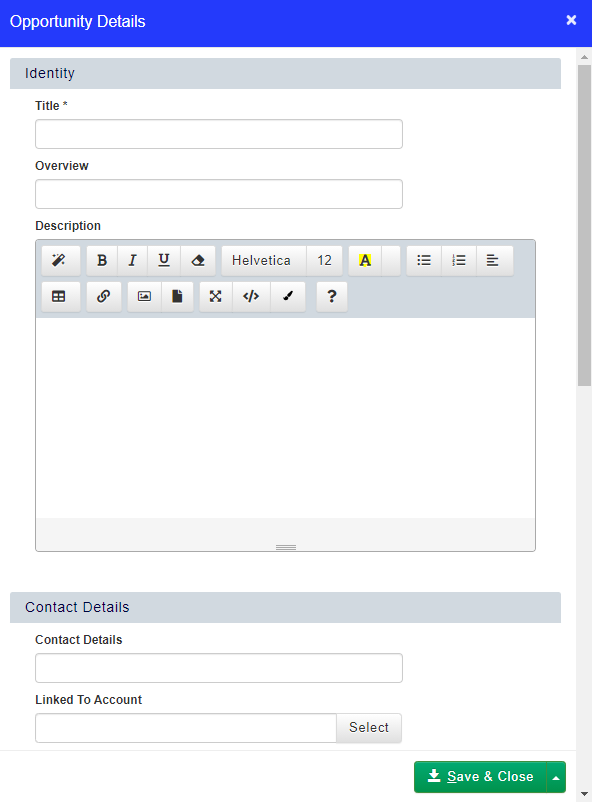
You will be prompted to enter the key information about the Opportunity, including; Title, who the Opportunity is assigned to (internally), which account the Opportunity is for (externally) and the status of the Opportunity (Prospect, etc.).
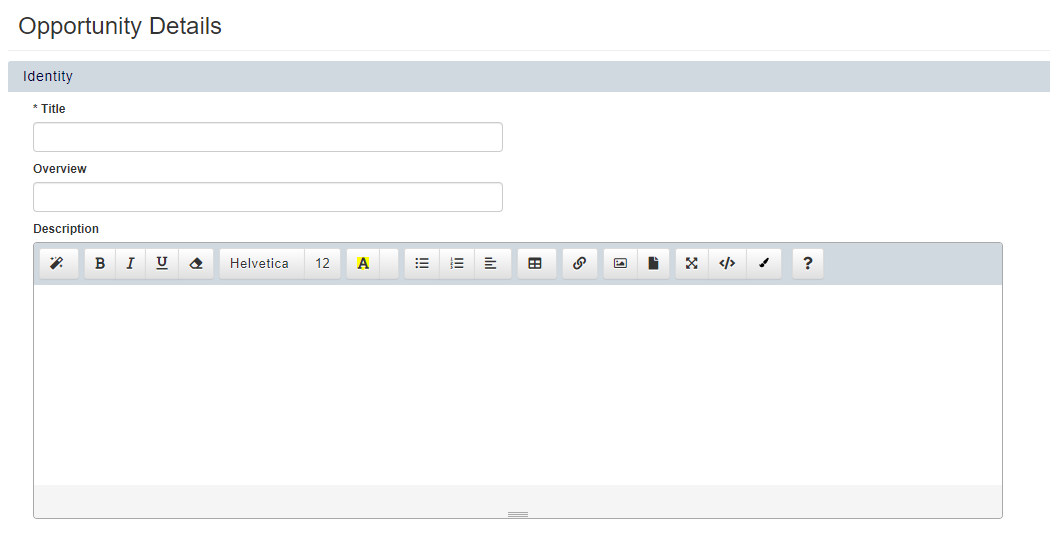
Click Save to save the Opportunity.
How to view Opportunities
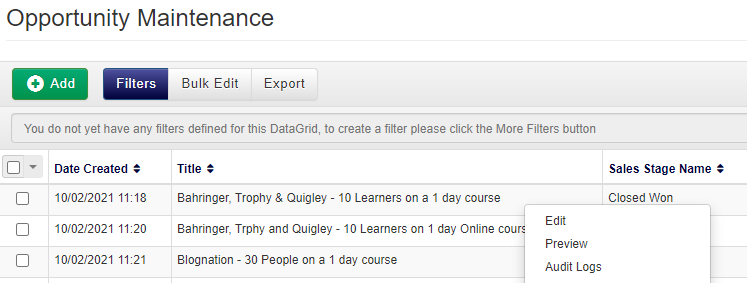
Right click on the Opportunity record and select Preview from the context menu.
How to Display Opportunities assigned to you
Navigate to the Opportunities area.
Use the following filters to display all Opportunities assigned to you:

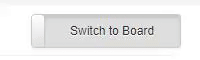
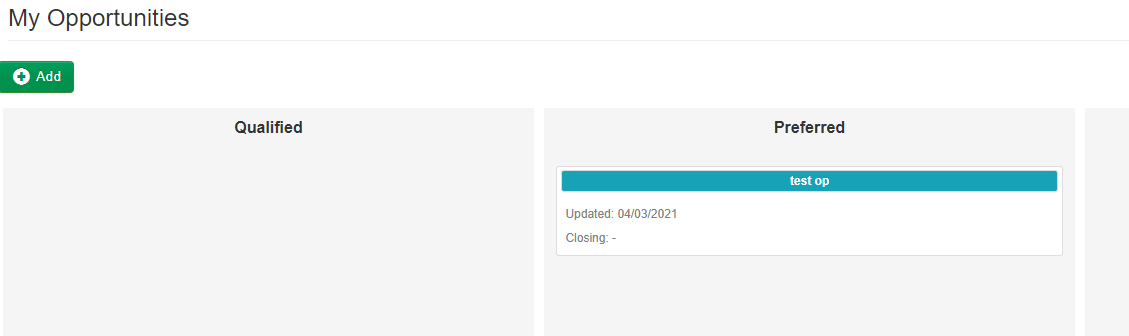
Alternatively, you can Switch to Board to view your Opportunites in a Kanban board:
How to update an existing Opportunity.
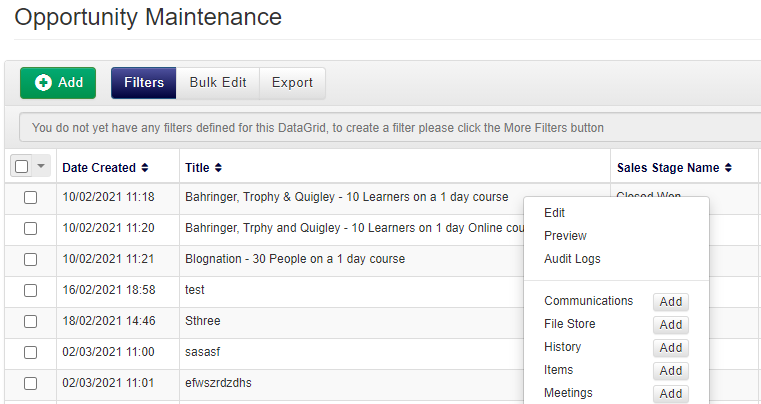
Right click the Opportunity and select Edit from the context menu.
Amend the Opportunity as required and click Save.
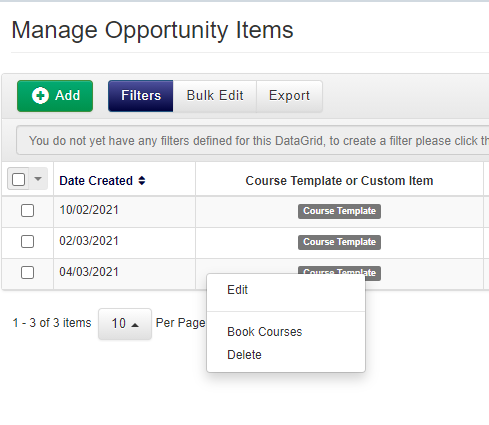
How to link items to an Opportunity
Opportunity items show what your prospect is interested in, such as the particular course they're interested in booking.
Head to the Opportunities module, right click on the appropriate record and click Add next to Items from the context menu.
In the Add Items dialog box, enter in the details to link a new item to the Opportunity.
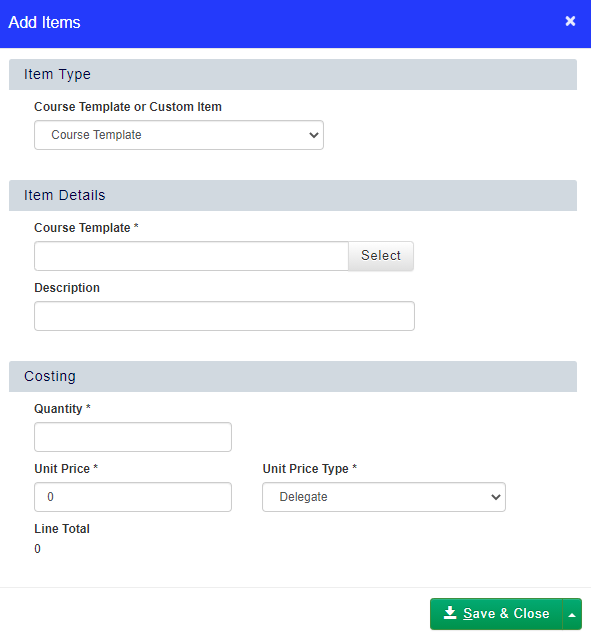
Click Save & Close.
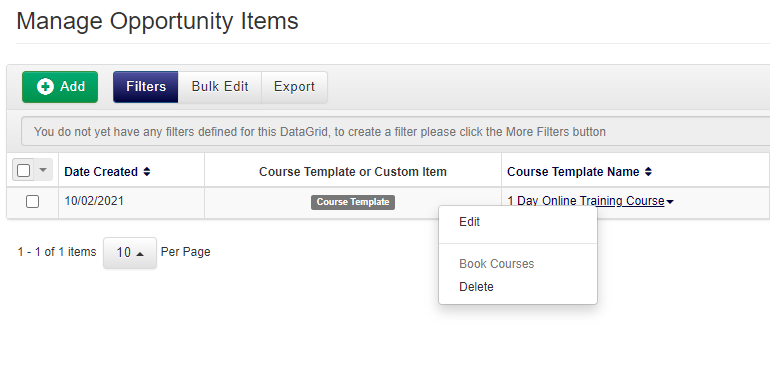
You can now edit or remove items against an Opportunity by right clicking against the item, and choosing the appropriate item.
| Info |
|---|
Please note, the ‘Item Type’ field will only be visible for Platforms with the Products & Services module. (Bulletpoint 3) |
How to send quotes from opportunities
Navigate to the Opportunities area.
Right-click the Opportunity you wish to send a quote from
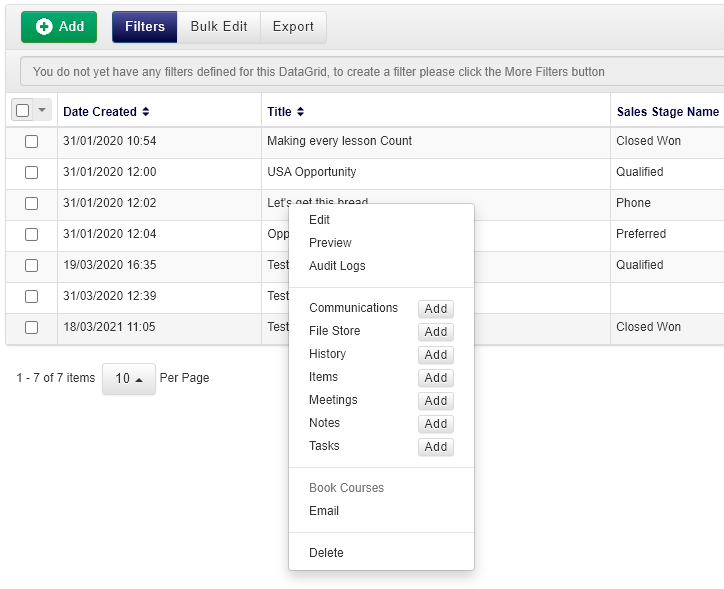
Select the email option from the drop down menu
Select the Creation Type that best suites your requirements
Template allows you to use any email template, eCampaign allows you to use any email template that has been saved as an eCampaign, and AdHoc allows you to create an email on the fly, including subject, body and signature.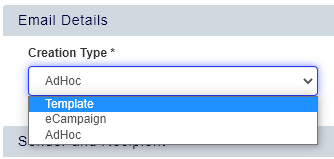
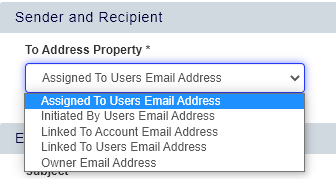
Next choose the sender and recipient from the next drop down box, all of these fields correlate directly to the fields within the opportunity, each possible selection will to a difference recipient, for example, the assigned to users email address, is the email of the user that has this opportunity linked to them, each 'user' that is part of the opportunity can be a recipient for this email that will be the quote that has the selected opportunity linked to it.
Below is the AdHoc example of an email that will have the opportunity attached
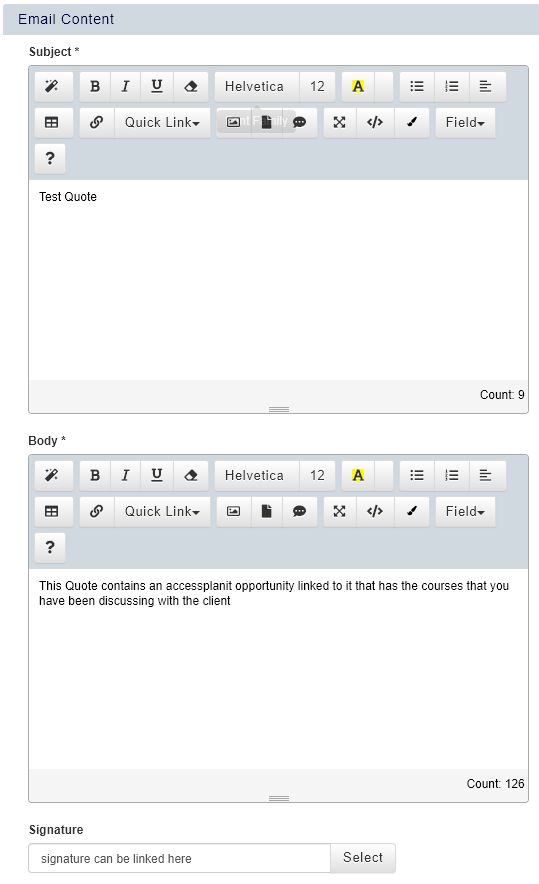
Clicking send will send the email with the attached opportunity
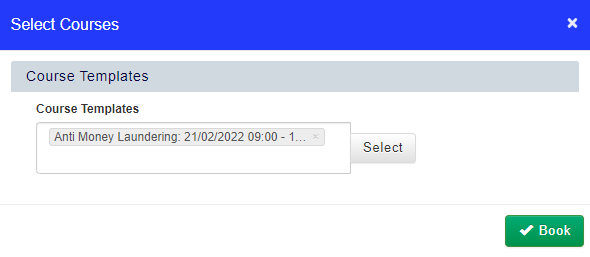
How to book a course from an Opportunity item
Navigate to the Opportunities area.
Right click the Opportunity you wish to book a course from, and select Items from the context menu.
Right click the Item and click Book Courses.

Once you have clicked Book within the pop up box, you will be taken to the Shopping Basket to checkout.
How to Manage Opportunities via your Opportunities Board
To access the Opportunities Board, simply click on the toggle button at the top of the Opportunities DataGrid.
How to update an Opportunity via the Opportunities Board
You can easily update the status of an Opp by dragging and dropping it from one column to another
If you would like to update any other details, click on the Opportunity from the board and make your changes in the pop-up window.
How to add a new Opportunity via the Opportunities Board
Click on the Add button at the top of the board to create a brand new Opportunity.
When you create a new Opportunities via the Opportunities Board, you will be automatically selected as the assigned to user.
Enter the details of the Opportunity into the dialog box, and then click Save & Close to save the Opportunity.
How to display more Opportunities on your Opportunities Board
The default view for the Opportunities Board shows a maximum of 10 Opportunities per sales stage. This is to make sure your Opportunities Board loads quickly each time you open the page.
If you have more than 10 Opportunities per sales stage, you can click on the Show More link at the bottom of each column to load 10 more.