Steps to generate an Invoice for a Placeholder
| Table of Contents | ||||||
|---|---|---|---|---|---|---|
|
Related Helpguide Pages
| Panel | ||||||||
|---|---|---|---|---|---|---|---|---|
| ||||||||
Learn how to generate a standalone Invoice for a single Placeholder |
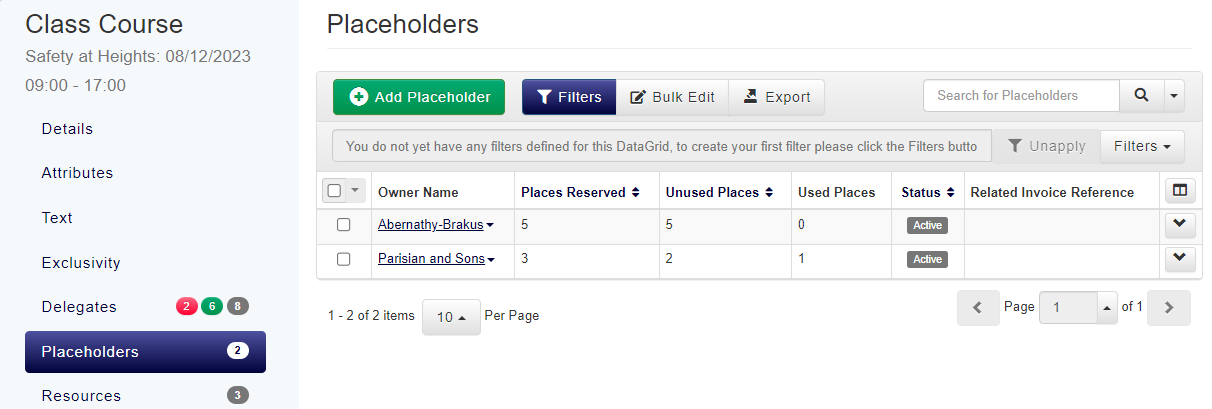
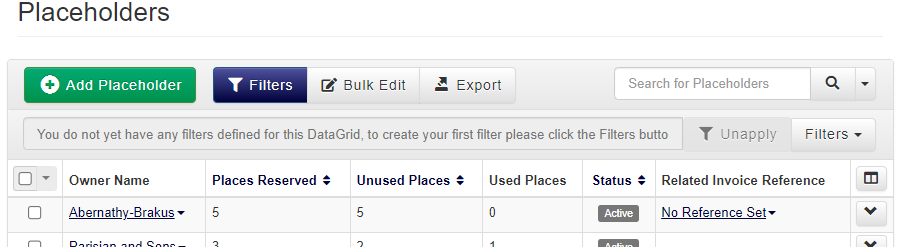
If you have received a request through from a customer to have an Invoice raised for their Placeholder booking outside of your normal Invoicing process, or just need a one-off Invoice for a specific Placeholder, you can use the Mini Invoice Generator from the Placeholders DataGrid to produce an invoice just for this Placeholder!
Follow this page to learn the steps to generate an Invoice for a single Delegate.
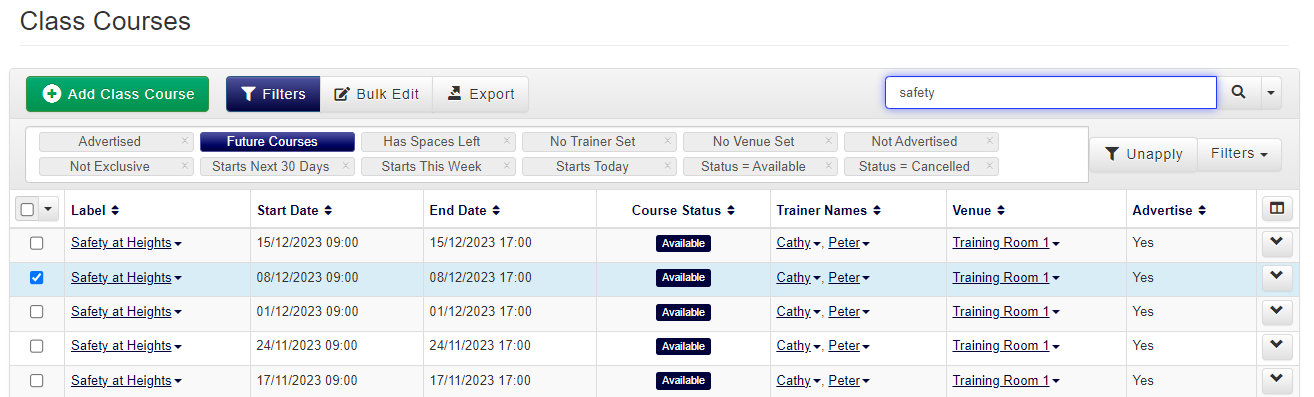
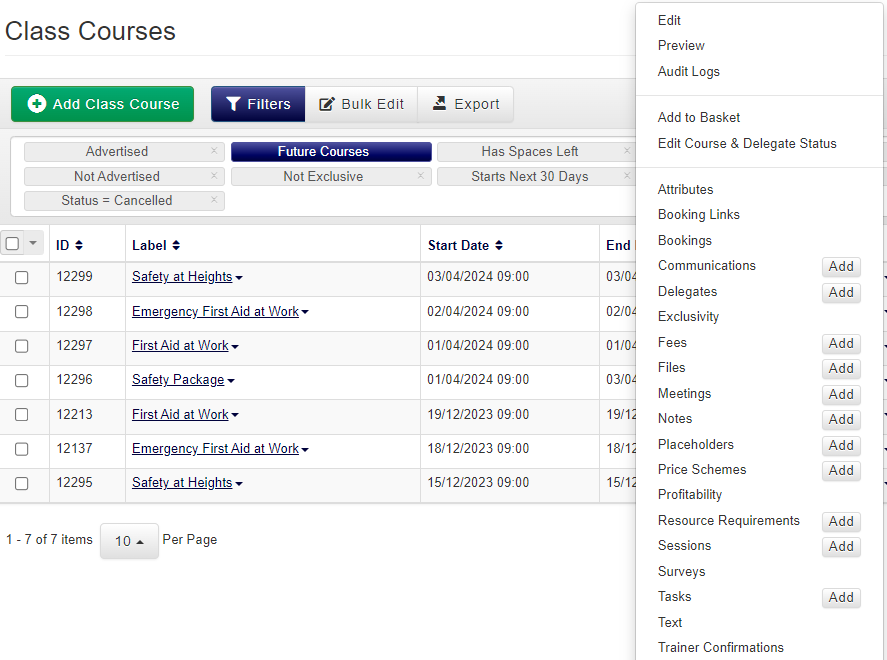
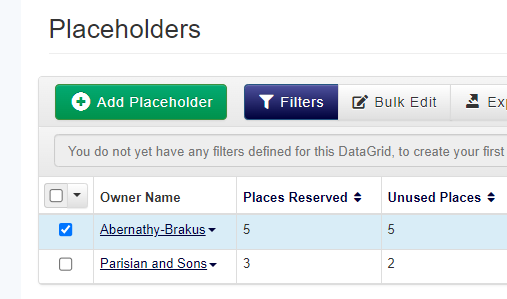
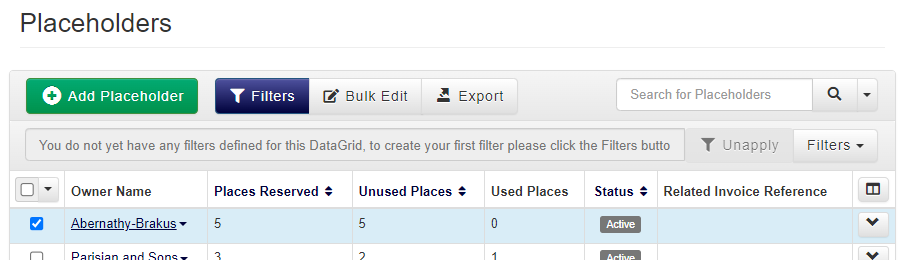
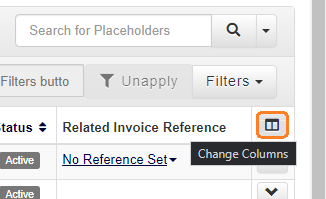
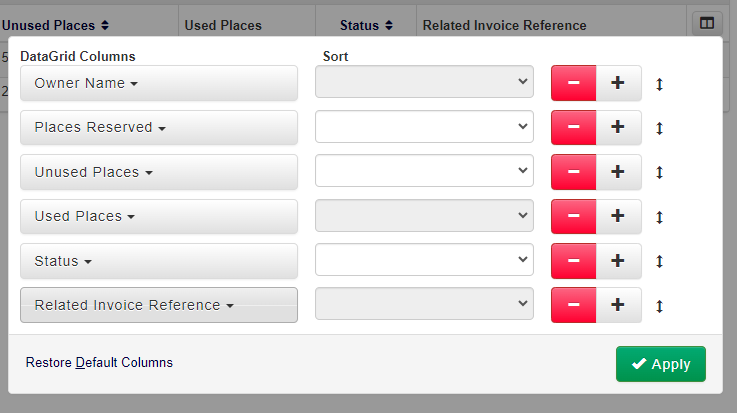
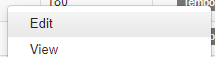
🔍 Find the Placeholder
| Panel | ||||||||
|---|---|---|---|---|---|---|---|---|
| ||||||||
The first step is to find the Placeholder so that you can generate their Invoice |
| Expand | ||
|---|---|---|
| ||
|
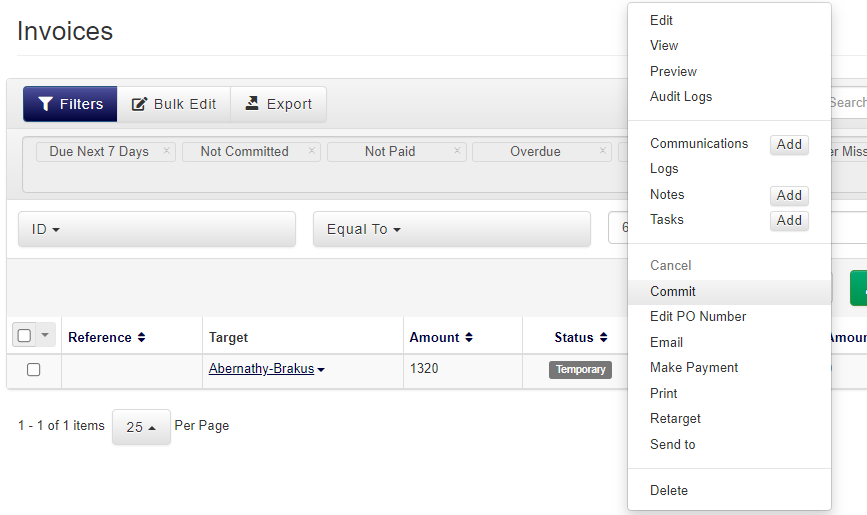
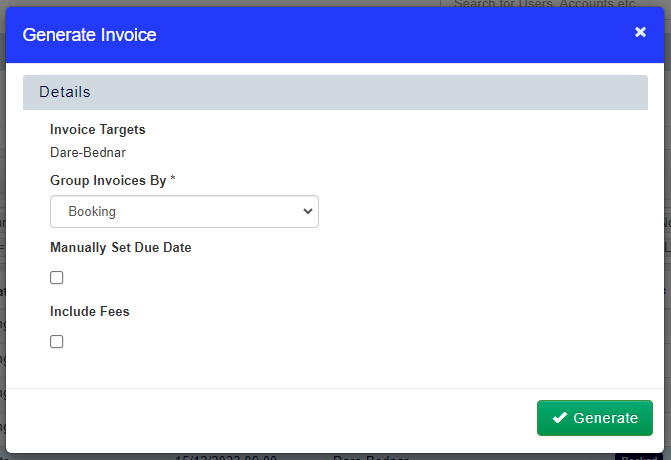
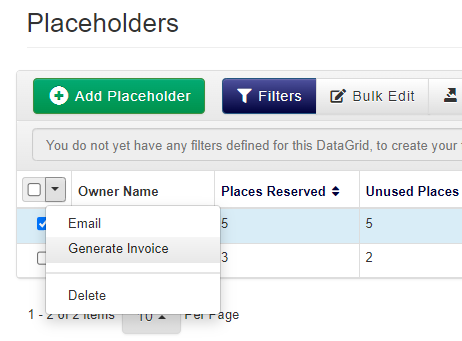
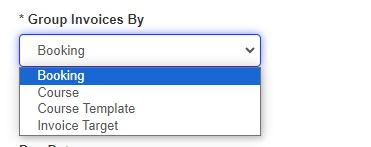
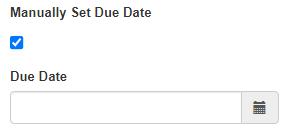
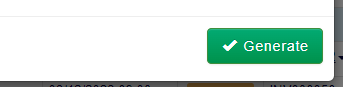
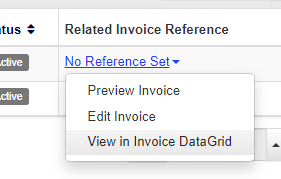
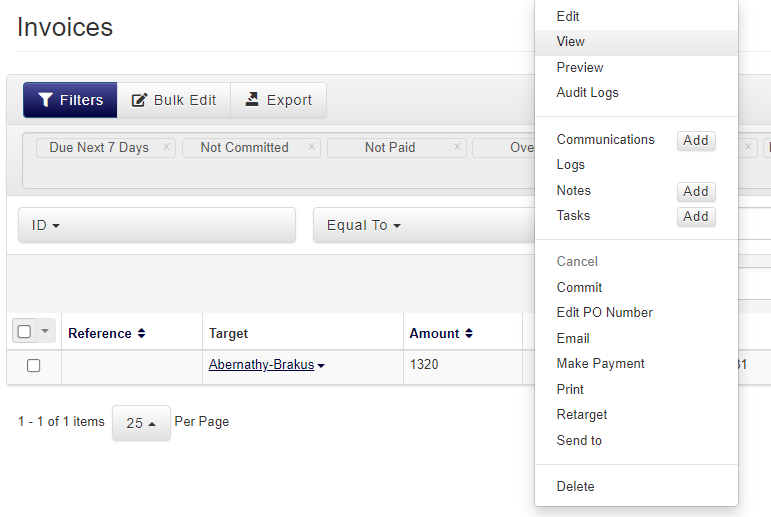
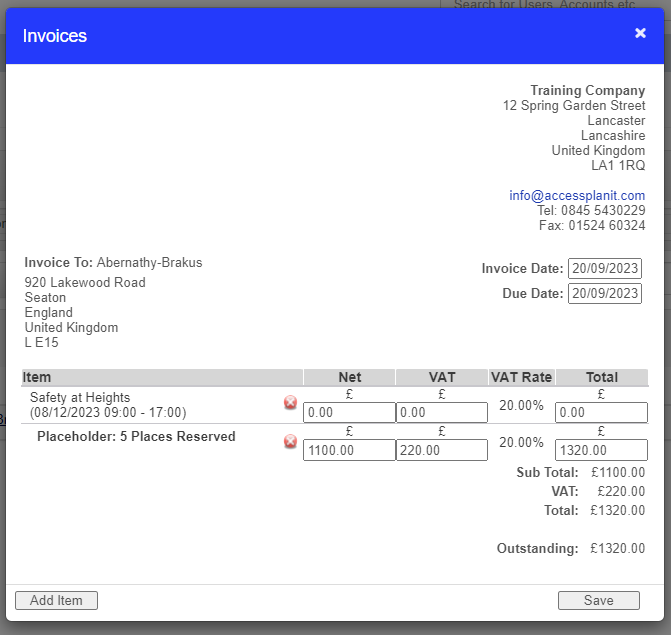
 Generate the Invoice
| Panel | ||||||||
|---|---|---|---|---|---|---|---|---|
| ||||||||
The main step in this process is to complete the mini Invoice Generator for this Placeholder |
| Expand | ||
|---|---|---|
| ||
|


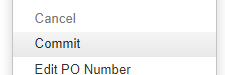
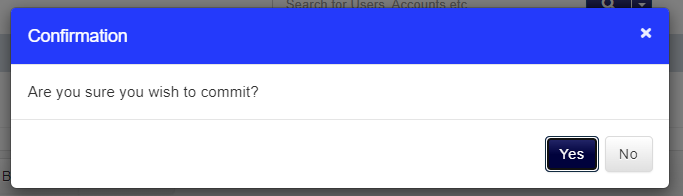
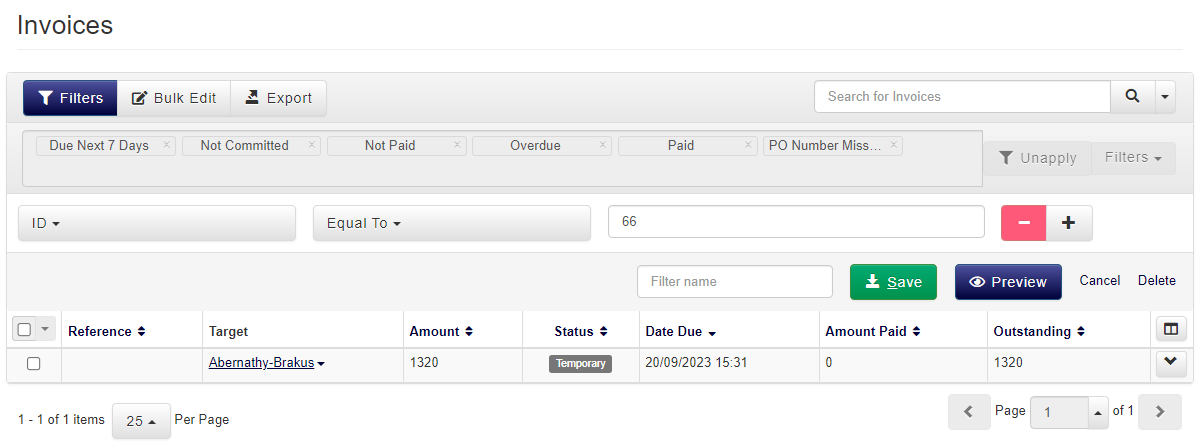
✅ Commit the Invoice
| Panel | ||||||||
|---|---|---|---|---|---|---|---|---|
| ||||||||
The final step is to check over the Invoice and then commit it! |
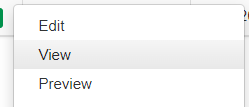
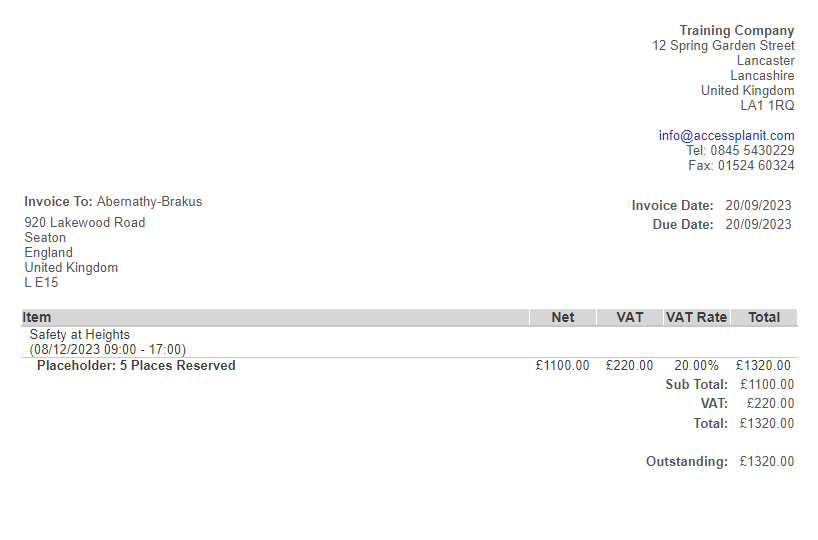
Check your Invoice
This step will show you how to view your Invoice to check it’s contents
| Expand | ||
|---|---|---|
| ||
|

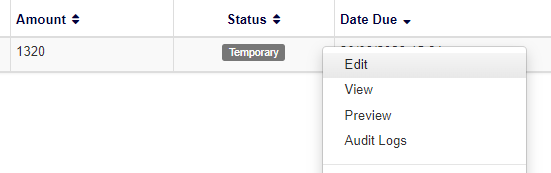
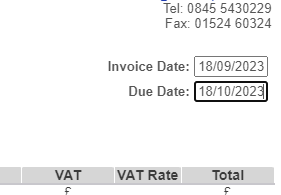
Edit your Invoice
This is an optional step which will walk you through how you can correct the Invoice if any of it is incorrect, before it is committed
| Expand | ||
|---|---|---|
| ||
|

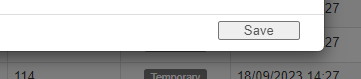
Commit your Invoice
This step will walk you through the process of committing your Invoice, once your Invoice has been committed this typically triggers Workflow emails to the customers to share the details of the Invoices with them.
| Expand | ||
|---|---|---|
| ||
|