Steps to decrease the places held on a Placeholder
| Table of Contents | ||||||
|---|---|---|---|---|---|---|
|
Related Helpguide Pages
| Panel | ||||||||
|---|---|---|---|---|---|---|---|---|
| ||||||||
Learn how to reduce the number of places held by a Placeholder on a Course for a customer to free up places for other customers. |
Placeholder bookings on Courses are often made because the customer does not yet know who they will be sending on your Course. This does also mean that often, they do not know exactly how many people they will be sending either!
If your customer informs you that they no longer need to send as many people as they have places booked for, then you can reduce the quantity of places that their Placeholder is holding.
Follow this page to learn the steps to decrease the number of Placeholder places for a customer on a Course.
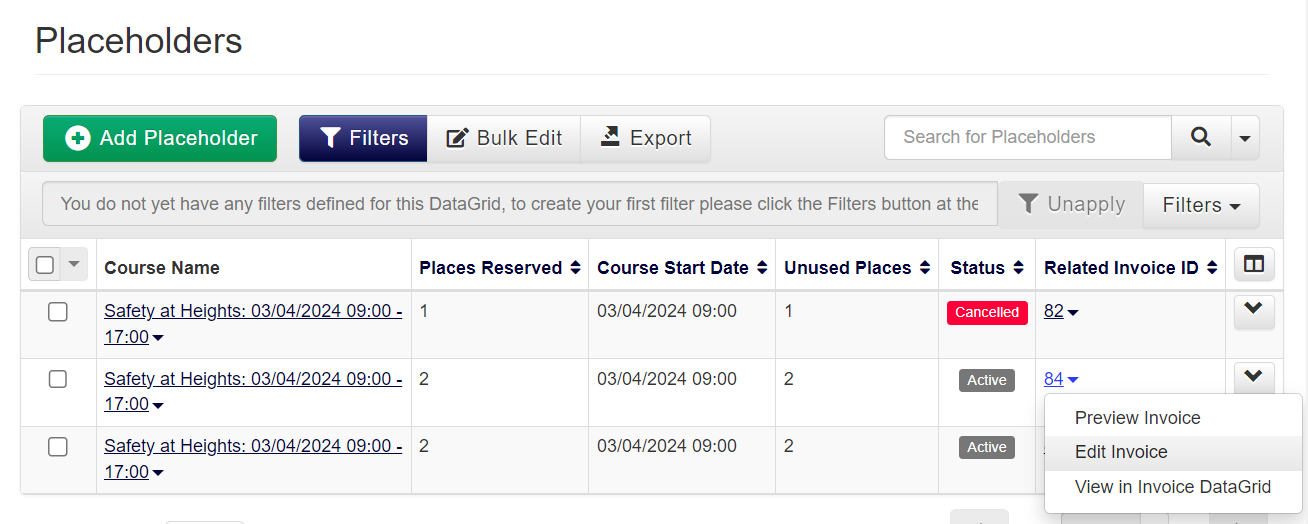
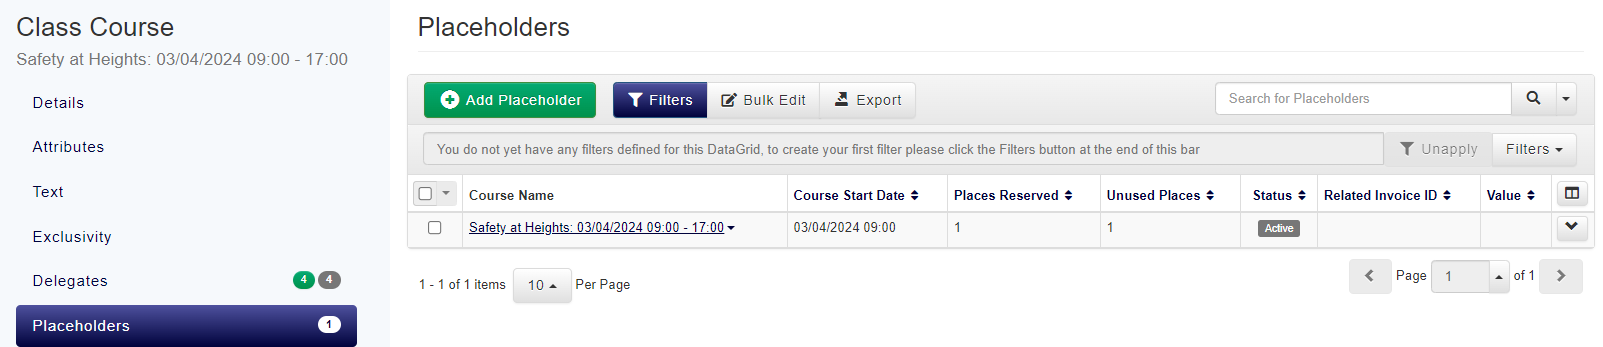
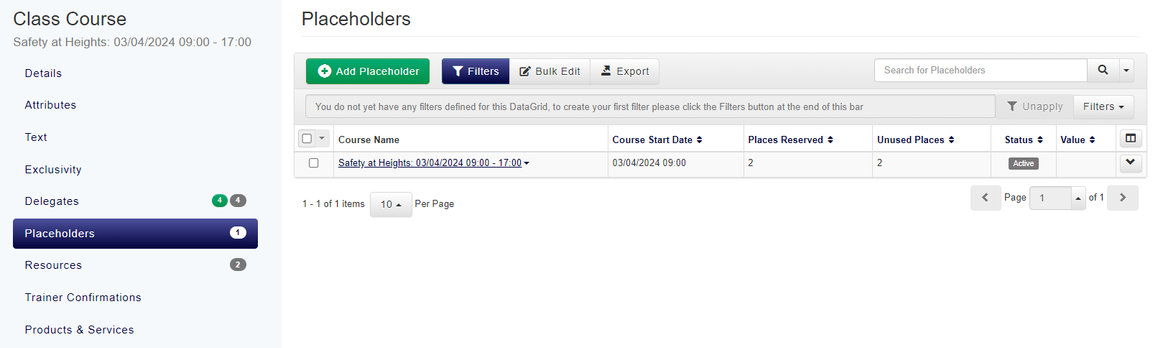
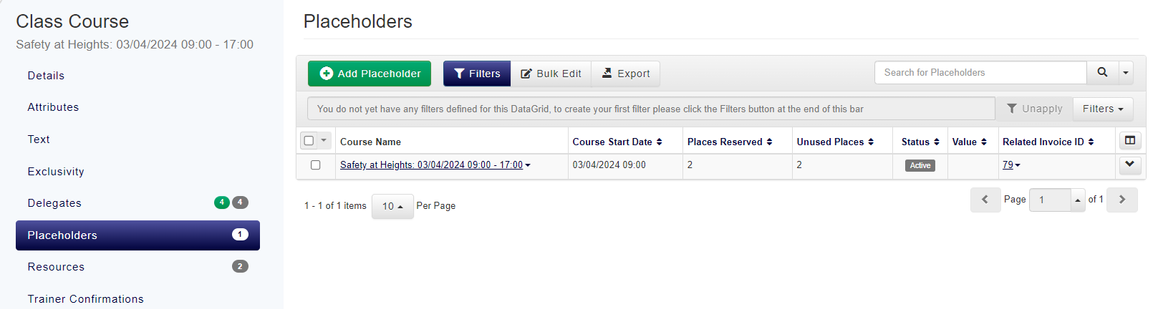
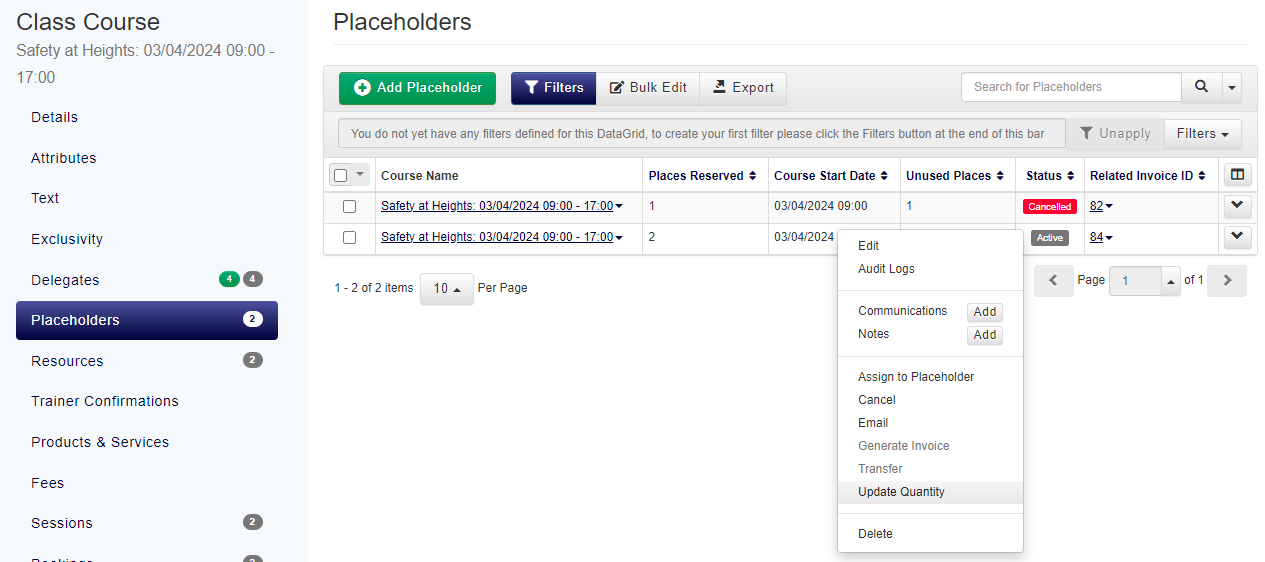
🗺️ Navigate to the Course you wish to amend the Placeholder on
| Panel | ||||||||
|---|---|---|---|---|---|---|---|---|
| ||||||||
This step will run through how to access the Placeholder you wish to amend from your Course. |
| Expand | ||
|---|---|---|
| ||
|


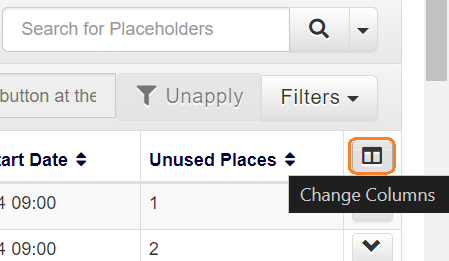
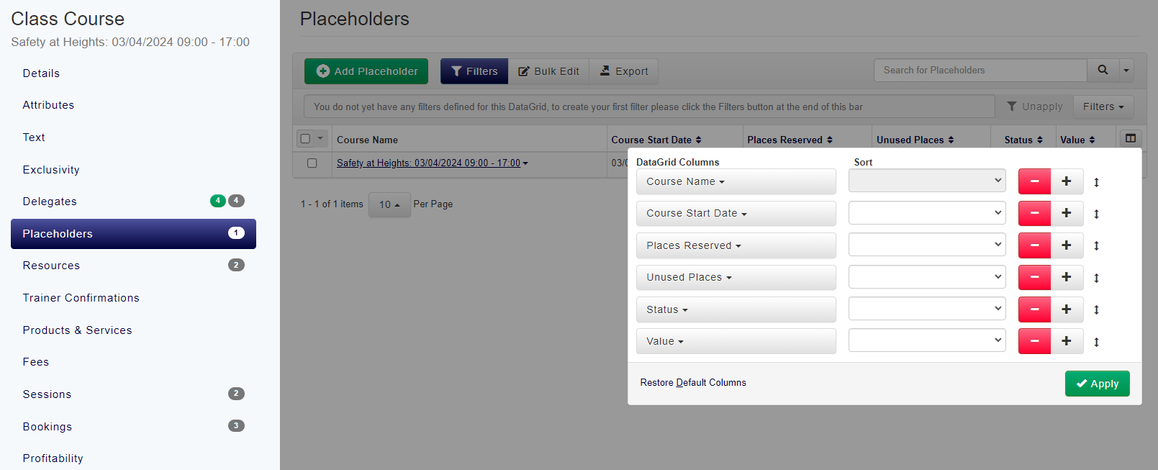
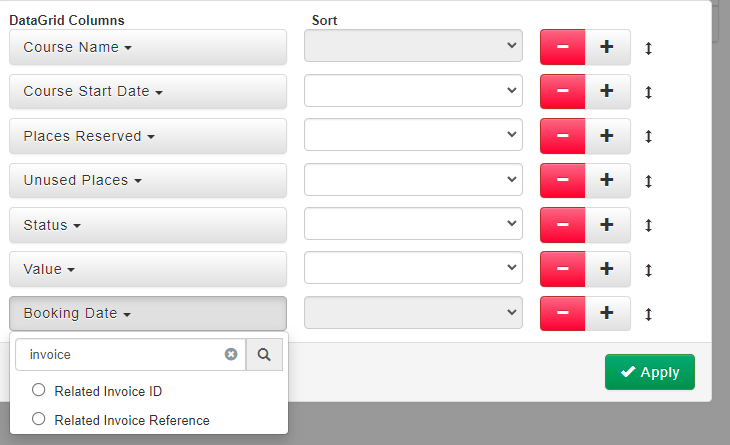
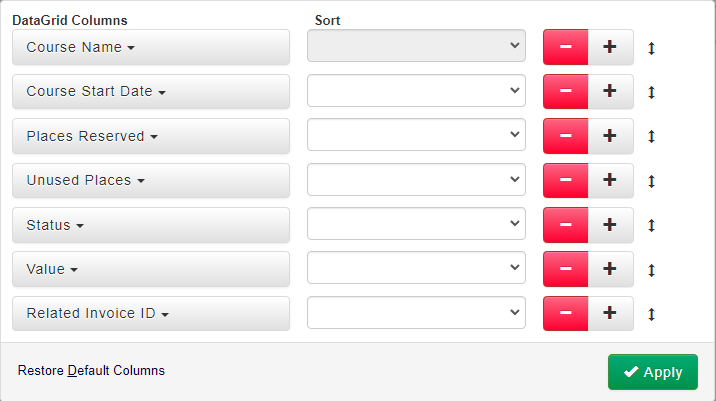
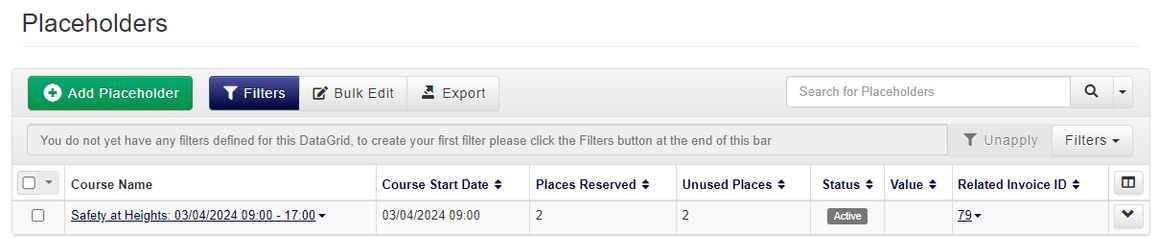
💰 Check if the Placeholder has an Invoice
| Panel | ||||||||
|---|---|---|---|---|---|---|---|---|
| ||||||||
This step will run through how to check if the Placeholder has been included on an Invoice |
| Expand | ||
|---|---|---|
| ||
|


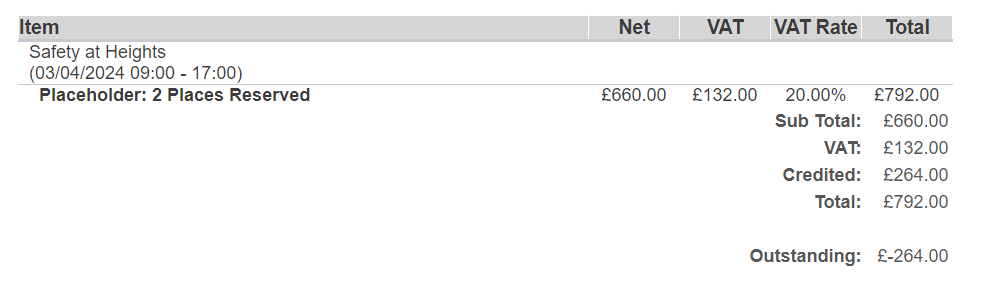
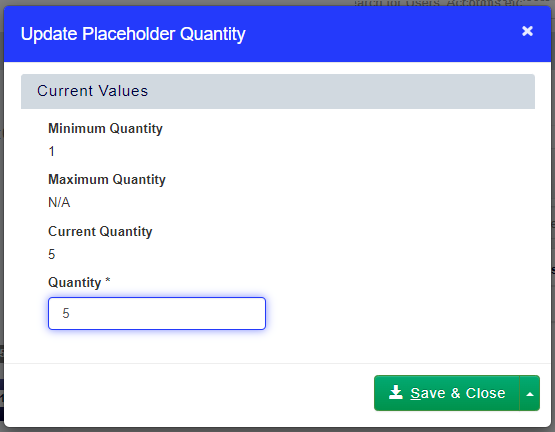
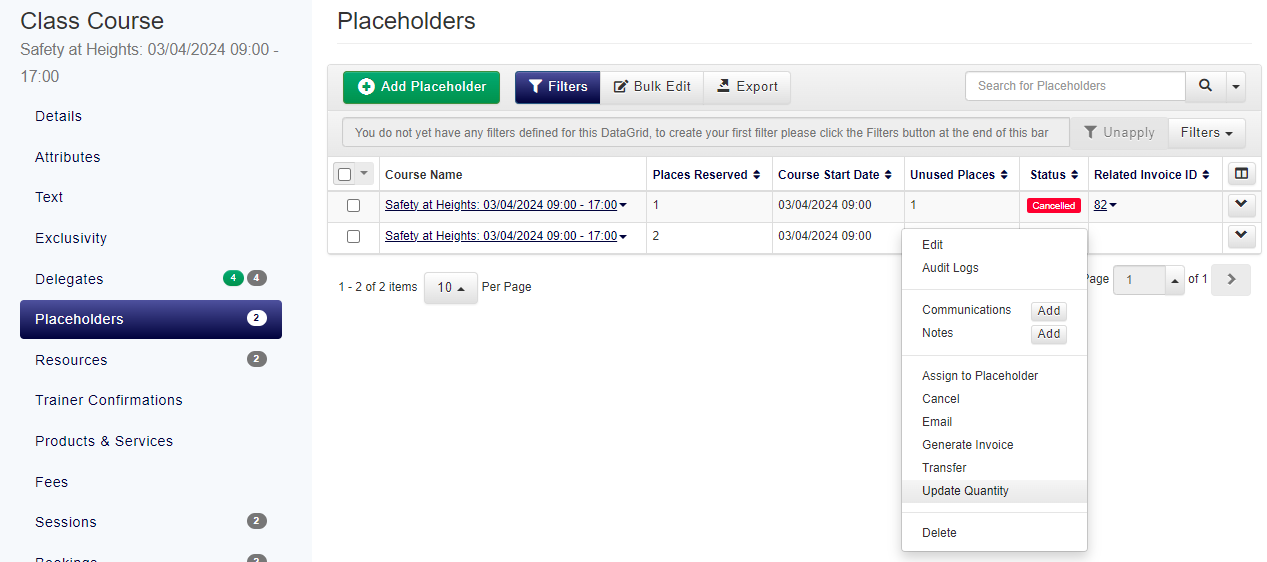
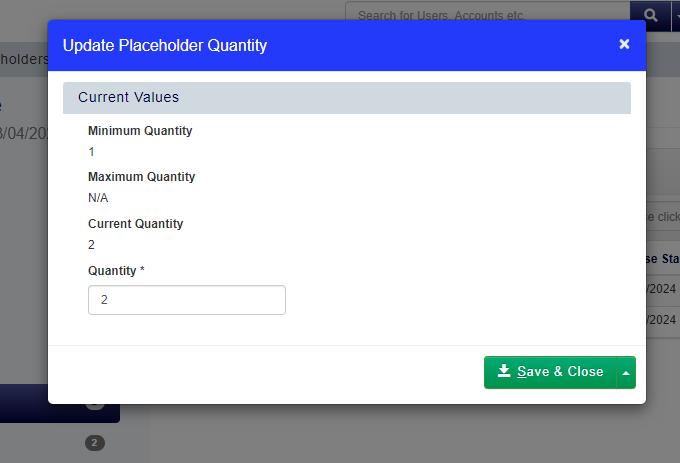
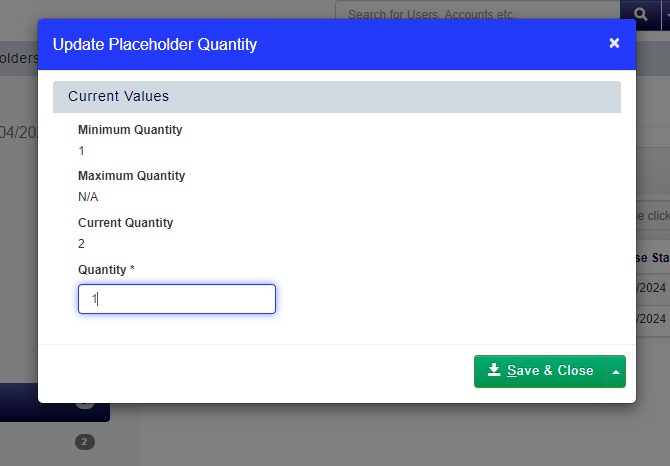
⬇️ Decrease the number of places held by the Placeholder
| Panel | ||||||||
|---|---|---|---|---|---|---|---|---|
| ||||||||
This step will run through how to update the Placeholder to reduce the number of places held |
Decrease the places held
Follow one of the below processes to decrease the quantity of places by a Placeholder:
| Expand | ||
|---|---|---|
| ||
|

| Expand | ||
|---|---|---|
| ||
|

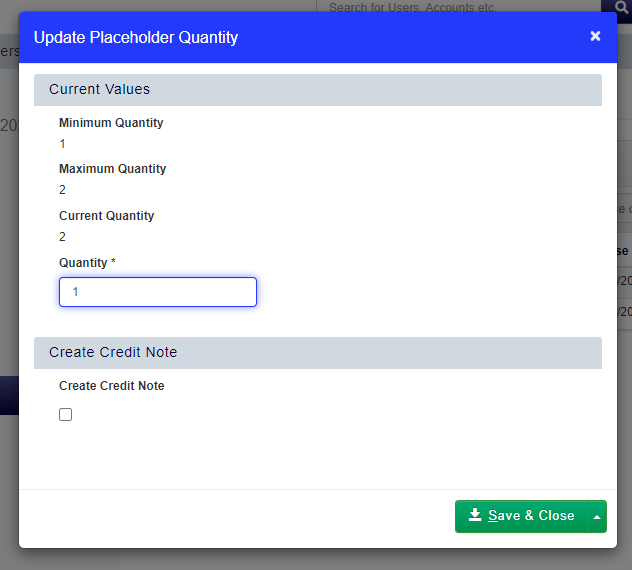
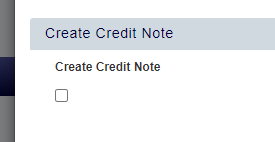
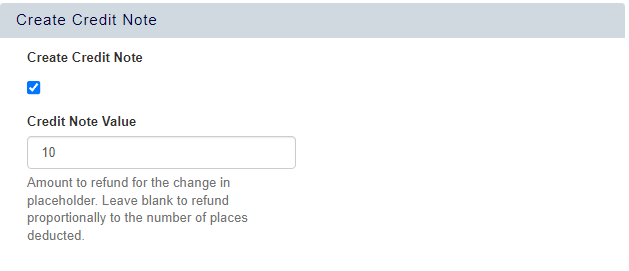

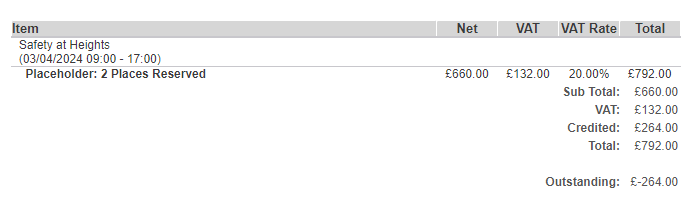
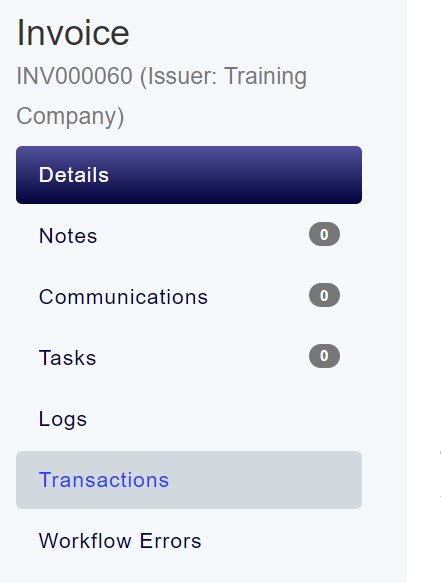
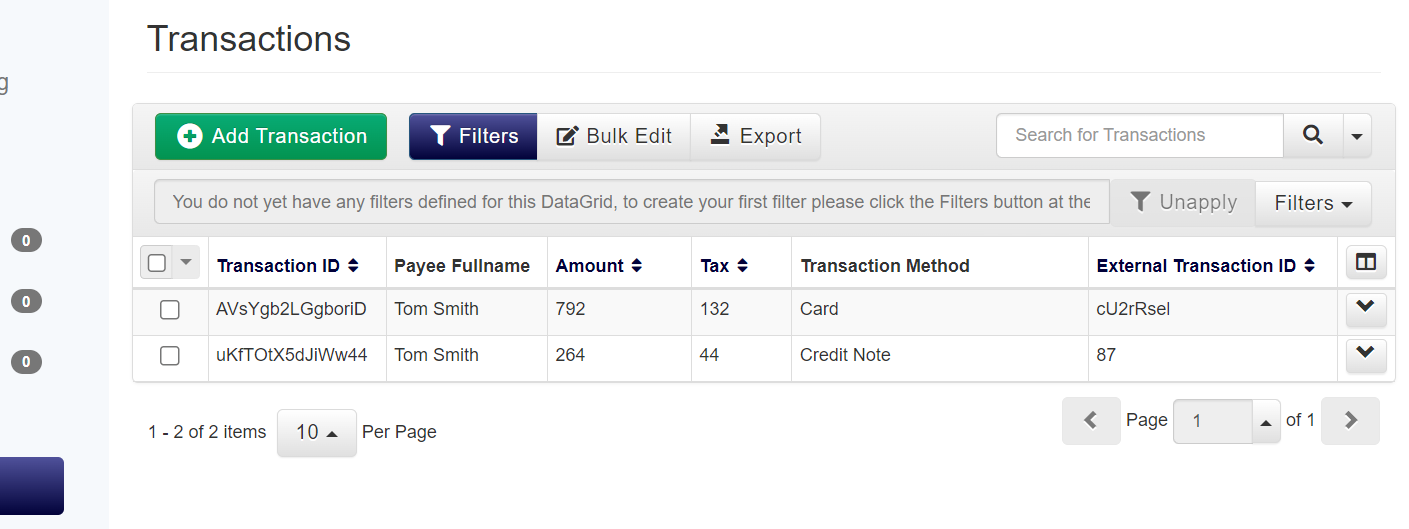
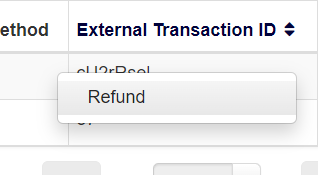
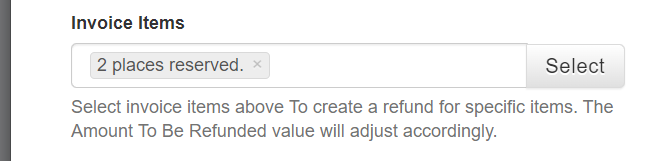
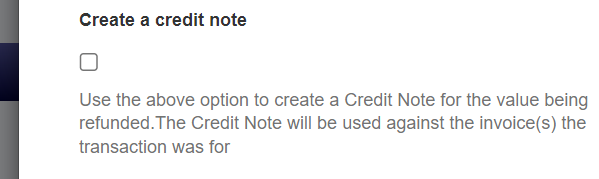
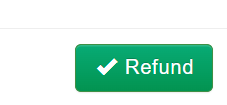
Issue refunds for any overpayments
This step is only applicable if the Placeholder was Invoiced and paid for, and a Credit Note was generated for the removed places. If this is the case, there will be an overpayment on the Invoice that needs to be refunded.
| Expand | ||
|---|---|---|
| ||
|