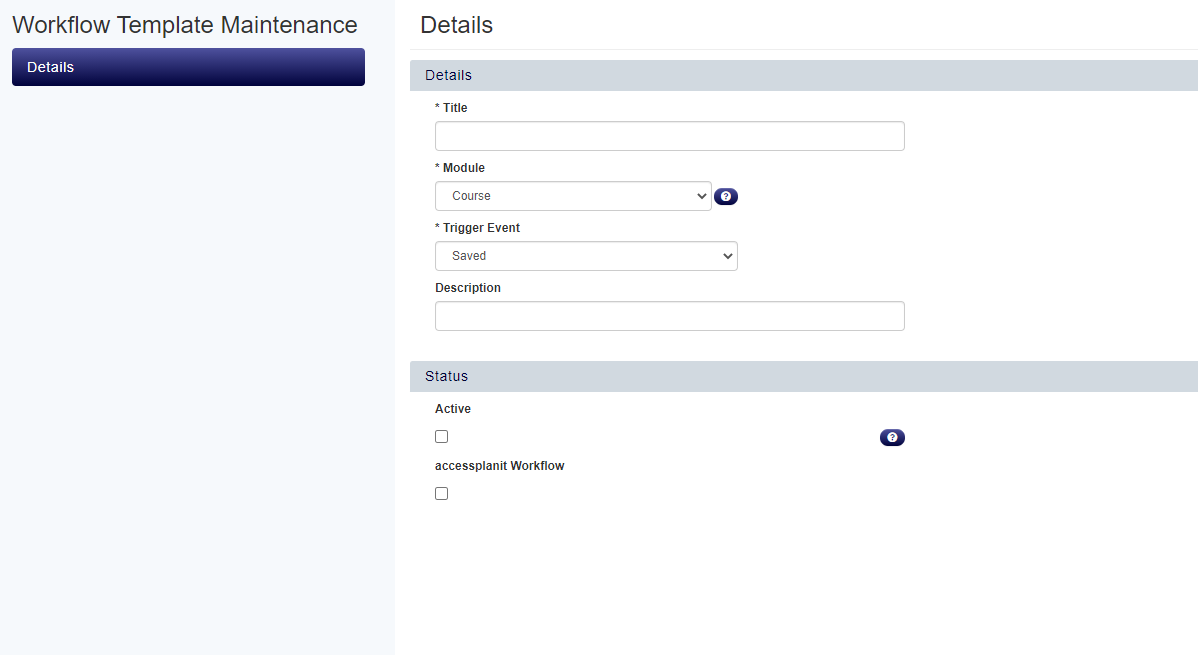
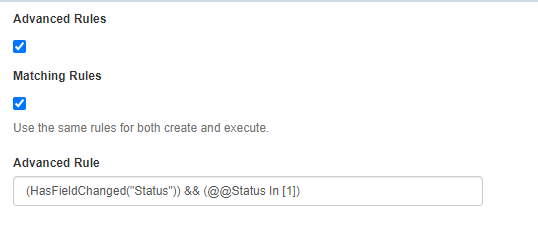
Navigate to the Settings tab within the Workflow. Ensure that the Matching Rules tick-box is ticked.
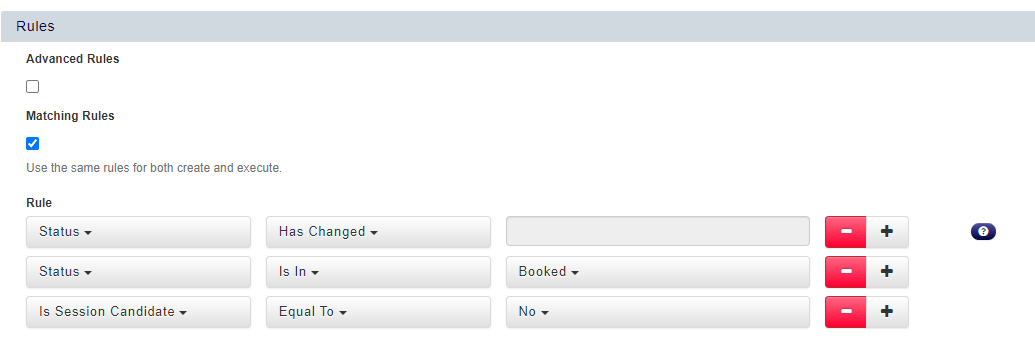
 Image Removed Image Removed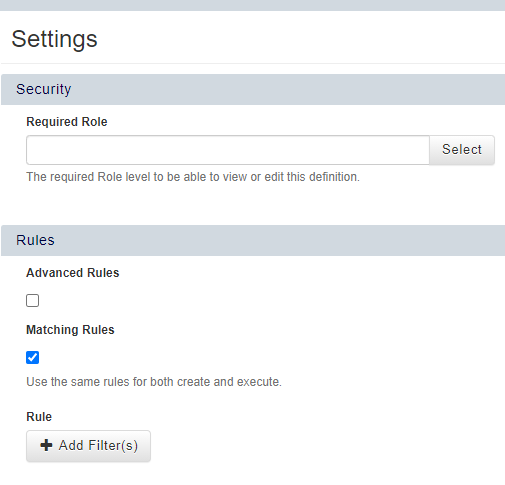 Image Added Image AddedTo add a rule to the Workflow, click the Add Filter(s) button. Use the drop downs to select the rules you wish to apply to the Workflow. To add additional rules, click the + button. To remove rules, click the - button.  Image Modified Image ModifiedClick Save to save your Workflow Settings.
* On Update Setting Guidance:This setting determines what Workflows do with unexecuted actions when settings are changed. When set to ‘Refresh Values’ a workflow will only trigger once per object (e.g. each course, each delegate, etc.). 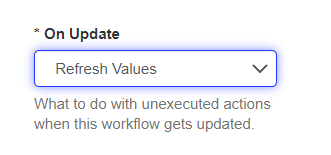 Image Removed Image RemovedThe 'Duplicate' option allows multiple emails to be sent whenever the trigger object is changed, e.g. the Venue field against a Course Date. 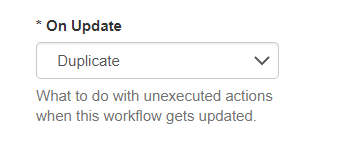 Image Removed Image Removed| Info |
|---|
Important: Image AddedDuplicate
Each time the object is updated, a new instance will be created for this Workflow to send.
If you don't include a 'Has Changed' rule when using the Duplicate option, an email could send every time anything related to that object
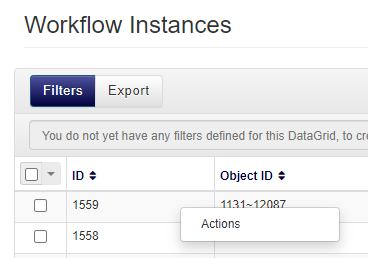
ID  Image Added Image Added |