Shopping Basket Options Overview
The Shopping Basket Options area within Administration allows you to customise the look and feel of your Shopping Basket to give your customers a seamless and informative booking experience. In this area, you can edit your Shopping Basket's appearance using the HTML editor, or otherwise by updating your header and footer, fonts, buttons, colours, and date format.
If you are having issues with the Shopping Basket, please visit this related Troubleshooting page.
To learn how to set up your Shopping Basket Options click here.
Where to find Shopping Basket Options
Click on the User Icon at the top right hand side of the system and select Administration:

Breadcrumb Background - defines the background colour of the full breadcrumb bar.
Breadcrumb Shadow - defines whether the breadcrumb bar will have a drop shadow.
Breadcrumb Font - defines the font that will be used in the breadcrumb bar:
Breadcrumb Font Size - defines the size of the font for the breadcrumbs bar.
Other Breadcrumb Text Colour - defines the colour of the breadcrumb stages that the user is not currently at.

Buttons
The Buttons area allows you to make changes to the Buttons in your Shopping Basket, such as the Cancel or Continue Shopping buttons:
Button Curve - defines the amount of curve applied to the buttons throughout the Shopping Basket Button Colour - these fields can be used to define the respective button's text, background, border, and hover colour.
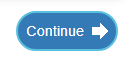
This area allows you to format how your content appear within your Shopping Basket, such as the background colour of your Shopping Basket, and the font of the text that displays within it. You can also define whether the border of the Shopping Basket and the Delegate Selector is curved.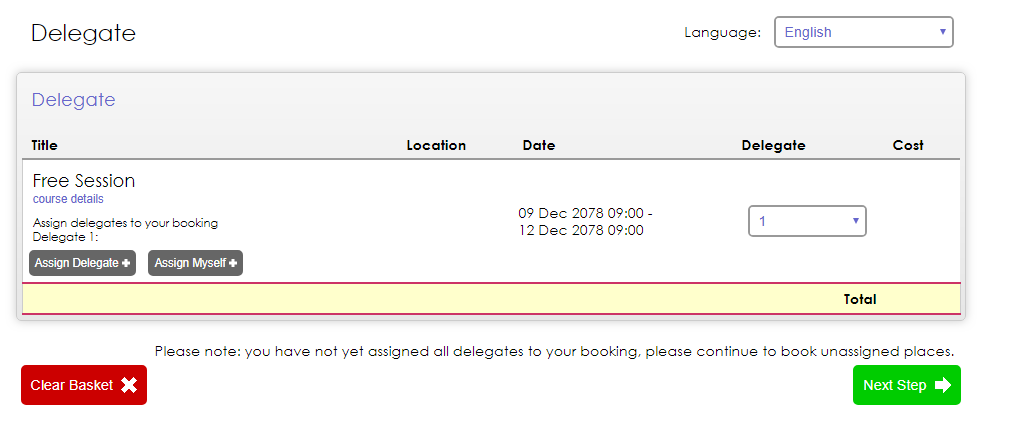

Here are a few top-tips for you to consider when branding your Checkout basket, to ensure the shopping basket experience is inclusive to as many users as possible.
Colour
Colour is one of the most important aspects of branding your basket to convey your brand, however colour is also an important factor in accessibility.
To cater for users with visual impairments, you should factor in the following to your decisions:
- Font Colour
A 4.5:1 contrast between the text colour and the background colour is required for of WCAG’s level AA - Hyperlink Link Colour
A 3:1 contrast between the link colour and the surrounding text colour is required for of WCAG’s level AA - Button Colour
A 3:1 contract between the button’s colour and the background colour is required for of WCAG’s level AA
A 4.5:1 contrast between the button’s text colour and the button’s colour is required for of WCAG’s level AA - Button Hover Colour
A 3:1 contrast between the button’s default colour and its colour when someone hovers over the button is required for of WCAG’s level AA
Use this website to check your selected colours for accessibility
Font Size
While there is no official minimum font size for accessibility, it is recommended that font should be 16px as a minimum.
Text
If you choose to add any additional text into your basket, such as within the header and footer, please consider the points above (colour and font size).
If you implement any links into these areas, it is best practice to underline these links. This is to support users with colour blindness who may not be able to distinguish the links from the text by colour alone.
Images
If you choose to add any additional images into your basket, such as within the header and footer, please consider providing alternative text within the HTML. This is to support users who access your basket using a screen reader, such as users with no vision.
To do this, open the Code View from the editor
Then find the image within the HTML, and add the alternate text after the img src link HTML using the format alt=“Type your image’s alternate text here”, please see the below example:
Terms and Conditions
Within this field, you can enter your company's Terms and Conditions for purchases.
Privacy Policy
Here, you can enter your company's Privacy policy.
Provisional Bookings Only
Ticking this box will mean that Delegate bookings should be processed as Provisional, instead of being added directly to the course with a status of Booked.
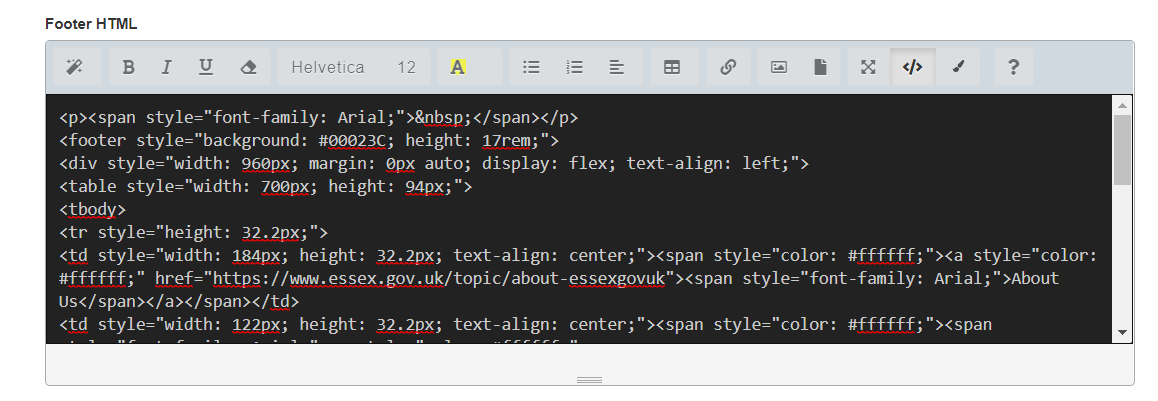
Header and Footer HTML
You can use these two fields to edit the HTML of your Header and Footer.
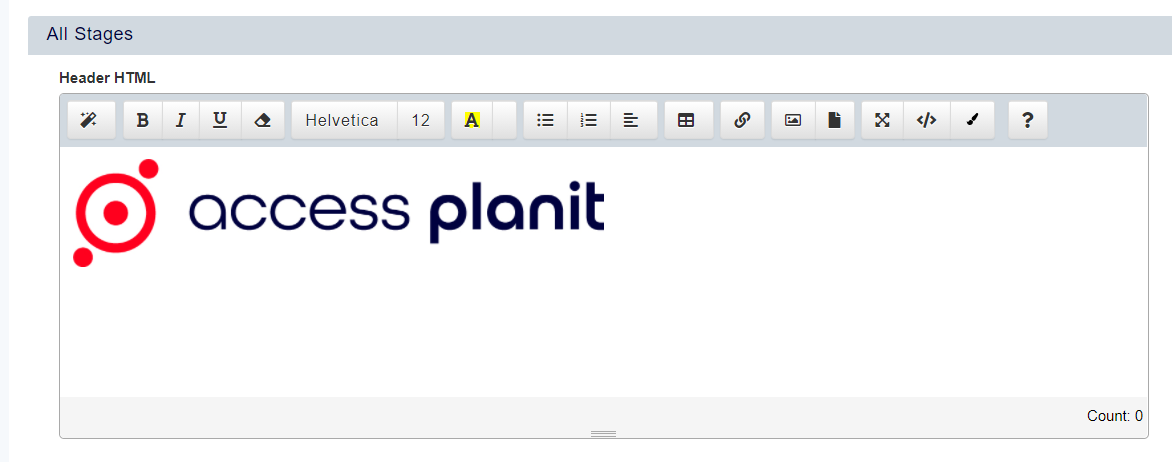

If you are confident using HTML, it is possible to insert HTML into these two fields by clicking the Code View button.
We recommend that you keep your Shopping Basket open in another window so that you can refresh it to see your changes as you make them. To access your Shopping Basket directly, use the below URL and update the 'platformname' to the name of your system.
Delegate Stages
Here, you can rename the Delegate stage of your Shopping Basket.
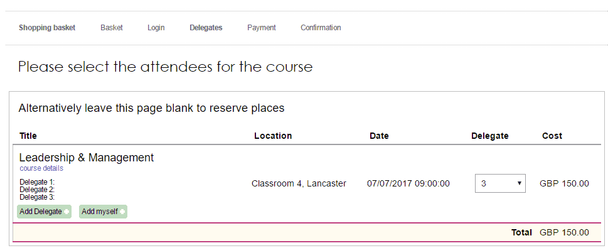
Your text will then appear on the Delegates Stage of the Shopping Basket, replacing the word 'Delegate'. For example, when changes are applied the standard page, the heading 'Delegate' would become 'Please select the attendees for the course'.
Complete Stages
Within this area, you can edit the text for the completion stage of your Shopping Basket.
The text you enter in this field will replace the standard text found within this area of the Shopping Basket.
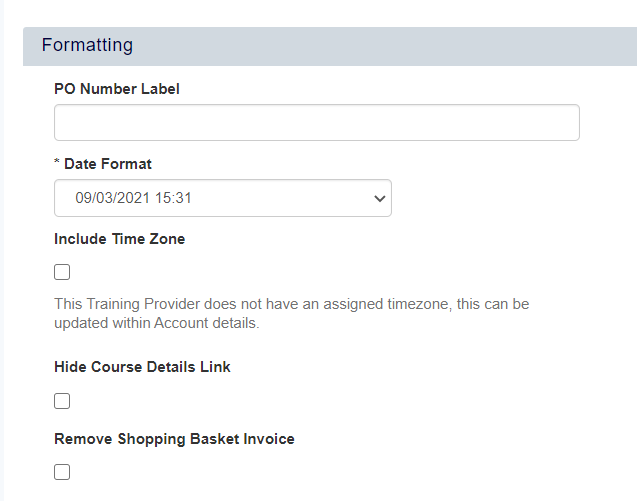
PO Number Label
In this field, you can change the text that displays for PO Numbers.

Date Format
Here, you can customise how your date displays for courses within your Shopping Basket.
Ticking the box Include Time Zone allows you to display the timezone of your course dates.