Text Templates Overview
Text Templates form the basis of many of your platform's communications, They can be used within Workflows to create automated emails, and can also be used to create Email Templates.
To learn how to use Text Templates, click here.
For a video tutorial on Text Templates (and Email Templates) click this link.
Where to find Text Templates
Click on the User Icon at the top right hand side of the platform and select Administration: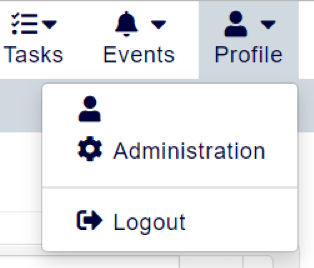
Within this page, click the menu option Text Templates: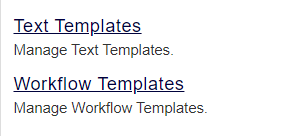
What are Text Templates?
Text Templates on their own simply hold text. However, they can be used throughout the accessplanit to save you the time of typing out your communications.
Text Templates are used to define Email Subjects, Email Bodies, and Email Signatures.
A popular format for Text Templates is 'Recipient Type - Name of Communication - Text Template Type', so for example 'Delegate & Manager - Booking Confirmation - Subject', or 'Administrators - Course Date Statistics- Body', or 'Invoice Communications - Signature'.
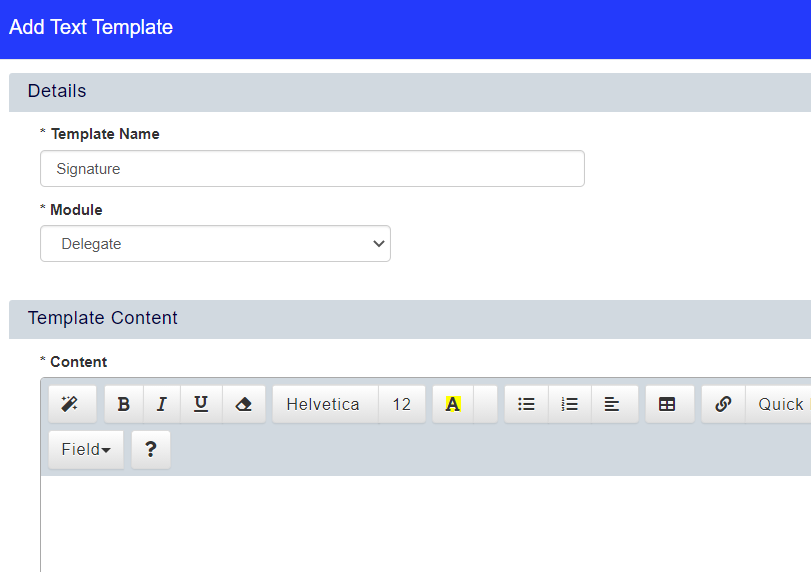
Content
In this field, enter the content you wish the Text Template to display.
Where are Text Templates used?
You can use to text templates to define the standard content for Delegate communications, Invoice communications, log in credential communications, Task reminder emails, Trainer communications and more.
There are two key uses for Text Templates
Workflows
Workflows are your automatic communications which will send out emails from your platform when their specific rules are met. They can be used for all sorts of purposes, from sending out booking confirmations, to cancellation notices.
When you are building your automatic workflow actions, you are able to select from your list of Text Templates to form the content of your email. This is optional for your action's Subject and Body, as you can instead opt to type these directly into the Workflow. However, if you want to include a signature in your email, you'll need to use a Text Template.
For more information about Workflows, click here.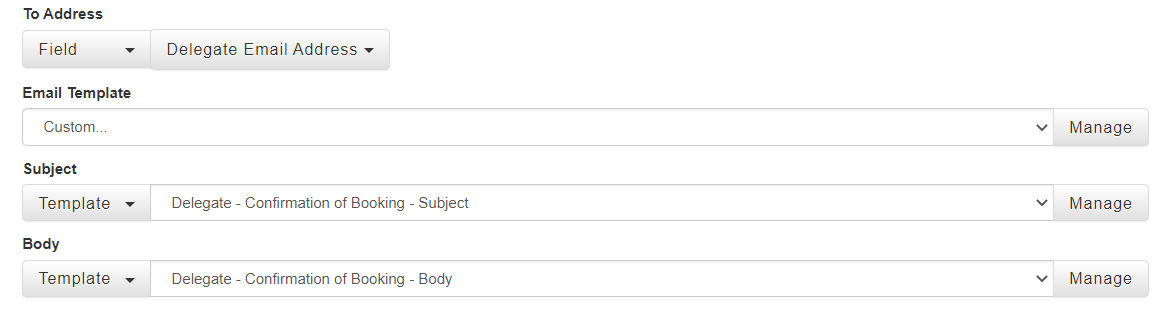
Email Templates
Email Templates can be used throughout the platform to send emails. They can be sent out from many of your platform's DataGrids such as Users, Tasks, Invoices, and Resources.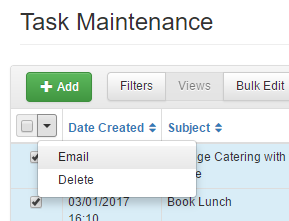
Each Email Template in the platform needs a Subject and a Body. Text Templates can be used to make up these elements of an Email Template.
For more information on Email Templates, click here.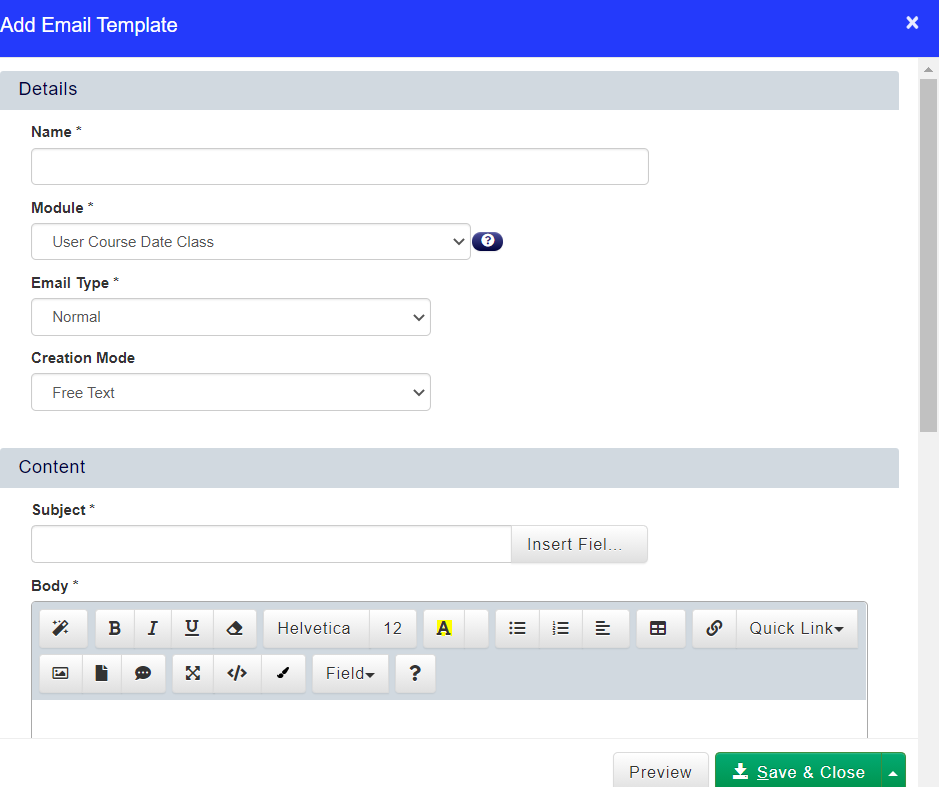

Style
The Style wizard allows you to apply set styles to your email's content, including using pre-defined headings.
Font Styles
Here, you can Bold, Italicise, and Underline your text. You can also remove any Font styling.
Font
Within this area, you can choose from a range of Fonts and Font sizes
Highlighter/Colour Tool
The Highlighter and Colour tool allows you to highlight areas of your text, or change the colour of your Font.
List Options
The List Options allow you to create numbered and bullet-pointed lists, as well as indent or outdent your text.
Tables
The Table tool allows you to insert Tables into your Email Template.
Link/Quick Link
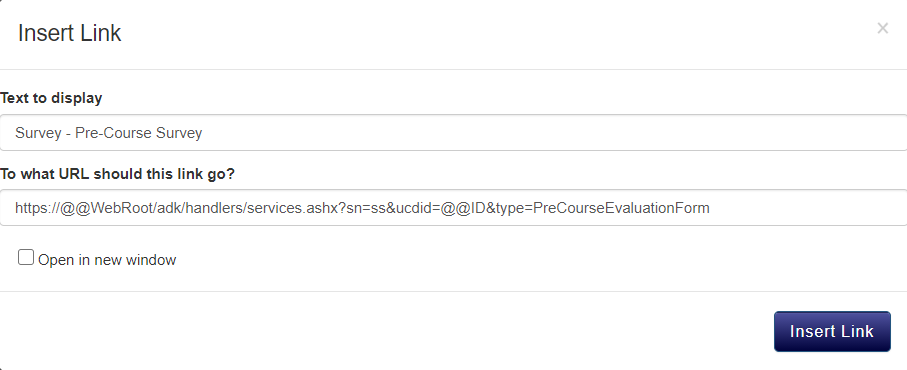
The Link allows you to insert Links to websites within your Email Template. Quick Links allows you to attach links to documents stored within a Course's Course Template, such as Certificates, Course Surveys, and Evaluations.
Image/File Link/Set content to a Text Template
The Image button allows you to insert an image stored within your platform. The File Link button lets you add a link to a fil stored within your FIle Store. By clicking Set content to a Text Template, you can import the text stored within a Text Template into the Body of your Text Template.
Full Screen/Code View/ Cleaner
Full Screen mode lets you view the Email Template in full screen. By clicking on Code View, you will reveal the HTML of your Email Template, so that you can add custom HTML formatting if you wish. The Cleaner tool will remove any HTML formatting within your Email Template.
Field
The Field drop-down will allow you to access all of the Merge Fields available for that Email Template's module. Merge Fields allow you to pull through information from areas of your platform and insert them into your Email Template. This means that you can have one Email Template for many Courses, Users, and Awards, as information that is specific to one recipient (eg their name or Account) can be pulled through as a Merge Field.
Text Template Top Tips
Top Tip #1 - Creating an Email Link
It is possible to add hyperlinks into the content of your text template, but using the same functionality you can also create links that open a new email with a pre-defined recipient. This is very popular with text such as 'If you have any questions please contact us on admin@trainingprovider.org'.
To turn the email address in your text into an email link, highlight it and open the Link button (or press Ctrl + K), enter the email address into the 'To what URL should this link go?' section, and prefix it with mailto:
Top Tip #2 - Formatting Your Dates
You can define the format of date and time fields within your communications. tTe standard format is dd/MM/yyyy hh:mm:ss., however with a little bit of extra text at the end of your Merge Field, you can change this to suit your needs.
Add the Merge Field in as you would normally, then suffix it with your required format within curly brackets, for example:
- @@StartDate{dd/MM/yyyy}
- @@StartTime{hh:mm}
- @@CourseDateStartDate{dd MMM yyyy}
- @@CourseDateStartDate{ddd dd MMM yyyy}
Here is a quick table to explain the formatting options available
d | Displays the day as a number without a leading zero i.e. 9 |
dd | Displays the day as a number with a leading zero i.e. 09 |
ddd | Displays the abbreviation of the day i.e. Tues |
dddd | Displays the full name of the day i.e. Tuesday |
M | Displays the month as a number without a leading zero i.e. 4 |
MM | Displays the month as a number with a leading zero i.e. 04 |
MMM | Displays the abbreviation of the month i.e. Jan |
MMMM | Displays the full name of the month i.e. January |
yy | Displays the year as a two-digit number i.e. 18 |
yyyy | Displays the year as a four-digit number i.e. 2018 |
h | Displays the hour without a leading zero i.e. 8 |
hh | Displays the hour with a leading zero i.e 08 |
m | Displays the minute without a leading zero i.e. 5 |
mm | Displays the minute with a leading zero i.e. 05 |
s | Displays the second without a leading zero i.e. 7 |
ss | Displays the second with a leading zero i.e. 07 |
Please remember to use capital 'M' for month values, otherwise accessplanit will output the minute values.