How To: Checkout
How to use Checkout
The Checkout is the area in which users mostly travel through in order to make a booking.
Searching through courses and using the option 'Add to Basket' places courses into the Checkout, from here the courses have the Delegates added and are purchased
How to add Delegates to a course through the Checkout
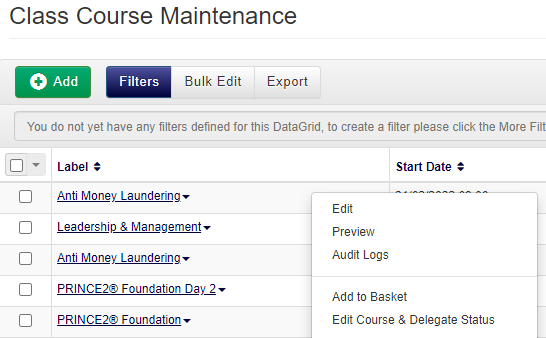
- Navigate to the relevant Courses DataGrid.
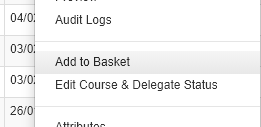
- Right click the course you wish to add Delegates to, and select Add to Basket from the context menu.
- Next navigate to the Checkout, on the right hand side you will see the Delegates text box, here is where you will assign your Delegates to the Course.
- Complete the booking and the Delegates have now been added to the Course. These can be viewed on the Delegates tab within the course details.
How to add Placeholders to a course through the Checkout
- Navigate to the Courses-Class or Courses-Web DataGrid.
- Right click the course, and select Add to Basket from the context menu.
- Next navigate to the Checkout, on the right hand side you will see the Delegates text box, do not assign any Delegates at this stage. Instead, progress through the rest of Checkout.
- Complete the booking and the Placeholder places will now be reserved. These can be viewed on the Placeholders tab within the course details.
How to use the Checkout
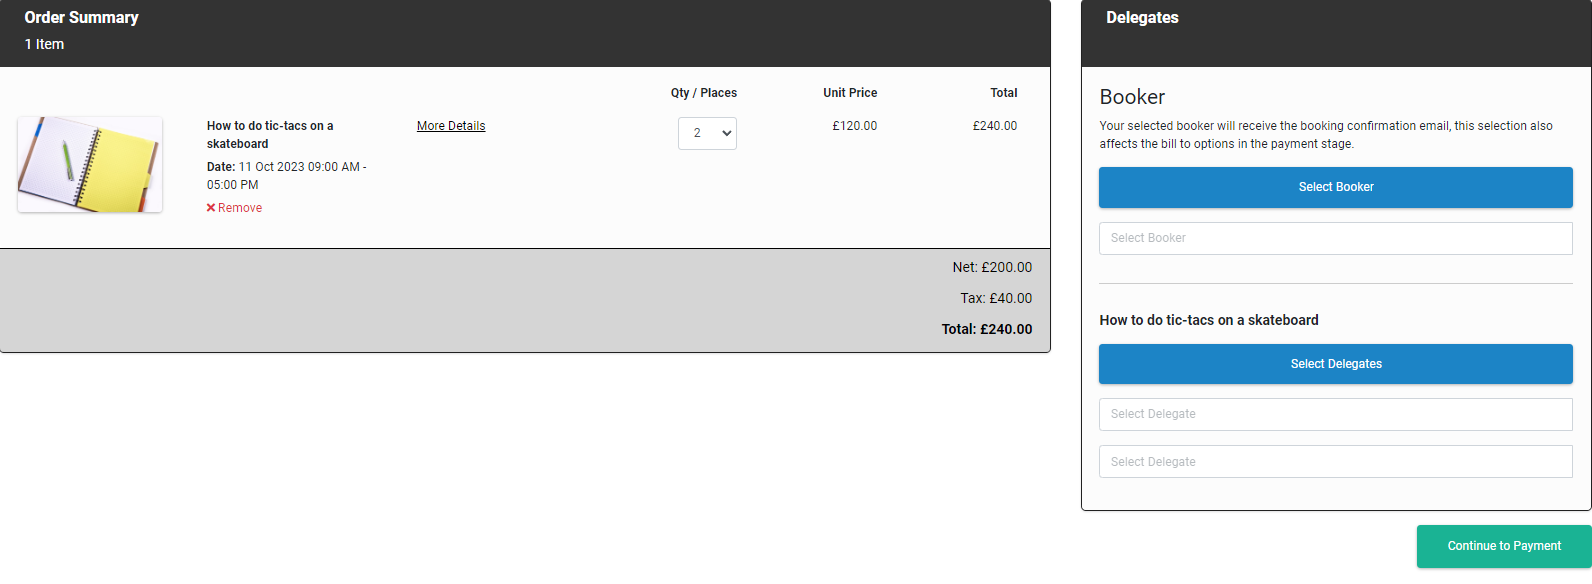
Once you have added a course or many courses to your Checkout using the method above, and you click the link to visit the Checkout, you will see the standard view shown below:
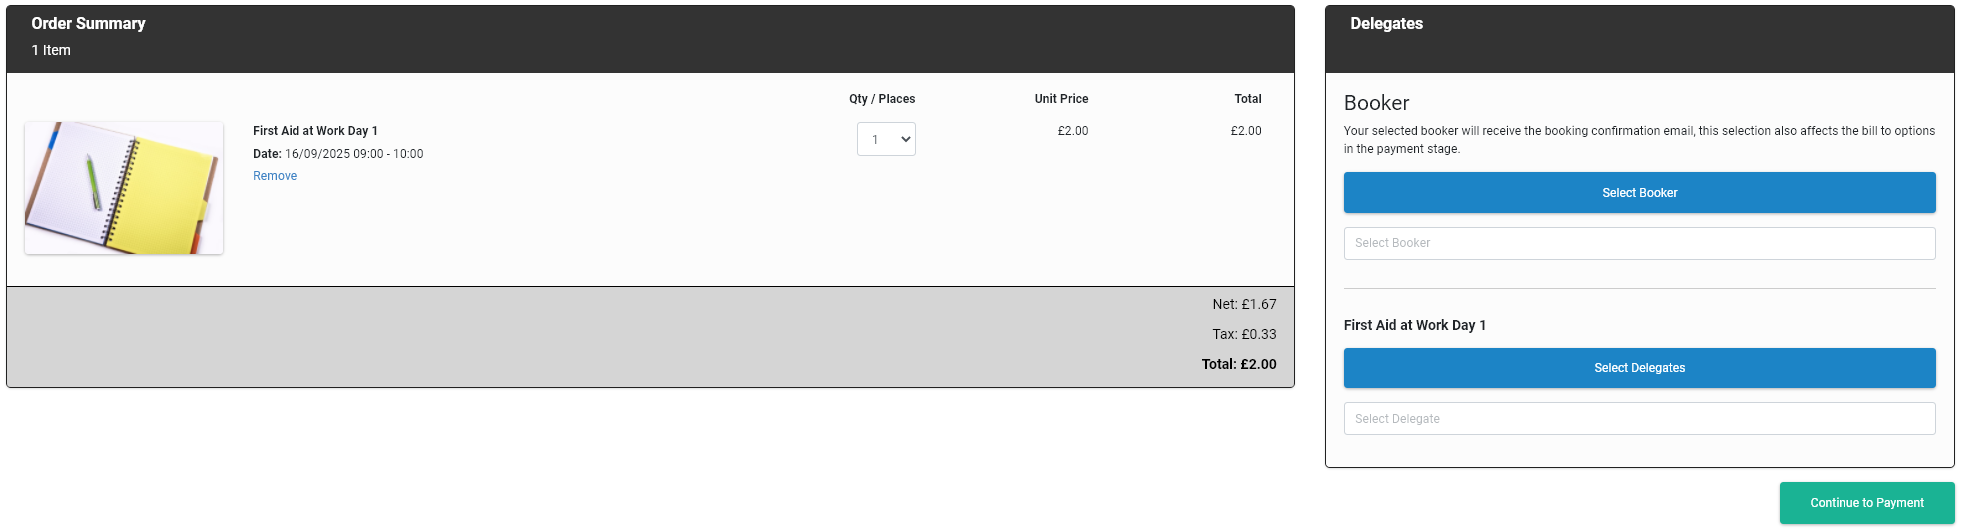
The Checkout page is split into two main areas, the Order Summary, this is the left hand side of Checkout and displays the courses that are in the Checkout basket, this area displays the quantity and number of places being bought, it also displays the price of the contents and can display an image for the course if one is added in the Course Template. 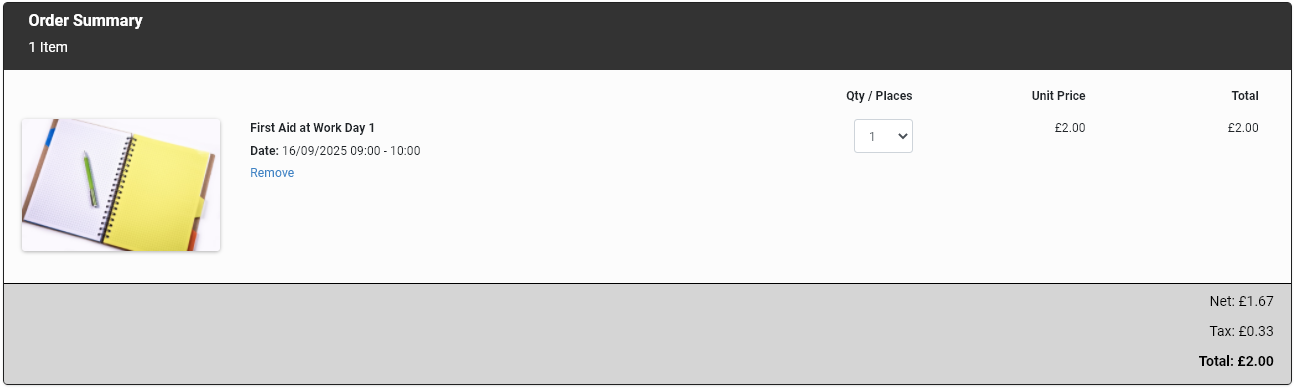
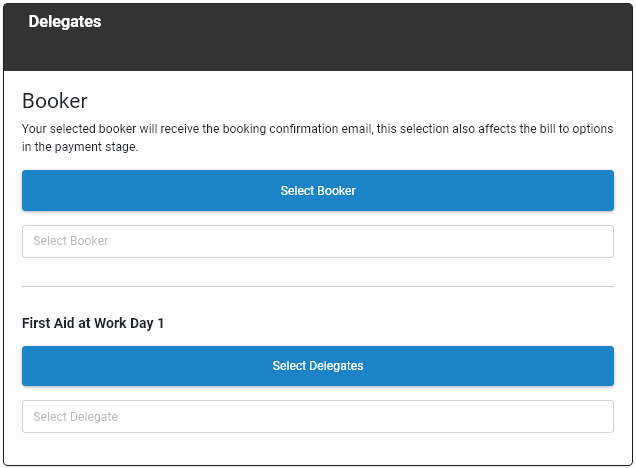
Secondly, there is the Delegates area on the right hand side of the screen. This area is where the Booker and Delegates are selected for the course(s) that are displaying in the Order summary are selected.
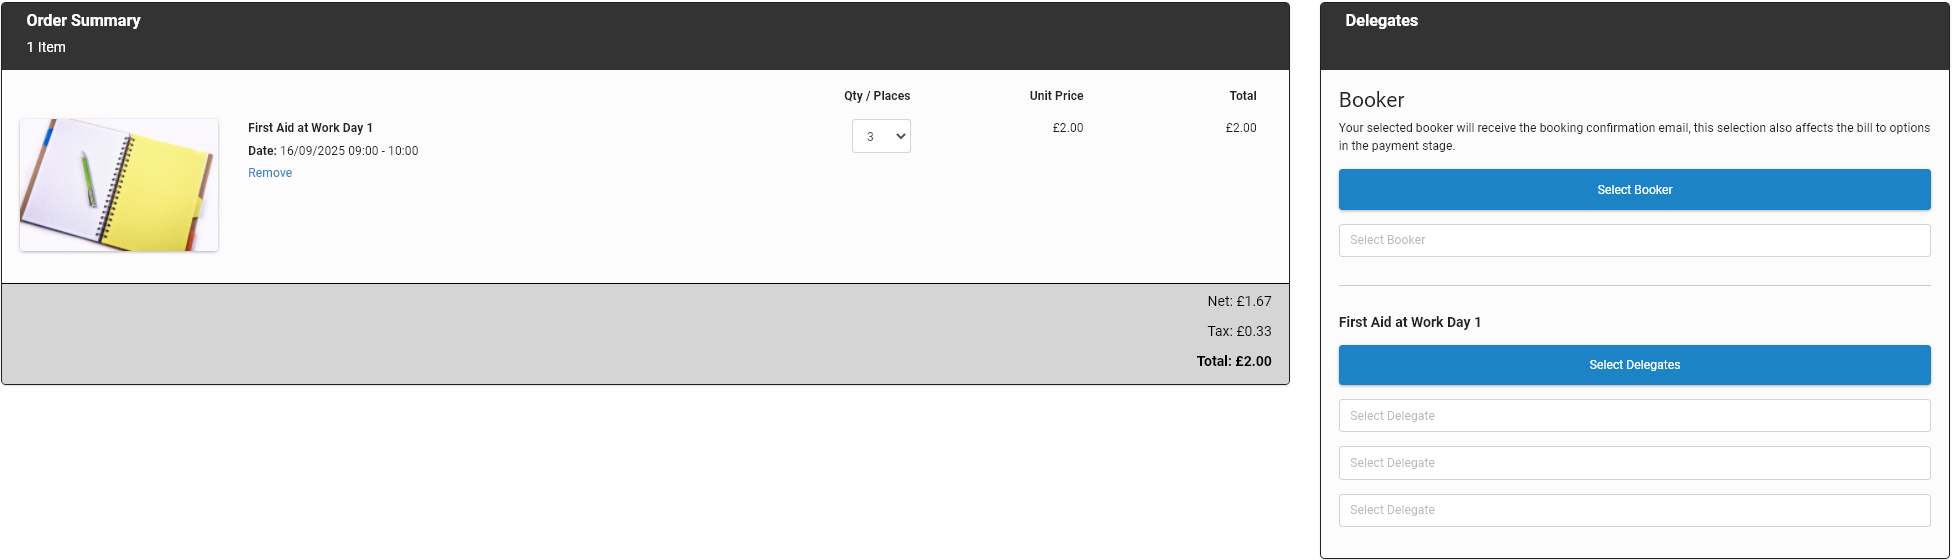
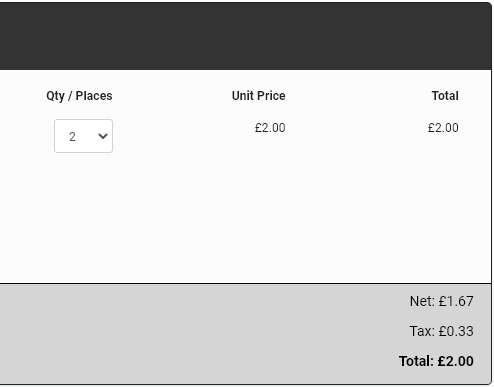
Below is an example of the Checkout when the quantity/places have been increased to 3, the Delegates area will adjust to match the amount of places that have been set within the order summary area, there will always be one Booker, but the delegates can be adjusted all the way up to the maximum places remaining on the course.
If the quantity is set to one space, clicking Select Delegates allows you to select an amount that is higher than one, if more than one is selected, the quantity will increase to match your selection. 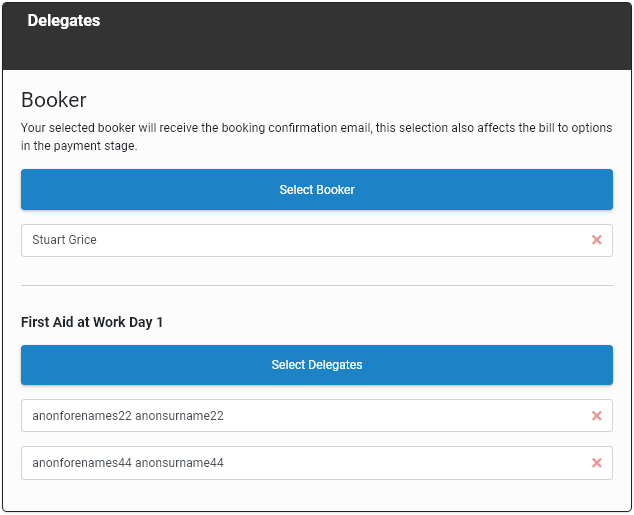
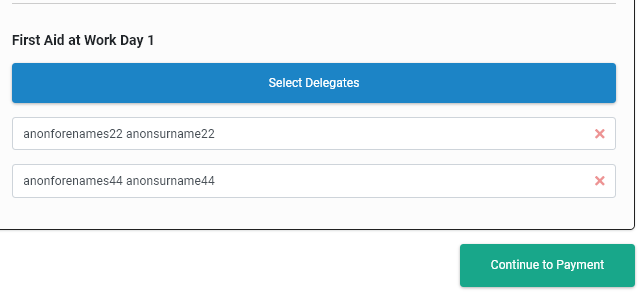
In the image below, the spaces have automatically increased based on two delegates being selected on the Select Delegates screen.
Lastly, there is also a breadcrumb trail at the top right of the Checkout to show you where you are in relation to the checkout process, this will progress to the right with each step of the Checkout.

https://testingmaster.accessplanit.com/accessplan/ADK/Frameworks/Galaxy/Default.aspx
Once the booker and Delegates are selected, the next step is to proceed to the payment section by clicking the Continue to Payment button.
Selecting this option replaces the Booker and Delegate area with the payment details
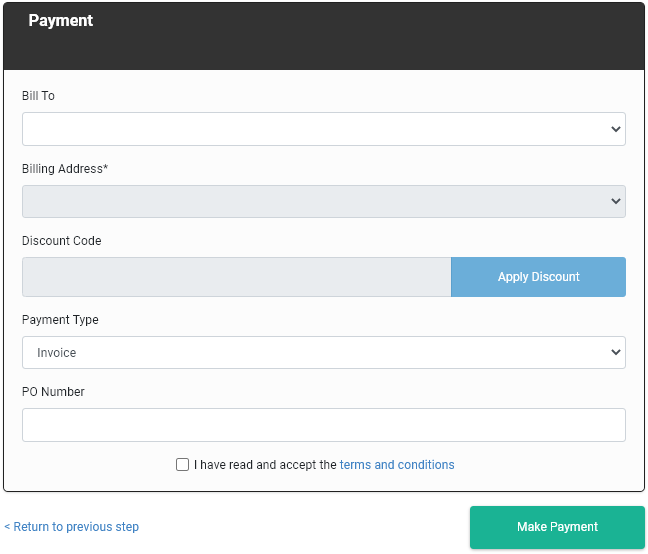
The sections that need to be filled in on this section are as follows:
- Bill To - this is the billing name, it can be an organisation's name, or a specific individual. depending on who is making the booking and their roles, this list will be restricted so that only users that are available to the booker can be seen and selected.
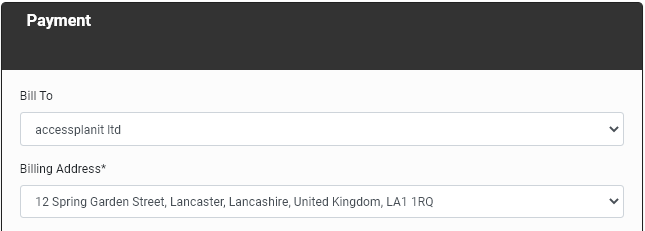
- Billing Address - the billing address can be selected from a drop down list to be that of an individuals address, or the address of a company account.
There is also the option to add a new address at the bottom of the drop down if the desired billing address is not yet available.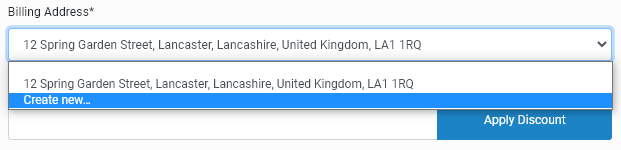
This option is always at the bottom of any available addresses, selecting it will show the following form: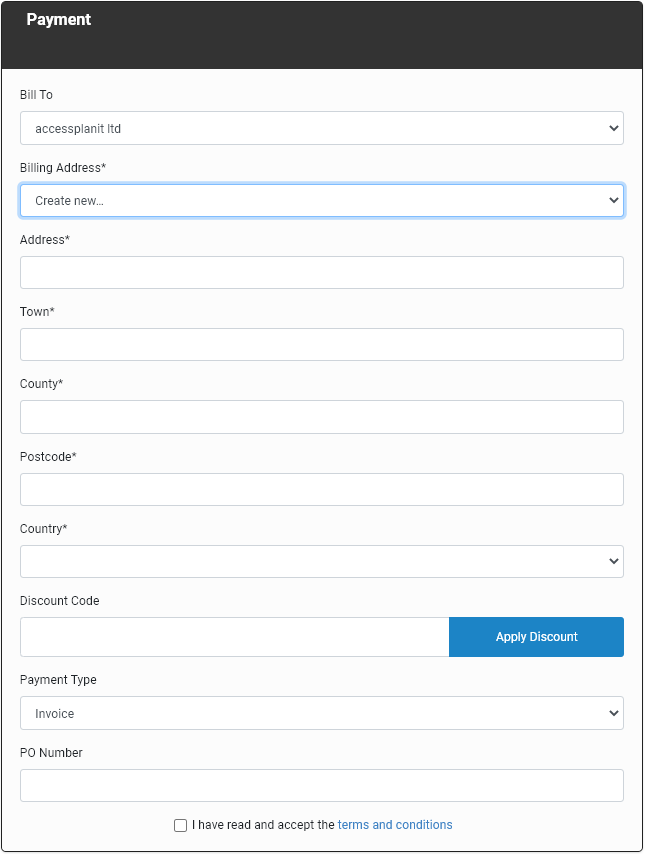
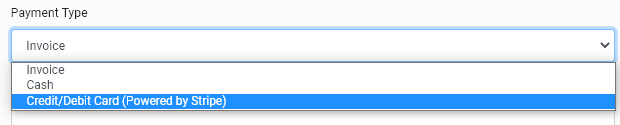
- Payment Type - Payment types are enabled in account finance options, any enabled payment types on your platform will show here within the Payment Type drop down menu, providing that no Payment Exclusivity is set, Click here for full details on payment methods
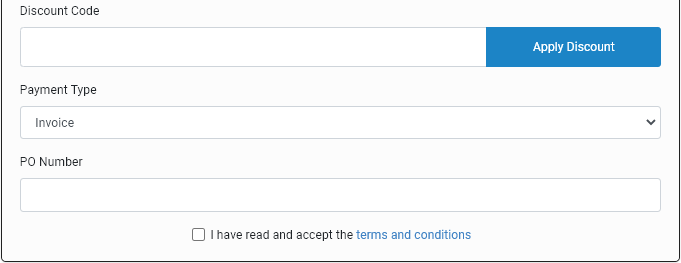
There are two optional fields in this section too:
- Discount Code - Entering a valid discount code and clicking Apply Discount will assign the discount to the order
- PO Number - The PO Number is a free text field for purchase order numbers, this is an optional field currently that can be filled in with a reference number that would live along side the invoice once the order is completed and fully checked out