How To: Create a SendGrid account
If your accessplanit platform was implemented after 1st January 2020, you will also need to create a SendGrid account in order to send eCampaigns from your accessplanit.
How to set up SendGrid Domain Authentication for use with accessplanit
Setting up Domain Authentication is crucial for allowing SendGrid to send emails on your behalf. Authenticating your domain helps to minimise your accessplanit ecampaigns from landing in your customer's junk.
- Go to the URL https://sendgrid.com/
- Create a new SendGrid account if you don't already have one.
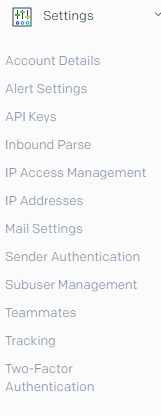
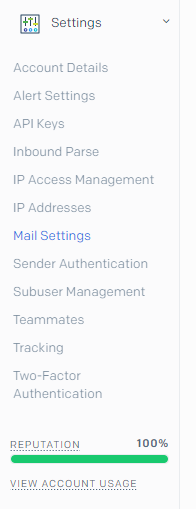
- On SendGrid, navigate to Settings and select Sender Authentication:
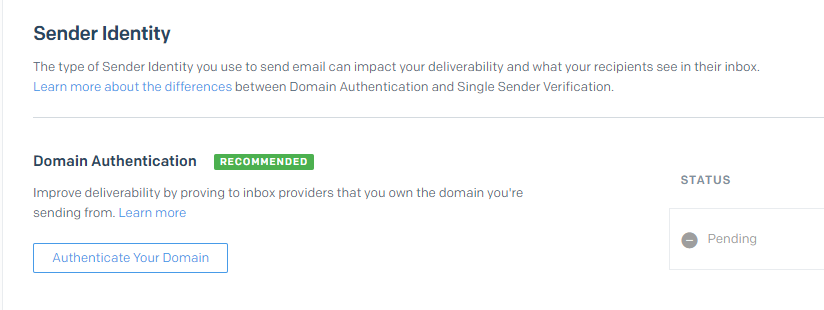
- Under Domain Authentication, select Authenticate Your Domain:
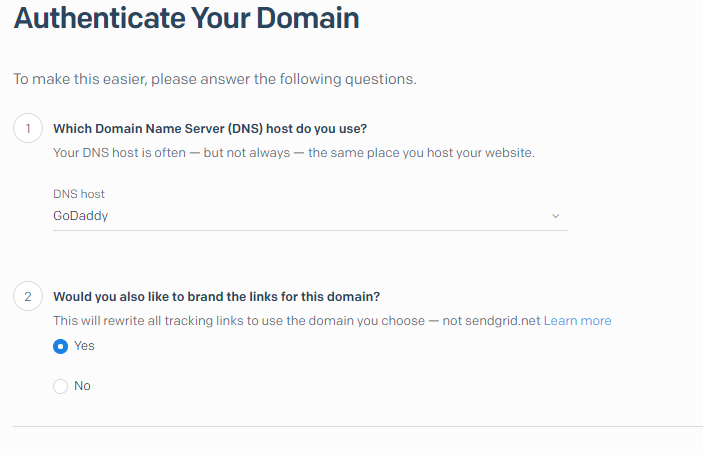
- Select your DNS host from the drop down and select Yes in the rebranding links box. You need to make sure that your DNS host is for the address that you are sending out your emails from in accessplanit (eg. @mytrainingcompany.com). If you aren't sure what address your accessplanit platform is sending out from, contact the Customer Support Team or your Implementation Manager. Click Next once you have done this.
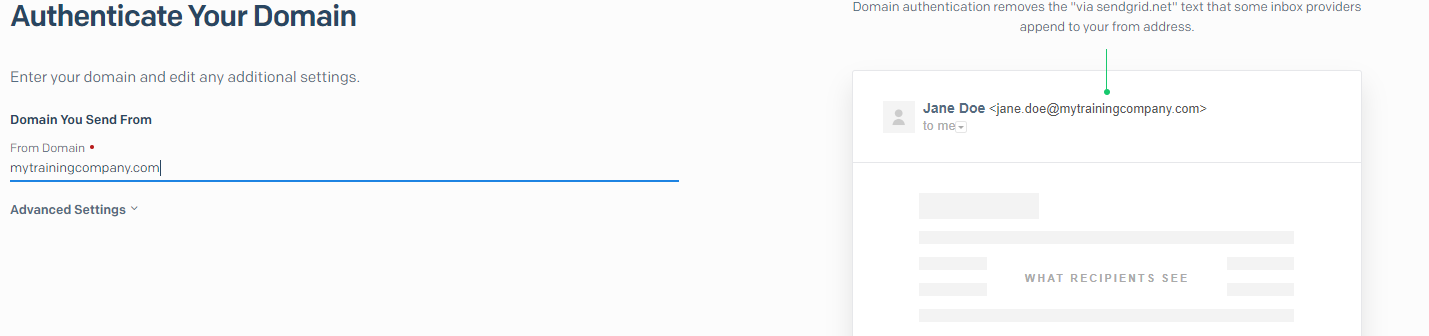
- Add your Domain to the Domain box. This should be the same as the domain that your accessplanit is configured to send emails out from. Click Next once you have inputted this:
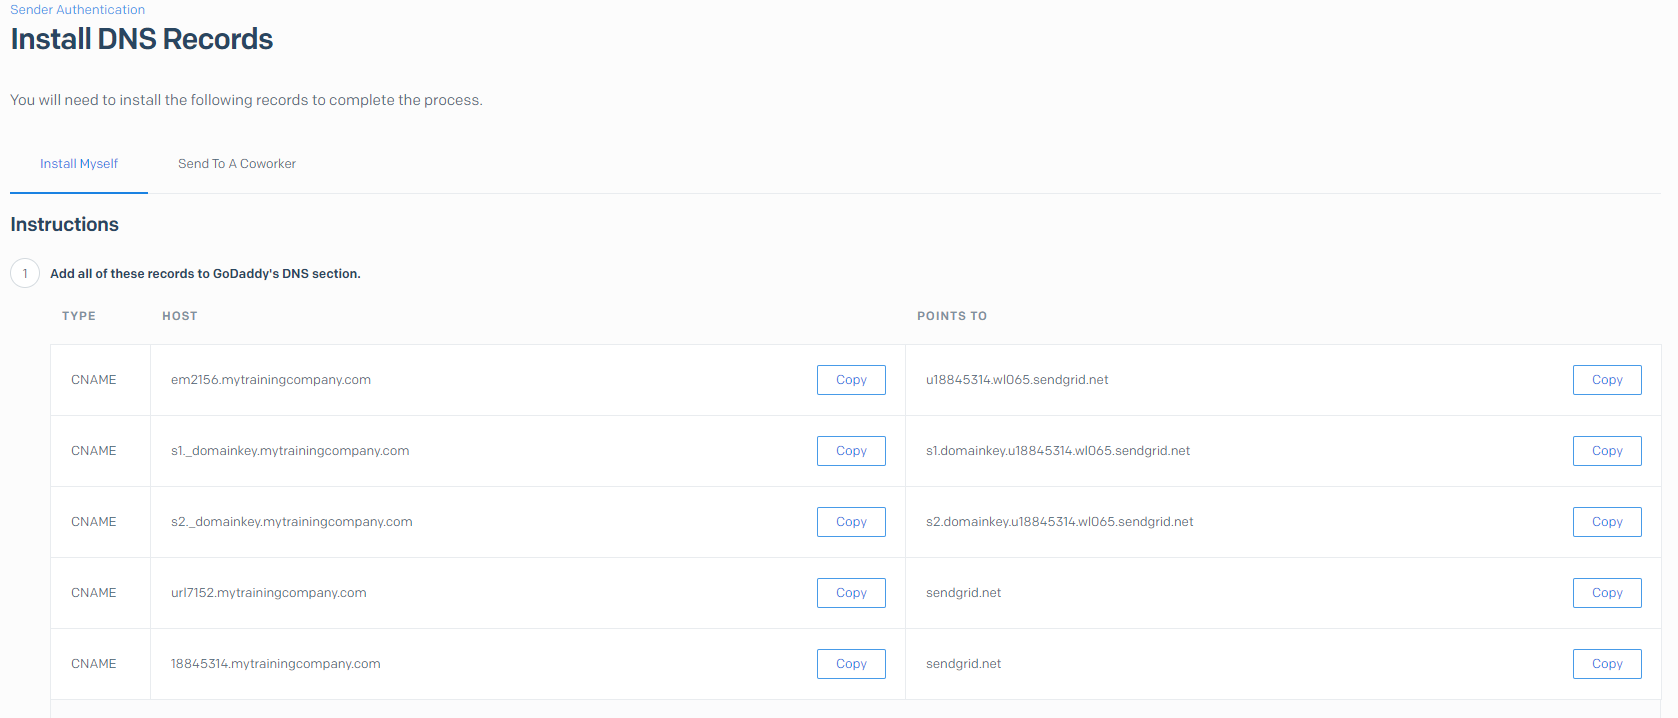
- You will then have several CNAME type records generated. These will need to be inserted into your DNS host. You can do this yourself, or use the Send to a Coworker function to email this to a member of your IT team to ask them to create the records and enter the values for you:
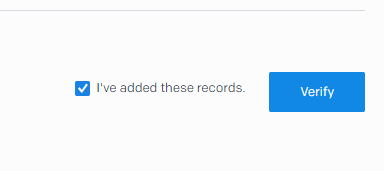
- Once you or your IT team have entered these details into your DNS host, tick the I've added these records box, and click Verify to authenticate your domain:
How to generate SendGrid API keys for use with accessplanit:
To integrate your SendGrid with accessplanit, we need you to provide us with an API key generated within your SendGrid account.
- Go to the URL https://sendgrid.com/
- Create a new SendGrid account if you don't already have one.
- On SendGrid, navigate to Settings and select API Keys:
- Click Create API Key:
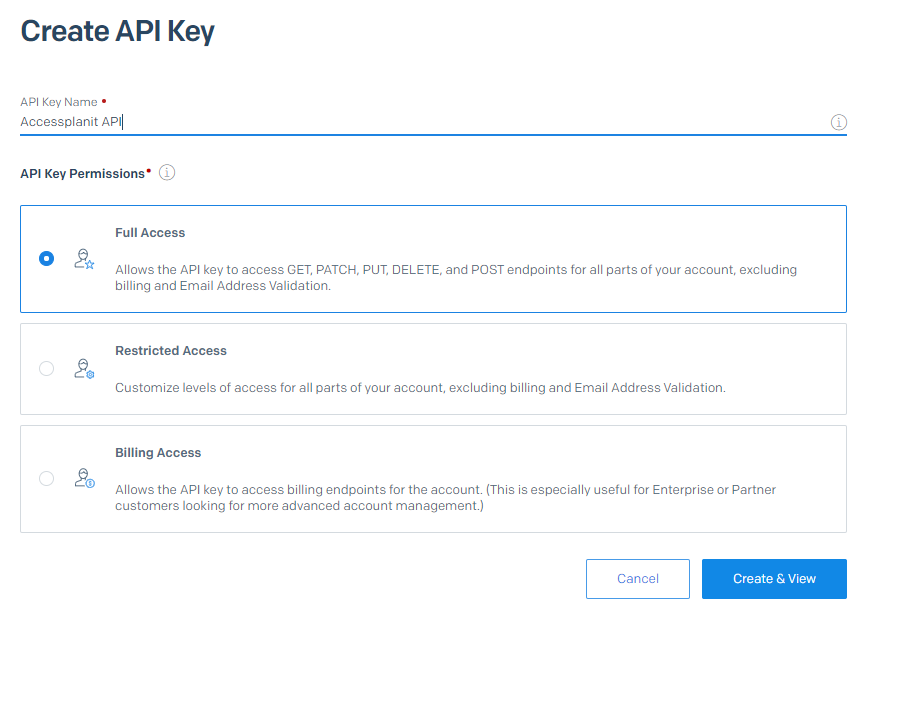
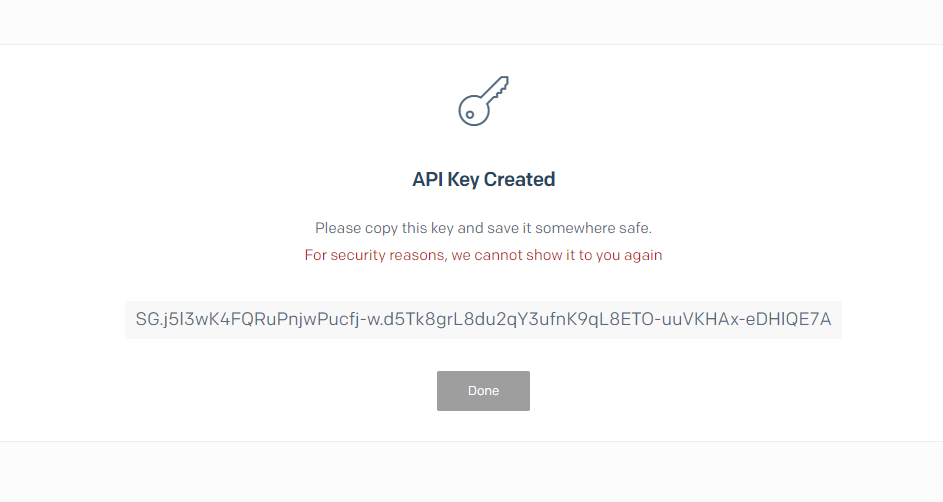
- Give your API key a name, and make sure that Full Access is ticked. Then, click Create & View:
- Copy the code that appears on the page. This is your password for your API key. Send it over to your Implementation Manager or TSE for them to enter into accessplanit. Then, click Done:
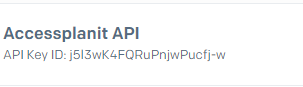
- Copy and paste your API Key ID and send it to your Implementation Manager or TSE. This is the password for the API key:
How to create an Event Webhook for SendGrid:
An Event Webhook allows accessplanit to track various statistics regarding your SendGrid ecampaigns, such as your bounce rate and open rate.
- To create an Event Webhook, go to SendGrid's Settings and click Mail Settings:
- Click the pencil icon next to Event Webhook to edit it:

- Select an Authorization method of None:

- Enter https://webservices.accessplanit.com/mail/sendgridevent.ashx as your HTTP Post URL:

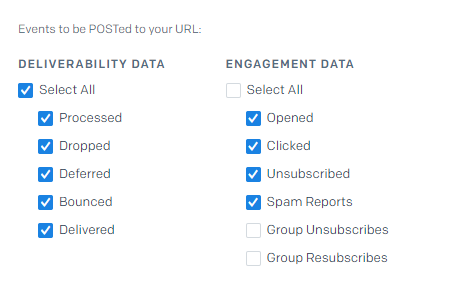
- In the Events to be POSTed area, tick all of the boxes except for Group Unsubscribes and Group Resubscribes:
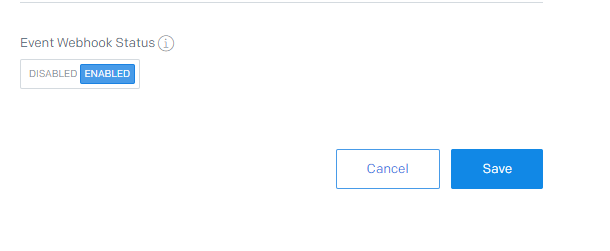
- Enable your Webhook status, and then click Save: