If you utilise Moodle as a VLE for your users, the Moodle integration module allows you to sync the Users, Courses, and Delegates created in your accessplanit system to your Moodle platform.
This reduces administrative work greatly, and reduces the chance of human error when copying data between the two systems.
You must be within the Advanced band or higher to integrate with Moodle as this is a chargeable module/integration. Please speak to your CSM if you are unsure whether you should have access to this feature.
What does Moodle Integration do?
The Moodle Integration will send the following data to your Moodle platform:
- Classroom and Webinar Courses
- Users
- Delegates
Once the Courses and Users have been logged in Moodle, Moodle will provide us with the User Moodle ID and the Course Moodle ID so that the Courses and Users are not sent over again!
If you would like, our Moodle integration module is also able to:
- Send updated start and end dates/times to your Moodle system when they are updated, keeping your courses in sync.
- Receive the score assigned to your delegates in Moodle.
Setting up Moodle for accessplanit Integration
accessplanit require the following information from you to set up your integration with Moodle
- Your Moodle Site's URL
- Token
- The Category ID to be assigned to your courses
- The Role ID to be assigned to your delegates
Please follow these steps to gather this information:
How to set up a Moodle Token
The Token is used by accessplanit to connect to your Moodle system securely. It is the equivalent of a username and password.
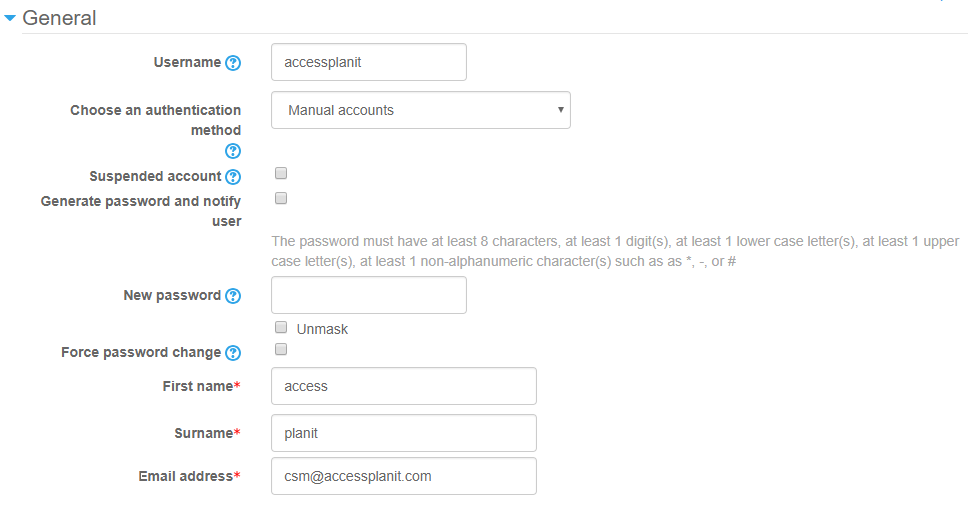
- Before you can generate the Token, you must create a User.
- To do this go to Site Administration > Users > Accounts secion > Add a new user.
- Provide your user with a Username i.e. accessplanit, an Authentication method of 'Manual accounts', provide them with a Forename, Surname, and Email Address. All other options are optional.
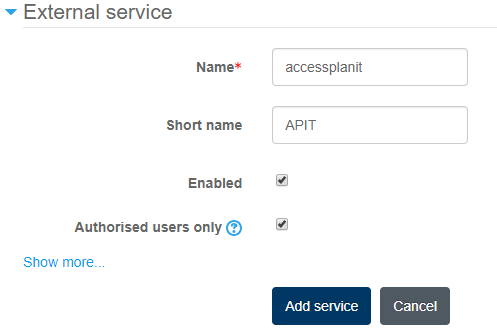
- You then need to set up an External Service. To do this go to Site Administration > Plugins > Web Services section > External Services
- Click Add, provide a name for the Service i.e. 'Accessplanit' and a shortname i.e. 'APIT', and set it as enabled and for authorised users only. All other options are optional.
- Assign the following Functions to your External Service:
core_course_create_courses
core_user_create_users
enrol_manual_enrol_users
- Assign the User created in step 1 as an Authorised user for the External Service.

- You then need to create the Token itself, to do this go to Site Administration > Plugins > Web Services section > Manage Tokens.
- Click Add', select the User created in step 1, select the External Service created in step 2 and Save.
You'll then have access to the Token:
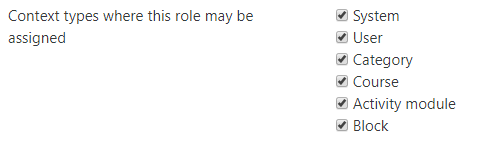
- Occasionally, you may not be able to generate the token due to the user account "missing capabilities" . To rectify this, navigate to Users > Permissions > Define New Roles.

- Skip the Role Archetype section. Fill in all of the required details - give it a name such as API Role - and then tick all of the boxes next to Context types where this role may be assigned.
- Scroll to the bottom of the page and add any roles that are listed under the missing capabilities error message by typing them into the Filter bar and ticking the Allow box.
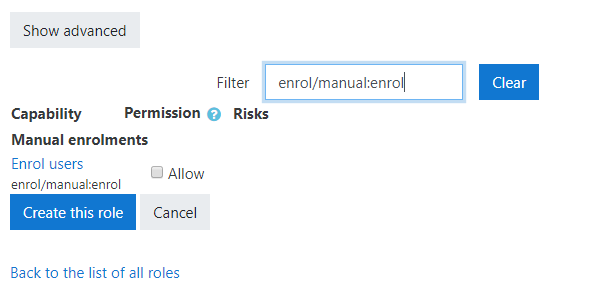
- Click Create this role to save your changes.
Navigate to Users > Permissions > Assign System Roles and add your accessplanit user to the role you've just created.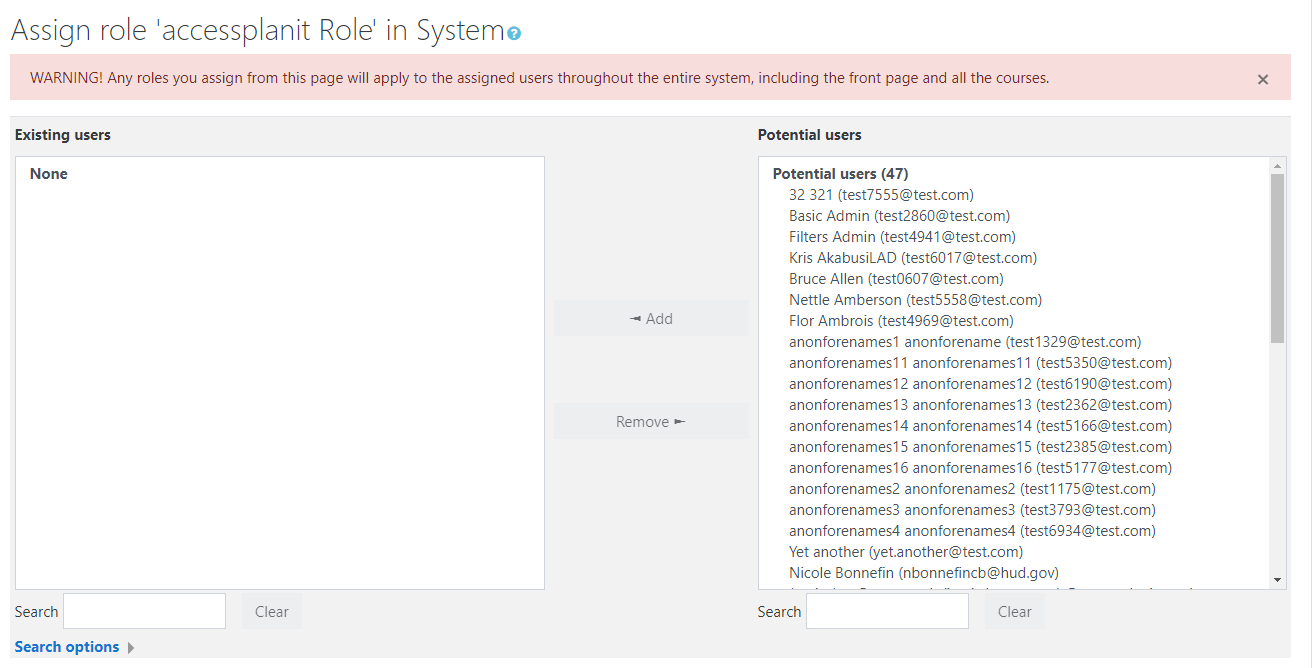
- Navigate back to Manage Tokens. You should now be able to generate the token as expected.
How to find your Moodle Category
- You need to decide which Category in Moodle you would like all of your Courses sent from accessplanit to be added to. You can either create a new dedicated Category or you can use an existing Category.
- To identify the Category's ID, click to Edit it and view the URL. Please note that it is not the 'Category ID Number' field.
- You can access your Categories in Moodle by going to Site Administration > Courses > Manage Courses and Categories.

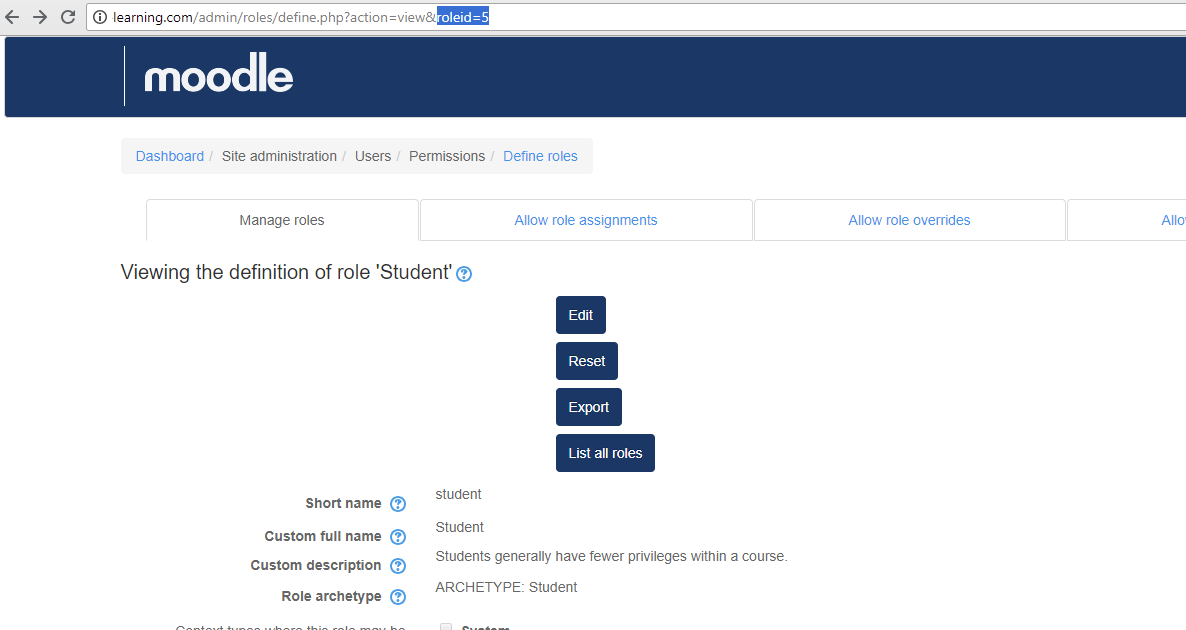
How to find a Role ID
- You need to decide which Role in Moodle you would like all of your Delegate Enrolments to be assigned. The most common option here is 'Student'
- Once you have chosen the Role, click to Edit it and view the URL.
- You can access your Roles in Moodle by going to Site Administration > Users > Permissions > Define Roles.
How to use Moodle Integration for Class and Webinar courses
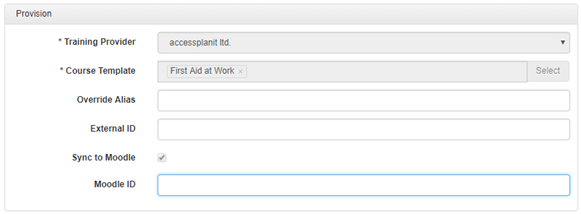
- If you would like to send a course to Moodle, you need to check the Sync to Moodle box on the Course.
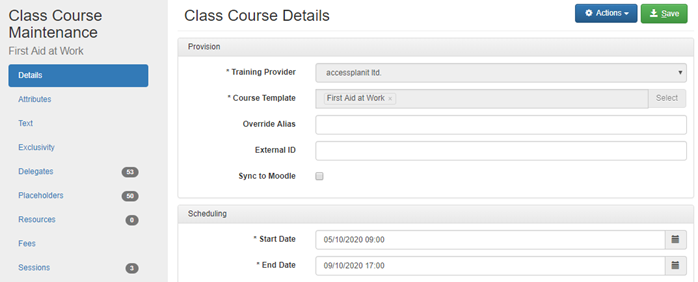
- Once you click Sync to Moodle you will be able to provide your course with a Moodle ID. If you do this accessplanit will not create a new course in Moodle.
- If you have not provided a Moodle ID, the course will be sent to Moodle this will generate a 'Moodle ID' which will be sent back to accessplanit and stored against your course.
- The following information is sent to Moodle from accessplanit:
- Course Label
- ID
- Aims text (from Course Template)
- Start Date
- Category Number
How to use Moodle Integration for ELearning courses
- If you would like ELearning Delegates in your accessplanit system to be automatically enrolled on your ELearning course in Moodle, you will need to make the following changes to your Course Template in accessplanit:
- At the bottom of your Course Template details enter the Moodle ID

- You can gather the Moodle ID for the course by logging into Moodle, editing your Course, and copying the ID from the URL. Please note that it is not the 'Course ID Number' field.

How to use Moodle Integration for Users
- When you make a booking onto a Moodle Course, either Classroom, Webinar or ELearning, the integration will first check that the User(s) being booked onto the course has a Moodle ID.
- If the User does not yet have a Moodle ID, your accessplanit system will send their details over to Moodle. It is Moodle's responsibility to send out their new log in details so that the User can log into Moodle.
The following information is sent to Moodle by your accessplanit system:
Accessplanit Course Field
Moodle Course Field
ID
Username
Forenames
Firstname
Surname
LastName
Email
Email
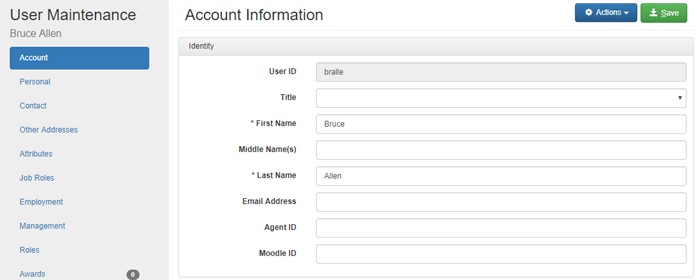
- When a User has been successfully generated in Moodle, Moodle will post back the ID of the User in Moodle into the MoodleID field within accessplanit.
How to use Moodle Integration for Delegates
- When a User with a Moodle ID is booked onto a Moodle Course, your accessplanit system will send this information to Moodle so that they are enrolled on the course:
Accessplanit Field | Moodle Field |
Course Template or Date: Moodle ID | Course: ID |
User: Moodle ID | User: ID |
Moodle User Role | User Role |
FAQs
If I delete or transfer a Delegate in accessplanit will this update Moodle?
No, currently the integration only creates in Moodle, no updates are processed.
When a user completes an ELearning course in Moodle will this information be passed back to my accessplanit system?
The status of the Delegate and their score will be passed back to accessplanit.