Before you send users or delegates an eCampaign, you will need to create an email template for this, which dictates the content of the eCampaign.
How to create an eCampaign email template:
- Navigate to the Administration area.
- Go to Email Templates.
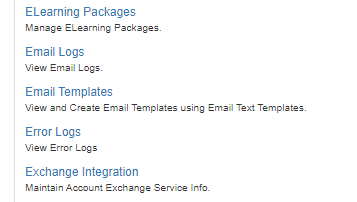 Image Removed
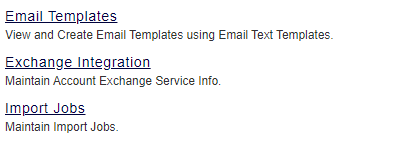 Image Added
- Click the green Add button.
- You will see the following dialog box:
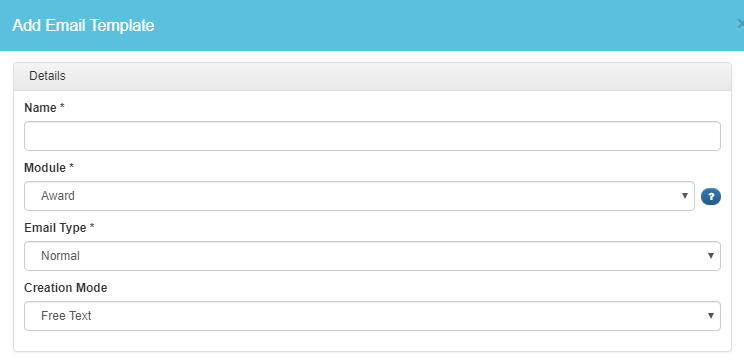 Image Removed
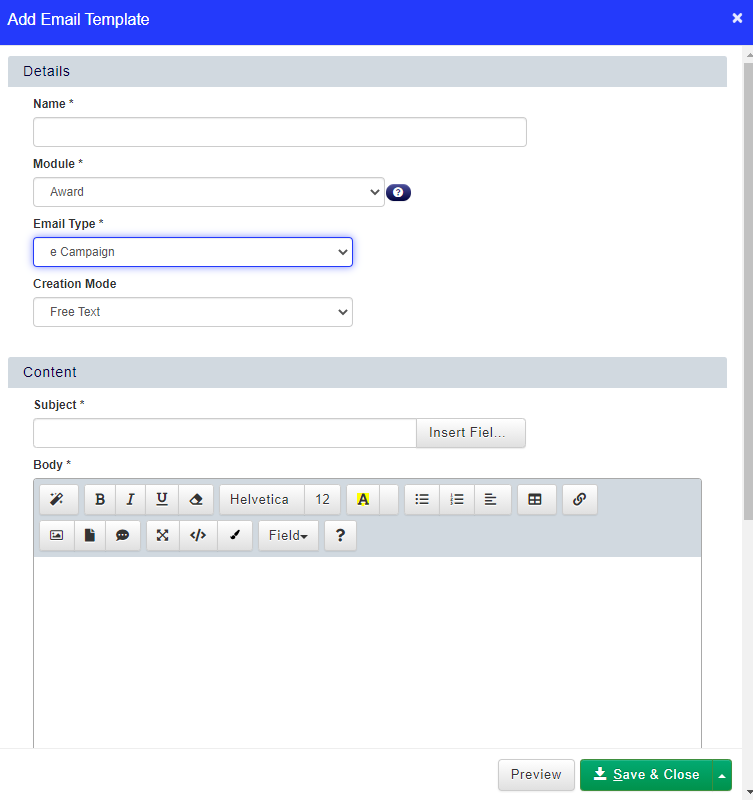 Image Added
- Enter a name for your email template.
- The Module for the email template will be Users, regardless of which DataGrid you use to send the eCampaign. This is because only User merge fields can currently be used in eCampaigns.
- The Email Type you need to select is eCampaign.
- The Creation Mode will be Free Text, unless your email template will be made up of text templates.
- After this, you can then fill in the Subject, Body and Signature boxes with the content of the email you would like to send out.
- Once finished, click the green Save & Close button.
How to send an eCampaign to a group of users:
- Go to the Users DataGrid.
- Select the users you would like to receive the eCampaign, and if this is more than the number of records that show in your DataGrid, you can select the "Click here to select all items in the result set" option as shown below:
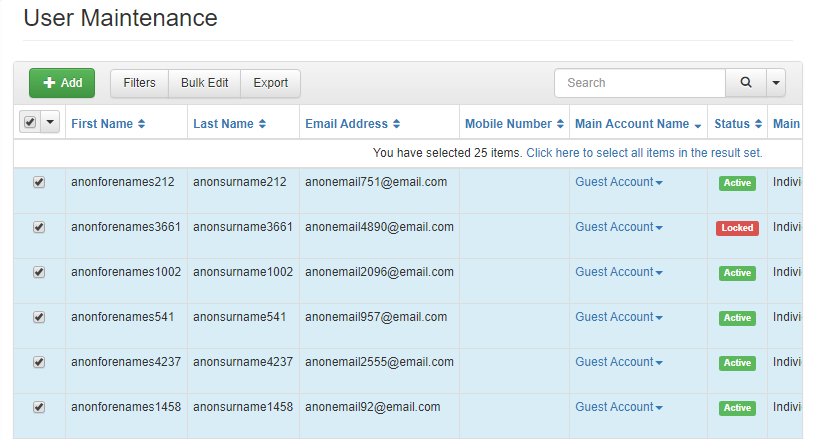 Image Removed
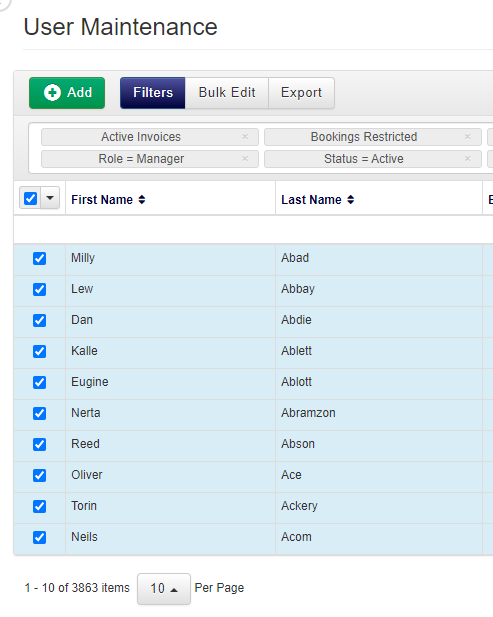 Image Added
- This will select all users on the system, unless you have are currently using a filter on this DataGrid.
- Select the down arrow icon in the top left of the DataGrid, which will produce a drop-down list of options as below.
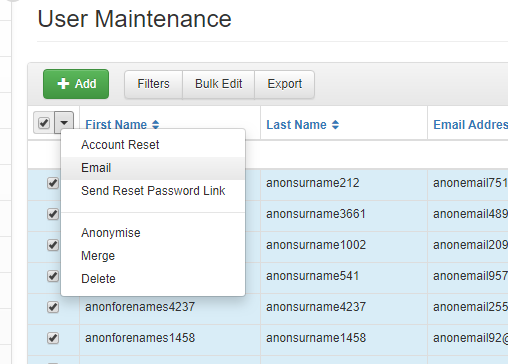 Image Removed
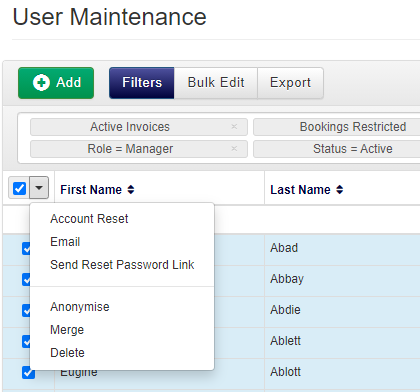 Image Added
- Click on Email. This will open a dialog box as below:
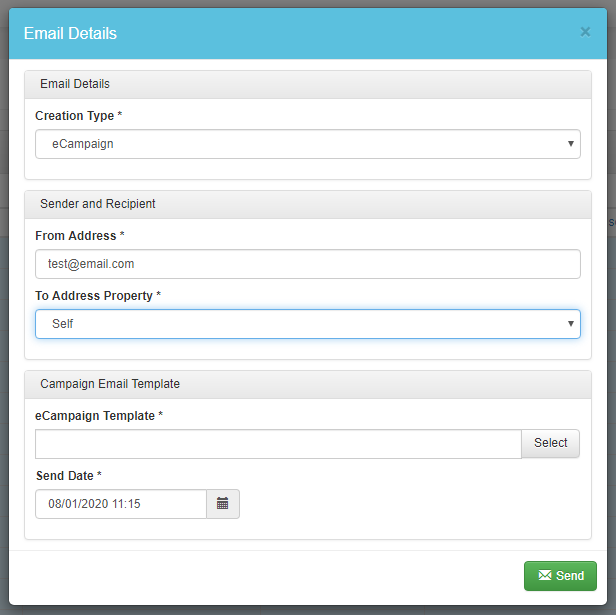 Image Removed
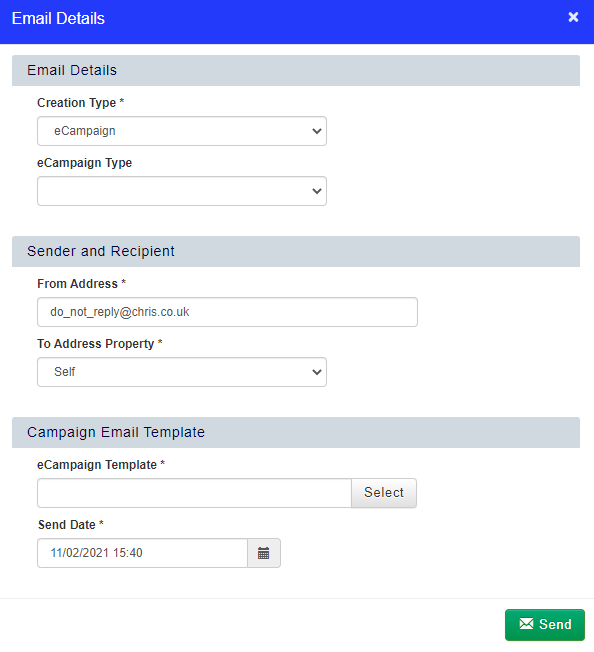 Image Added
- For Creation Type, select the eCampaign option from the drop-down list.
- The From Address is the email address that the eCampaign will come from, which will default to your system platform's email address. You can change this however, if you would like your eCampaign to be sent from a different email address other than your system platform email.
- You can then go to the eCampaign Template field and click on the grey Select button to choose your previously-created email template.
- Once your email template has been selected, you can choose when you would like your eCampaign to be sent.
- Once finished, click Send and your eCampaign will be scheduled to send.
How to send an eCampaign to a group of delegates:
- Go to Smart Grids, and then your chosen Delegates DataGrid (Class, Web, etc.).
- Select the delegates you would like to receive the eCampaign, and if this is more than the number of records that show in your DataGrid, you can select the "Click here to select all items in the result set" option as shown below:
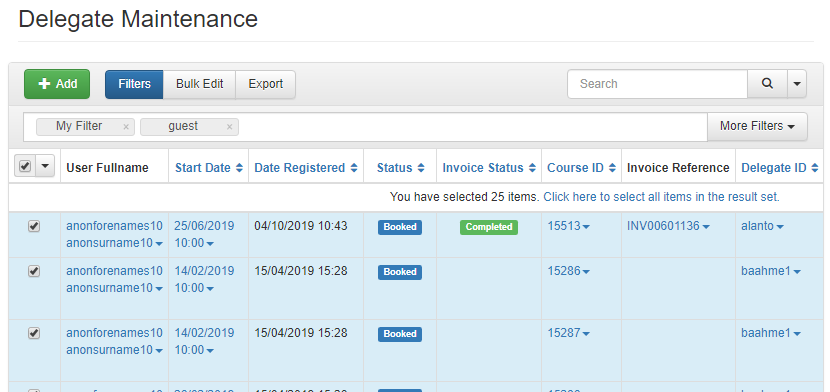 Image Removed
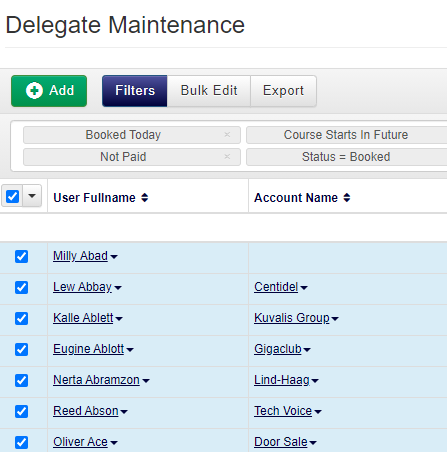 Image Added
- This will select all past and future delegates on the system, unless you have are currently using a filter on this DataGrid.
- Select the down arrow icon in the top left of the DataGrid, which will produce a drop-down list of options as below.
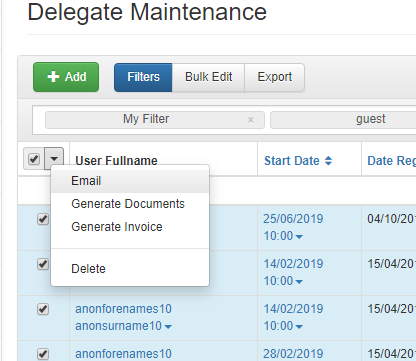 Image Removed
 Image Added
- Click on Email. This will open a dialog box as below:
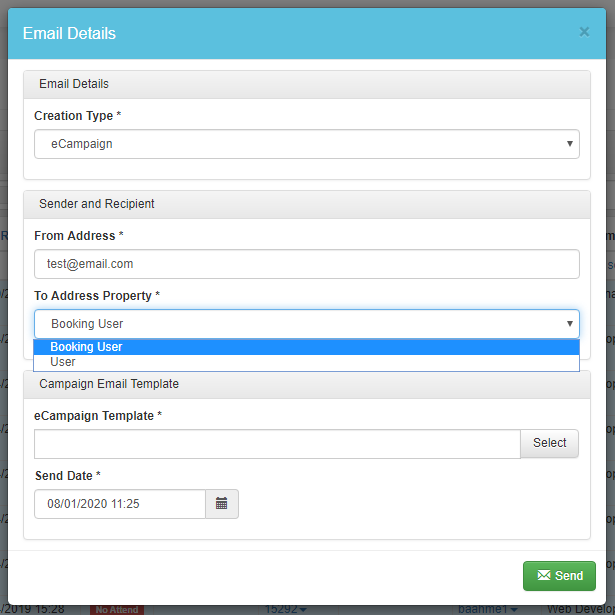 Image Removed
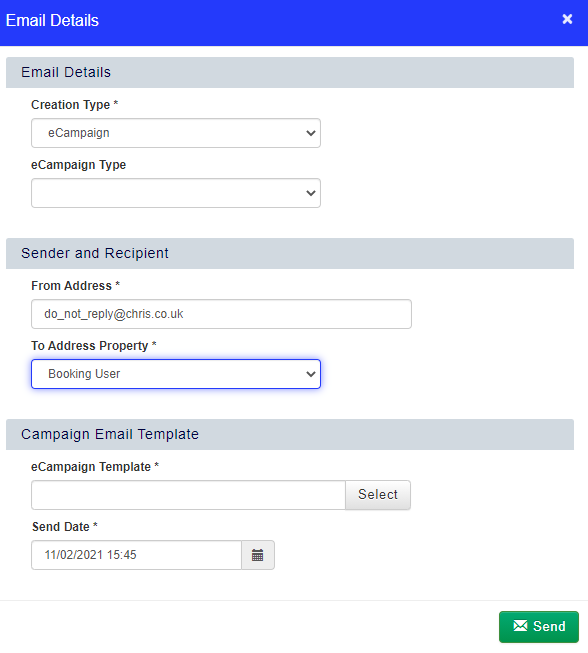 Image Added
- For Creation Type, select the eCampaign option from the drop-down list.
- The From Address is the email address that the eCampaign will come from, which will default to your system platform's email address. You can change this however, if you would like your eCampaign to be sent from a different email address other than your system accessplanit email.
- The To Address Property is where you can select whether you want to send the eCampaign to either the booker or the delegate themselves.
- You can then go to the eCampaign Template field and click on the grey Select button to choose your previously-created email template.
- Once your email template has been selected, you can choose when you would like your eCampaign to be sent.
- Once finished, click Send and your eCampaign will be scheduled to send.