How to adjust the available stock level for Products & Services
- Navigate to the Products & Services DataGrid. To learn more about DataGrids, click here.
- Right click the Product or Service and select Update Stock Level from the context menu.
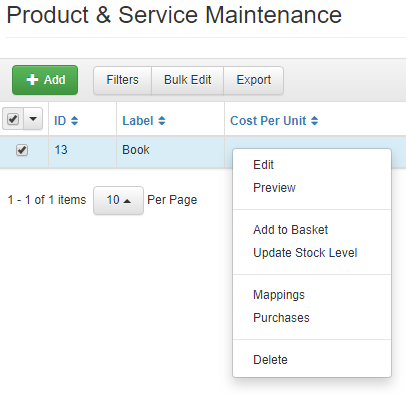 Image Removed
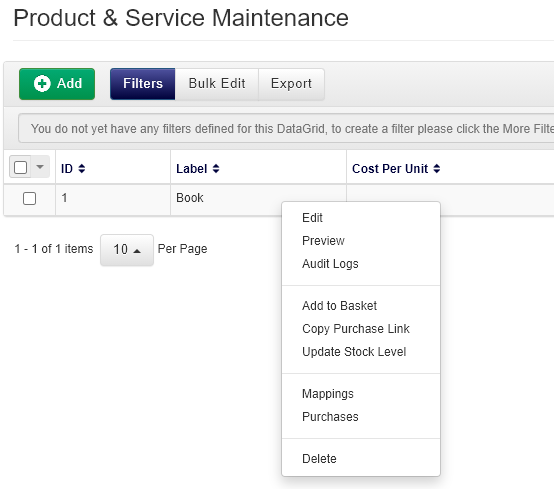 Image Added
- Change the value in the Stock Level field to the correct value.
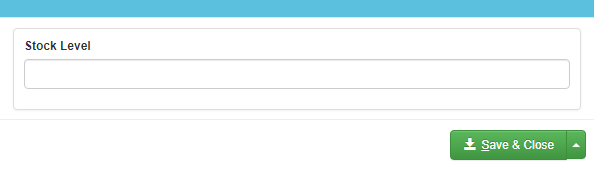 Image Removed
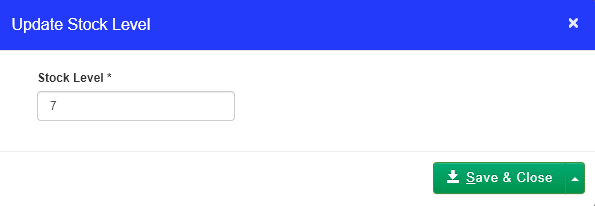 Image Added
- Click Save & Close to save your changes.
How to view key changes made to a Product/Service
- Navigate to the Products & Services DataGrid.
- Right click and select Audit Logs from the context menu.
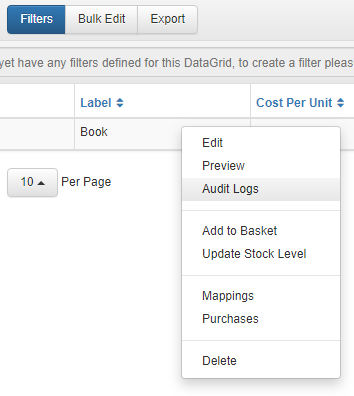 Image Removed
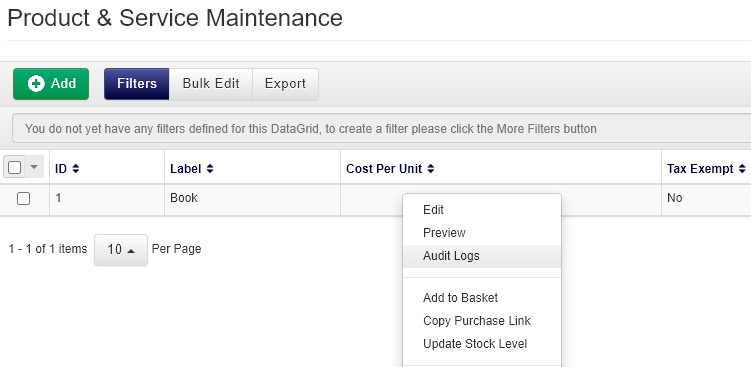 Image Added
- This will take you to a System Events DataGrid for this Product/Service, where you can see what changes have been made and by whom.
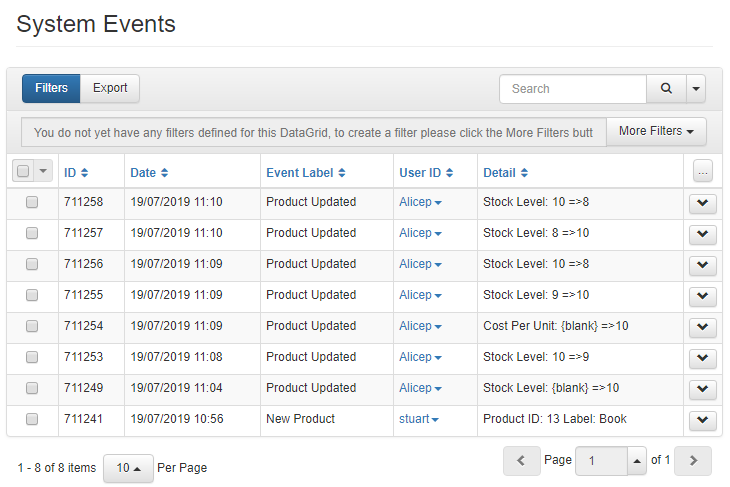 Image Removed
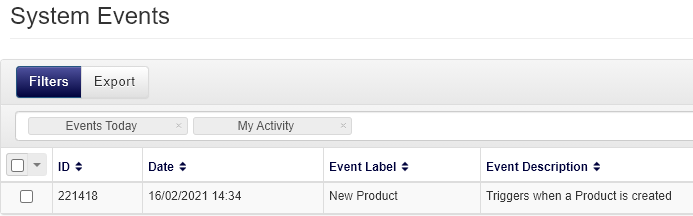 Image Added
How to generate an Invoice for a Product purchase
From the purchase record
- Navigate to the Products & Services DataGrid.
- Right click and select Purchases from the context menu.
Image Removed
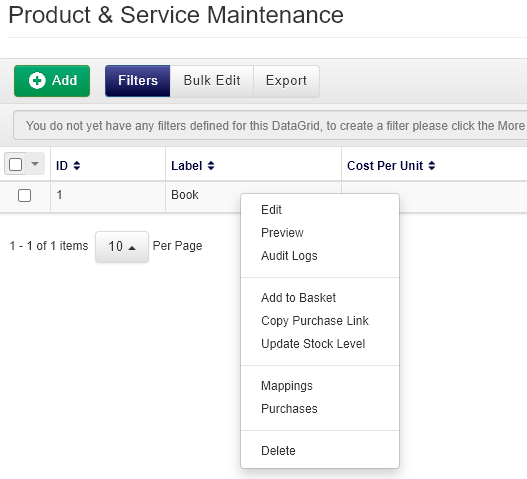 Image Added
- Right click on the purchase record you want to invoice.
- Select Generate Invoice.
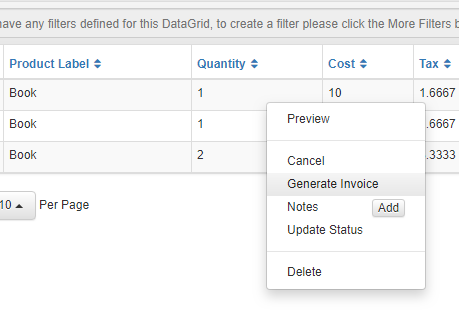 Image Removed
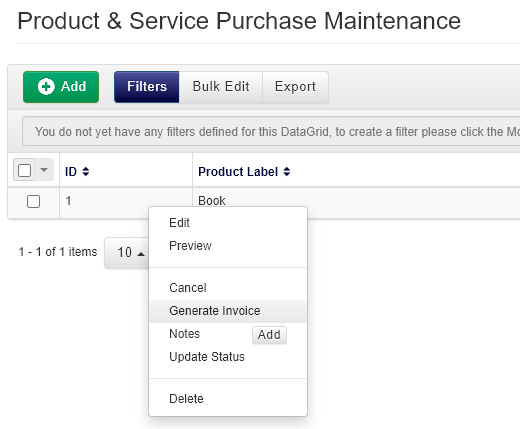 Image Added
- You will then be able to access this Invoice by exposing the Invoice ID or Reference column and clicking on the hyperlink in that field.
Cancel a Product purchase
- Navigate to the Products & Services DataGrid.
- Right click and select Purchases from the context menu.
Image Removed
Image Added
- Find the purchase record you would like to cancel, right click and select Cancel from the context menu.
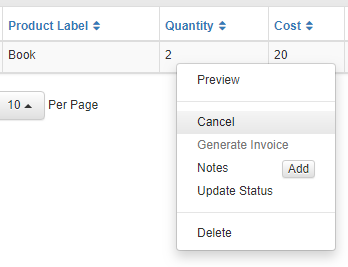 Image Removed
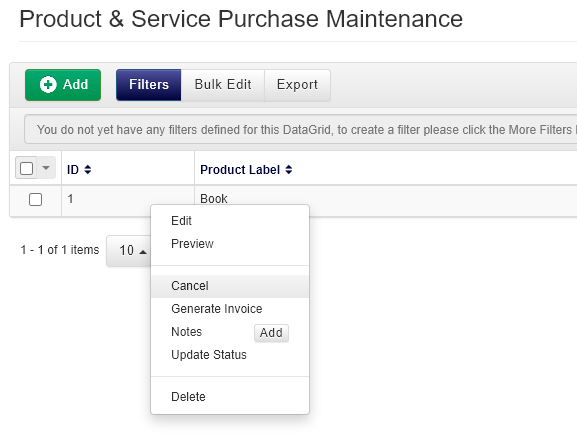 Image Added
- If there is a cancellation fee, you can enter this into the Charge field. You can also add any Cancellation Notes.
 Image Removed
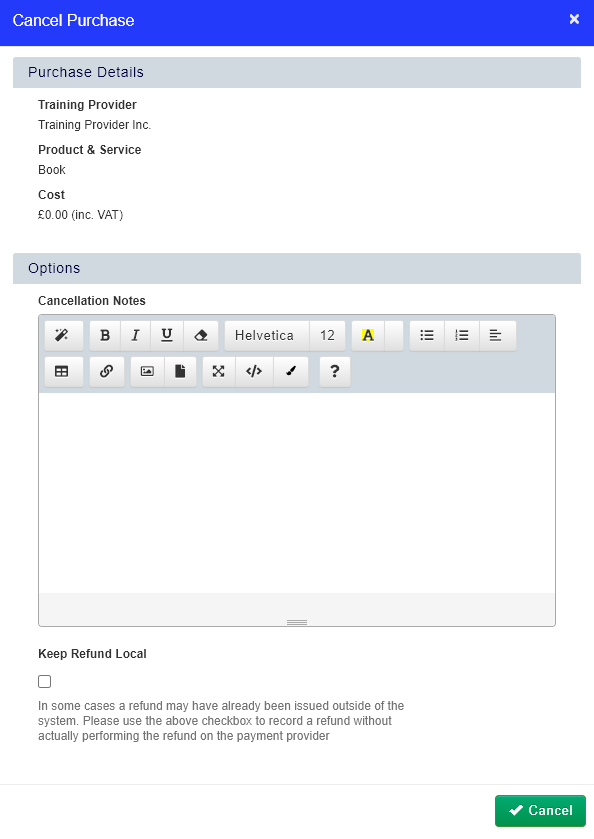 Image Added
- Choose whether you want to Keep Refund Local, or if you want the User to receive a refund through the Payment Gateway they originally paid with.
- Click Cancel to confirm the cancellation.
How to manage the status of the Product purchase
- Navigate to the Products & Services DataGrid.
- Right click and select Purchases from the context menu.
- Find the purchase record you would like to cancel, right click and select Update Status from the context menu.
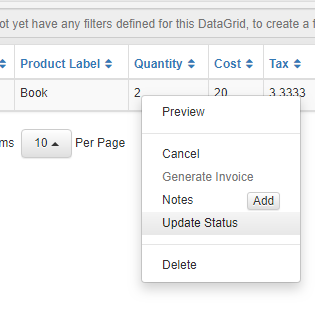 Image Removed
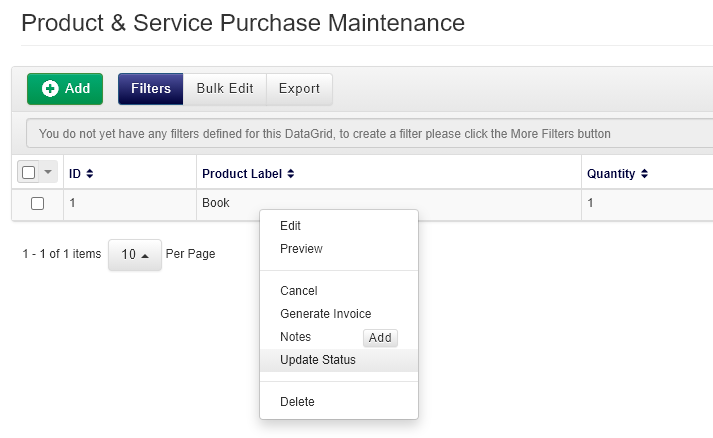 Image Added
- Select which status you would like to change the purchase record to. The default statuses are New, Cancelled, and In Progress.
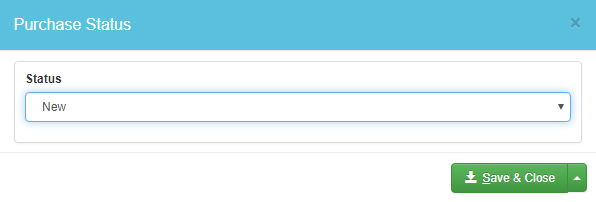 Image Removed
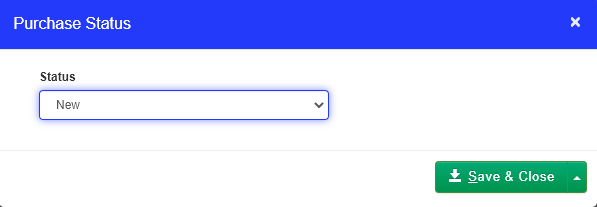 Image Added
- Click Save & Close to save your changes.
How to create your own Product purchase statuses
- To create your own customised Product purchase status, navigate to the Administration area and select Custom List Items.
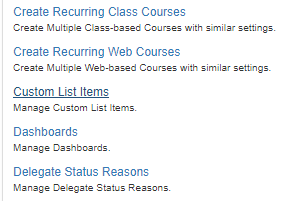 Image Removed
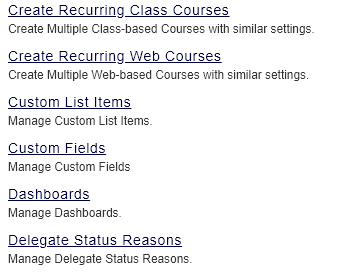 Image Added
- Click Add at the top of the DataGrid. This will open the Add Custom List Items window.
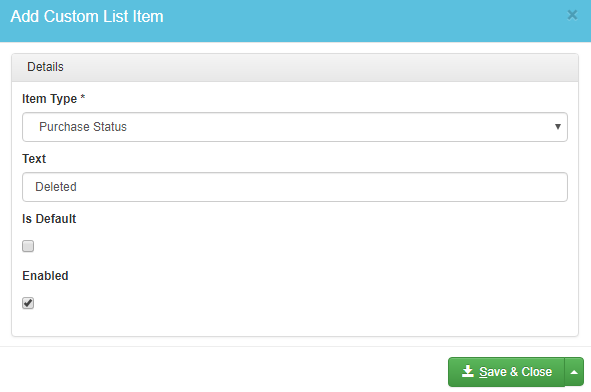 Image Removed
 Image Added
- Select Purchase Status as your Item Type, and enter the name of the status into the Text field.
- Ticking Is Default will make sure your status is automatically selected as the default purchase status.
- Make sure the Enabled option is ticked so the status can be used for a purchase record.
- Click Save & Close to save your new Purchase Status.