| Live Search | ||||||||
|---|---|---|---|---|---|---|---|---|
|
How to schedule a Web course
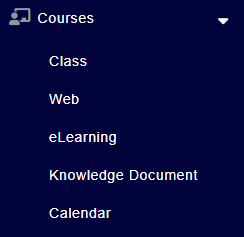
- Navigate to Courses, and select Web from the drop-down.
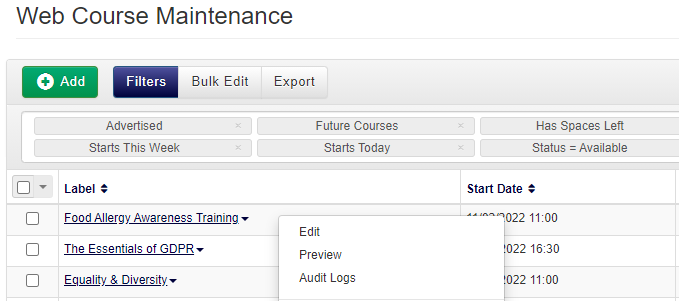
- You will be taken to the Web Courses DataGrid. Select Add.

Select the Training Provider from the drop-down box
Choose the Course Template you want to use. To learn more about Course Templates, click here.
Enter an Override Alias to rename the course if required.
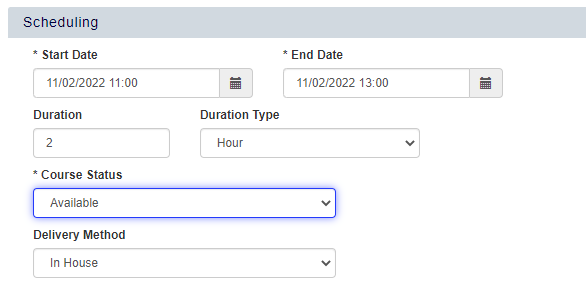
- Enter the Start and End Dates and Times of the course. You can also add the following information:
- Duration
- Minimum and Maximum number of Places
- Trainer for the course
- Cost and Financial options
- The above details can be entered at a later date if you are not sure of them at the time of creation.
- Select whether you want to Advertise the Course
- Select whether you want to hide the Course from Web
- Click Save.
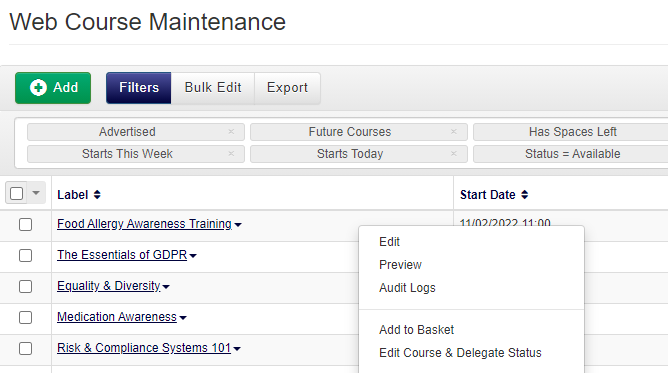
How to update the status of a Web Course
- Navigate to Courses, and select Web from the drop-down.
- Search for the Course you wish to edit the status of in the DataGrid.
- Right-click the Course and select Edit from the context menu.
- You can change the Status using the drop-down menu under Course Status.
- Click Save to save your changes.
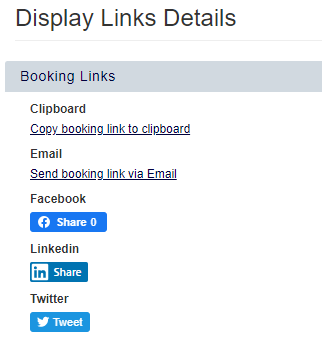
How to copy a Booking Link for a Web Course
- Navigate to Courses, and select Web.
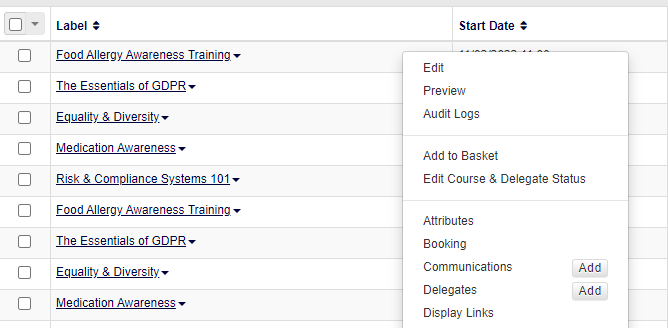
- Right click the Course you wish to copy Booking Links for, and select Display Links from the context menu.
- From this menu, selecting one of the options will allow you to either copy the link to your clipboard, generate an email containing the link, or otherwise share it via Twitter, Facebook, or Linkedin.
| Info | ||
|---|---|---|
| ||
Display links can be bundled so multiple courses can be booked together, by using the Course Date IDs and a pipe delimiter symbol. For example: This would add both Course Date ID: 1234 and ID: 5678 to your basket at the same time. |
How to quick mark Course status and Delegate attendance
- Navigate to Courses, and select Web.
- Right click the Course you wish to change Course and Delegate statuses for, and select Edit Course & Delegate Status from the context menu.
- In the drop down, select the status you wish to Change the course to.
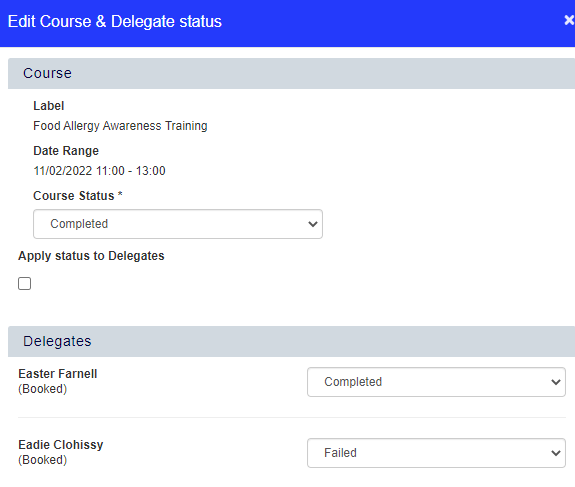
- If there is a corresponding Delegate status for this Course status, tick the Apply status to Delegates box. All Delegates will then have their statuses changed to this status.
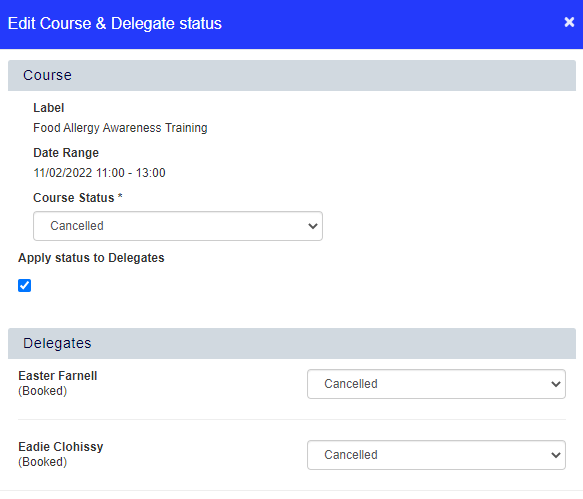
- Click Save & Close to save your changes.
Video Tutorial: How to schedule a Web course
This video walks you through Web Course setup.
| Widget Connector | ||
|---|---|---|
|