| Live Search | ||||||||
|---|---|---|---|---|---|---|---|---|
|
Amending the View of your Resource Calendar
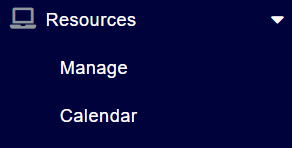
- Navigate to the Resources - Calendar area.
- Select Timeline.

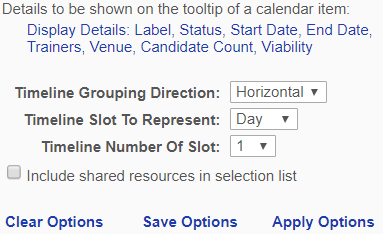
- Click Advanced at the top right of the calendar.
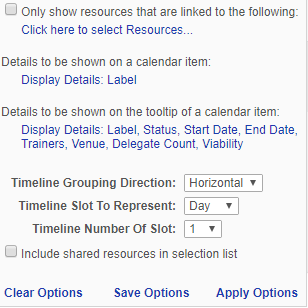
- Change the Grouping Direction to Vertical and then the Number of Slots to however many days of the week you are wanting to view.

- Click Save Options to save your changes.
Choosing Resources to display on the left
- Navigate to the Resources - Calendar area.
- List each of your Resources vertically in the calendar, and display Next 31 Days.
- Set your mode to Timeline.
- Click Advanced at the top right of the calendar
- Update the options to show Vertical, Day, 31.
- Click Save Options or click Apply Options to view them.
- Select which Resources you would like to see listed down the left by clicking on the drop down box labelled Resource.
- Select the Resource type that you are interested in (i.e. In-house Venue, or Trainer)

How to add a Fee to a Resource
- Find the Course in your Calendar you want to add a Fee for.
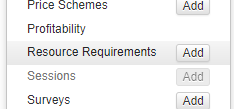
- Right-click on the course that you would like to add Resource fees to and select Resource Requirements from the context menu.
- Right click on the Trainer / Resource and select Manage Fees.
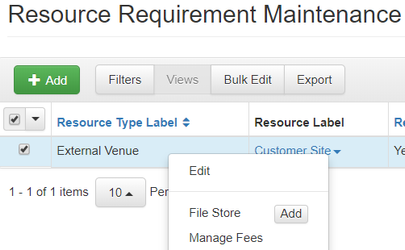
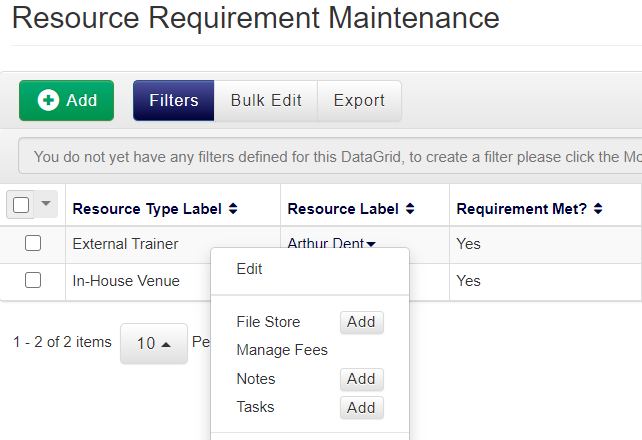
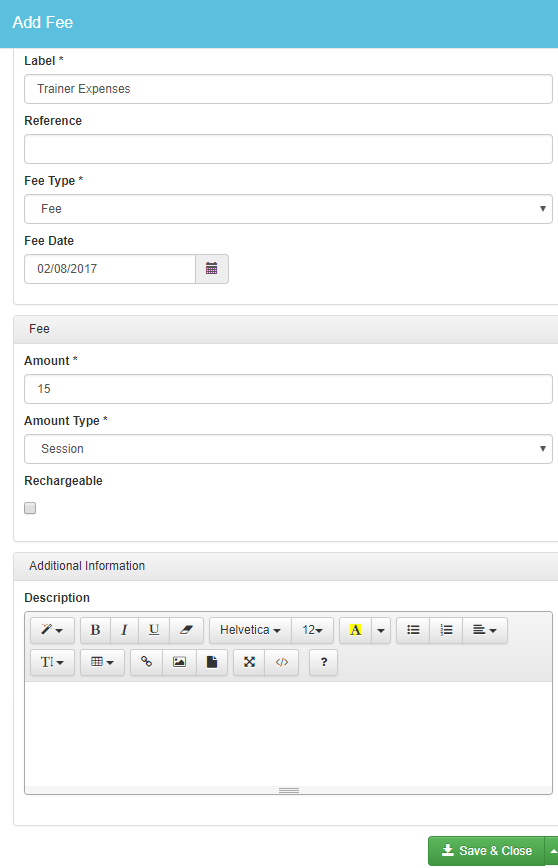
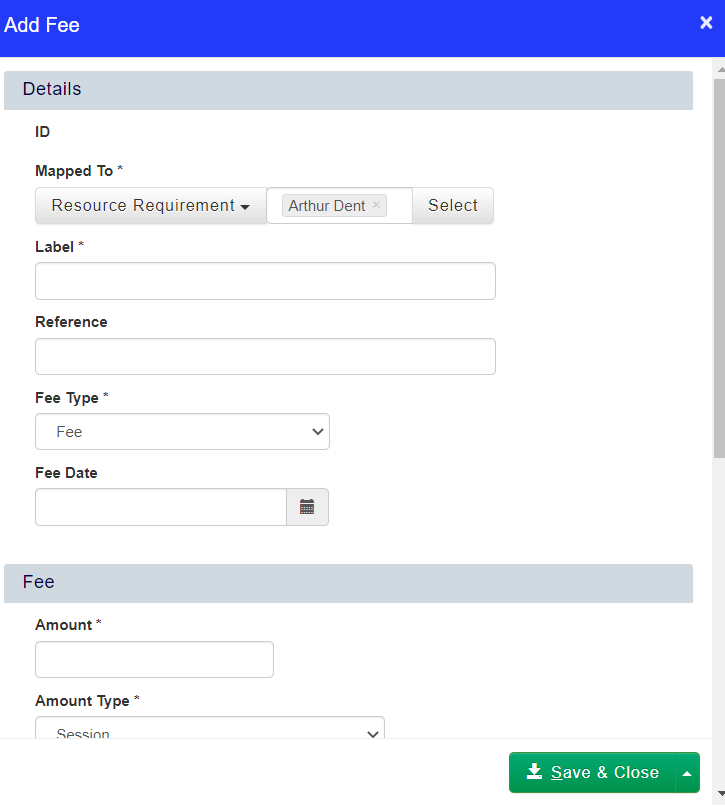
- Complete the form with details of the Fee and click Save & Close.