How to add the DataGrid Dashboard Gadget
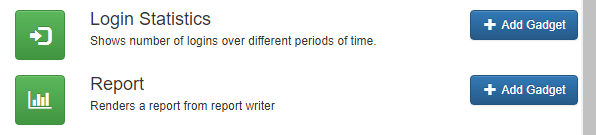
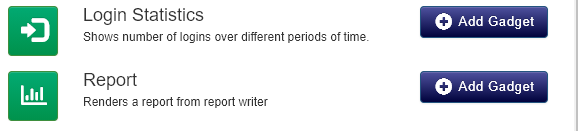
- Click Add Gadget on your Dashboard.
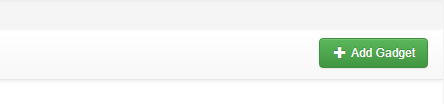 Image Removed
 Image Added
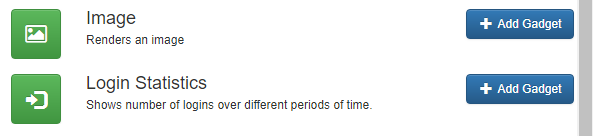
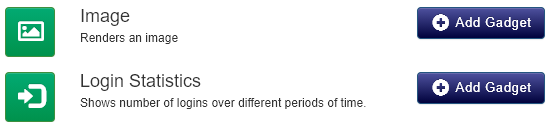
- From the pop up window, click Add Gadget next to the DataGrid Gadget.
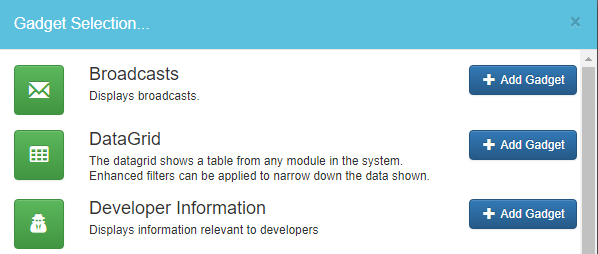 Image Removed
 Image Added
- The Gadget will appear on your Dashboard. From here, click the link to edit the Settings of the Gadget, or otherwise select the Settings option from the Gadget menu button in the top right corner of the Gadget.
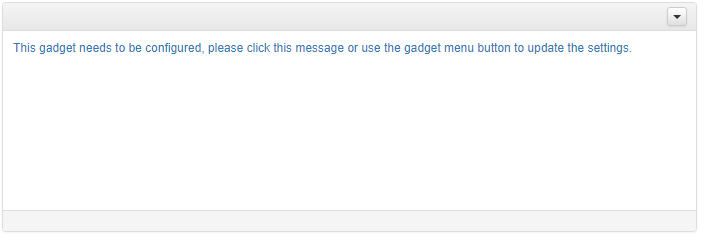 Image Removed
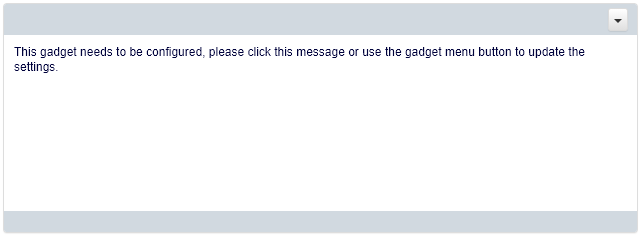 Image Added
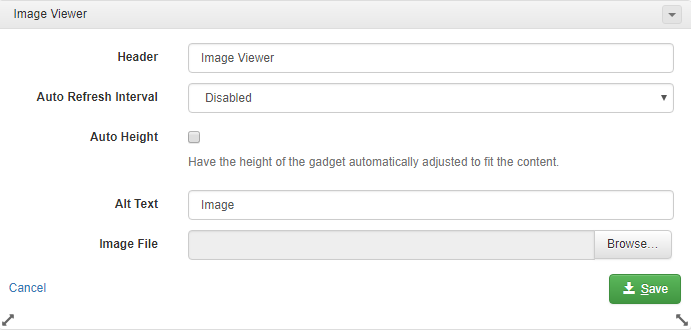
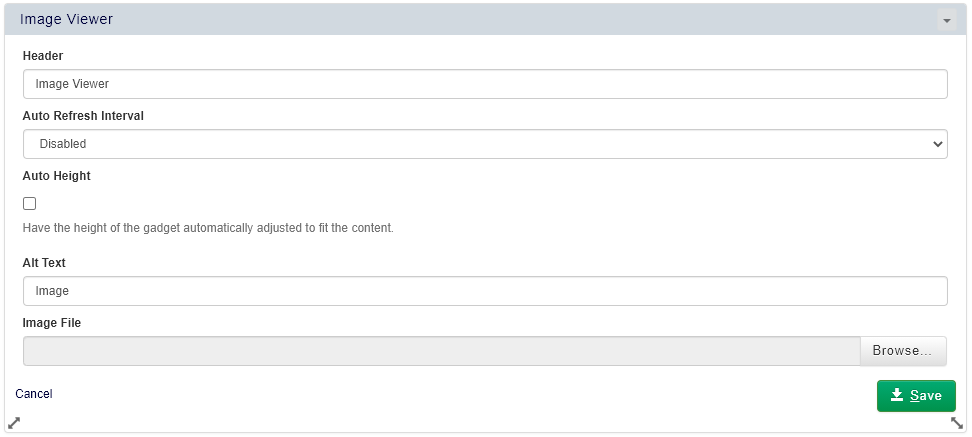
- Fill in the details of your Gadget. Give your Dashboard a header, and then decide whether you want to enable Auto Refresh. Disabling Auto Refresh will mean that the Gadget will only update when you click the Dashboard page, or refresh your browser. Enabling the Auto Refresh function will allow your Gadget to automatically refresh itself after a given time period.
- Select the module you would like to add a DataGrid from, and then choose the columns you would like to be displayed. Add any filters that you wish to use, and click Save.
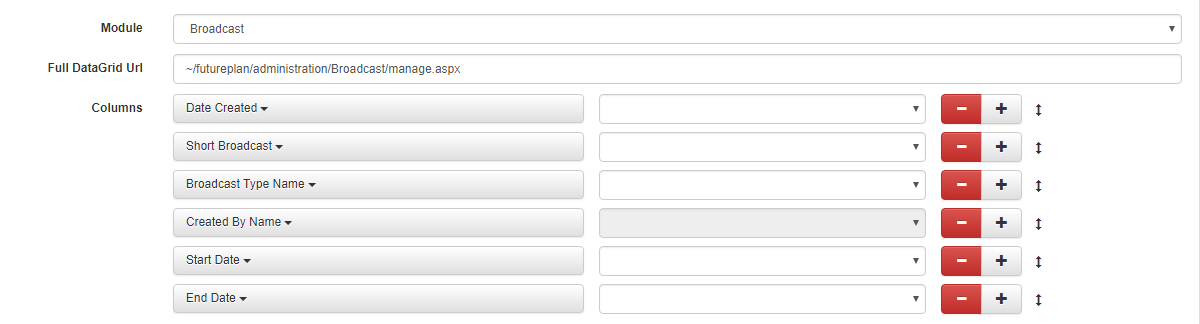 Image Removed
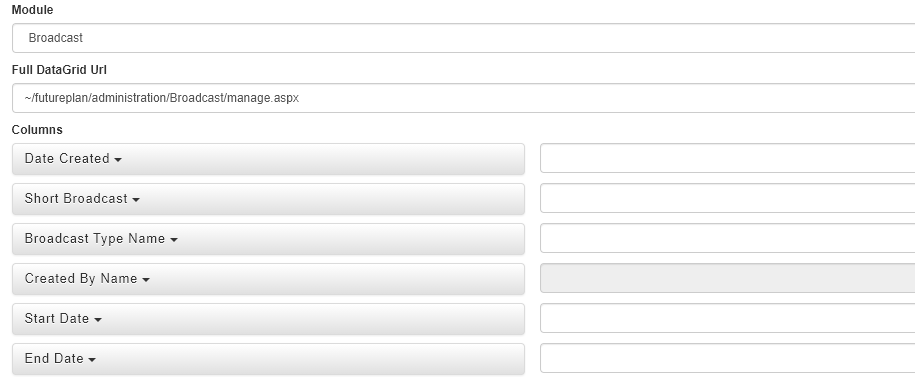 Image Added
- Click Add Gadget, and select the Developer Information Gadget from the window.
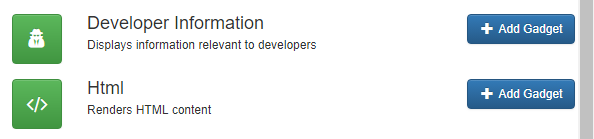 Image Removed
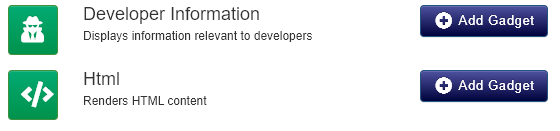 Image Added
- The Developer Information will now display on your Dashboard. To edit its settings, select Settings from the Gadget menu button.
- Change your header if you wish, choose the auto refresh interval from the drop-down box, and click Save.
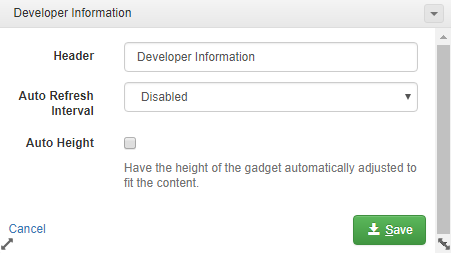 Image Removed
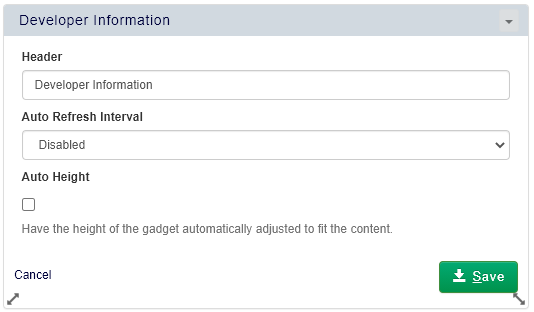 Image Added
How to add the HTML Dashboard Gadget
- Click Add Gadget, and select the HTML Gadget from the window.
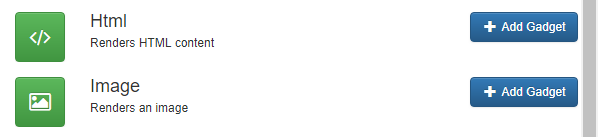 Image Removed
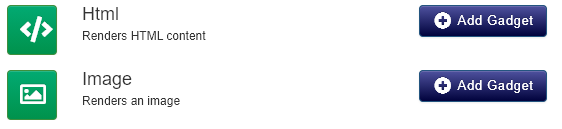 Image Added
- Select Settings from the Gadget menu button.
- Enter your header, and choose the auto refresh interval from the drop-down box. Insert the content using the rich-text editor and then click Save.
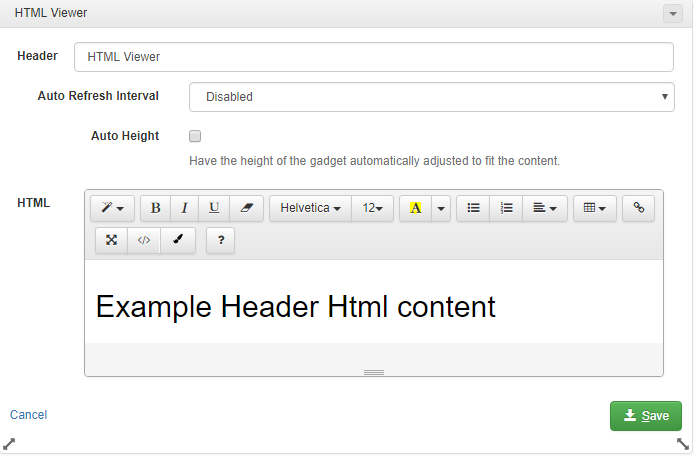 Image Removed
 Image Added
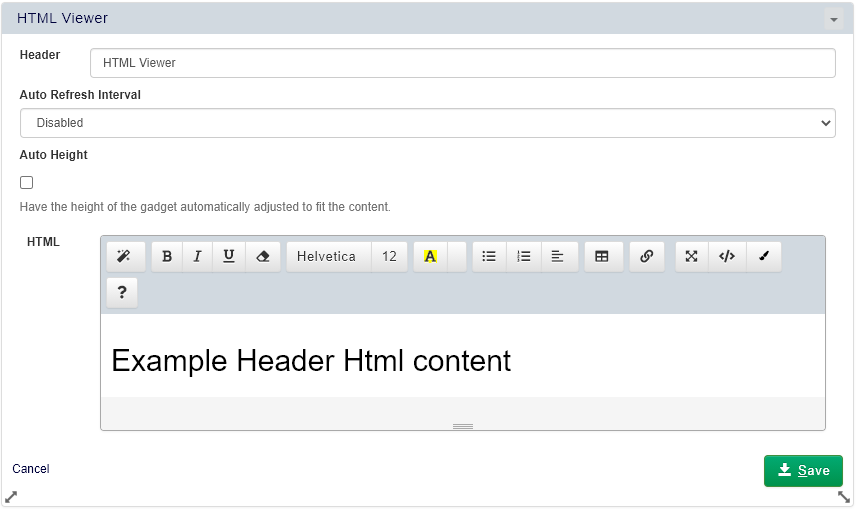 Image Added
How to add the Report Dashboard Gadget
- Click Add Gadget, and select the Report Gadget from the window.
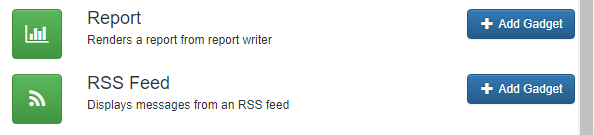 Image Removed
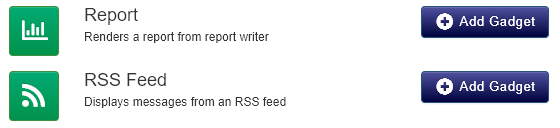 Image Added
- Select Settings from the Gadget menu button.
- Enter your header, and choose the auto refresh interval from the drop-down box. Select the report you wish to display, and then click Save.
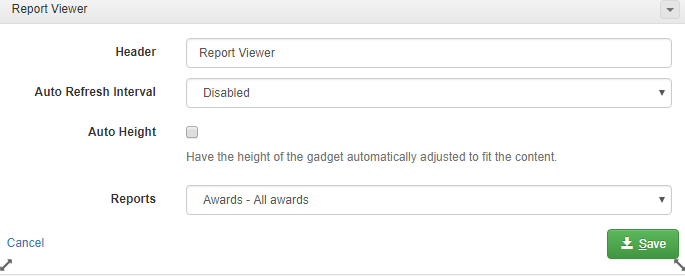 Image Removed
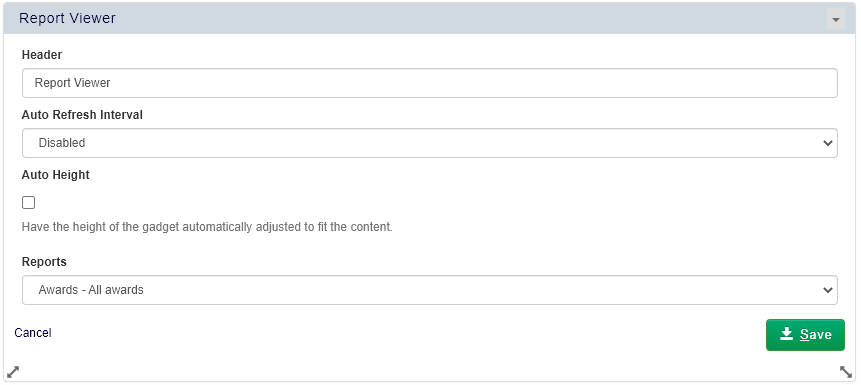 Image Added
- Click Add Gadget, and select the RSS Feed Gadget from the window.
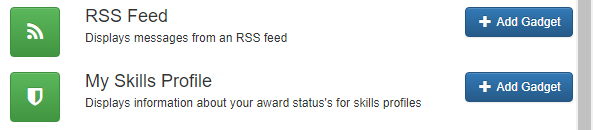 Image Removed
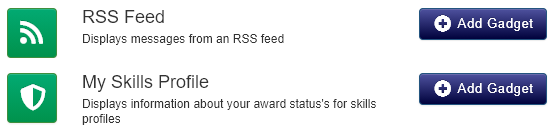 Image Added
- Select Settings from the Gadget menu button.
- Enter your header, and choose the auto refresh interval from the drop-down box. Enter the RSS URL, select the number of items you wish to display, and then click Save.
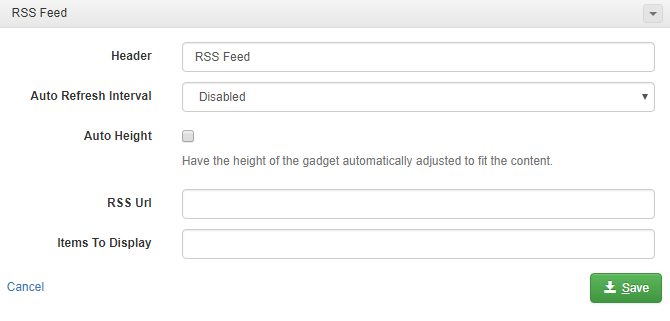 Image Removed
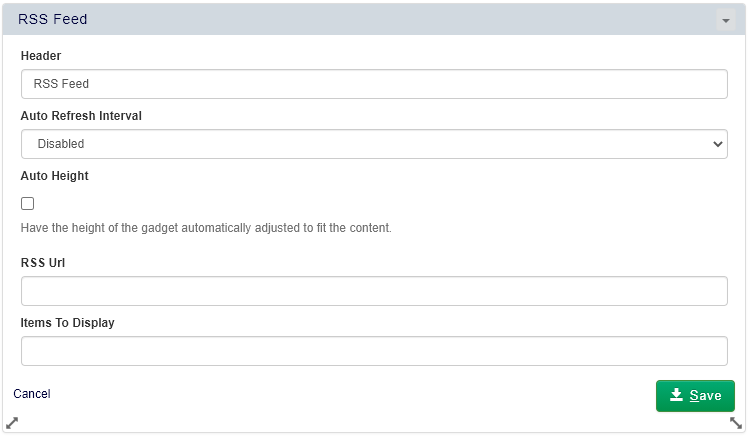 Image Added
How to add the My Skills Profile Dashboard Gadget
- Click Add Gadget, and select the My Skills Profile Gadget from the window.
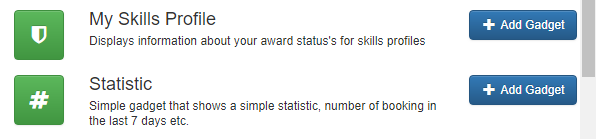 Image Removed
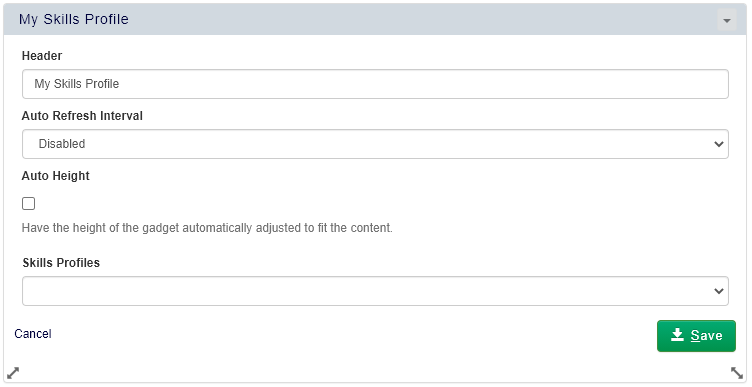 Image Added
- Select Settings from the Gadget menu button.
- Enter your header, and choose the auto refresh interval from the drop-down box. Select the skills profile you would like to view, and click Save.
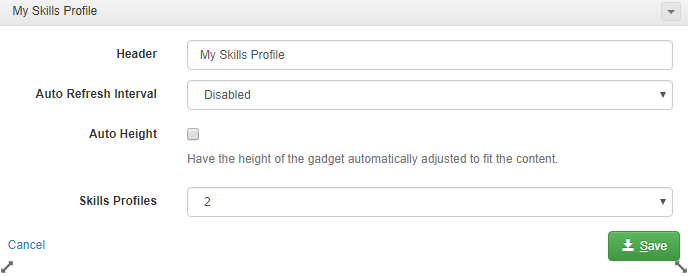 Image Removed
Image Added
How to add the Statistic Dashboard Gadget
- Click Add Gadget, and select the Statistics Gadget from the window.
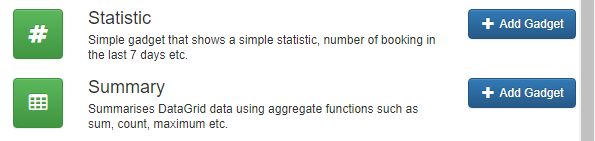 Image Removed
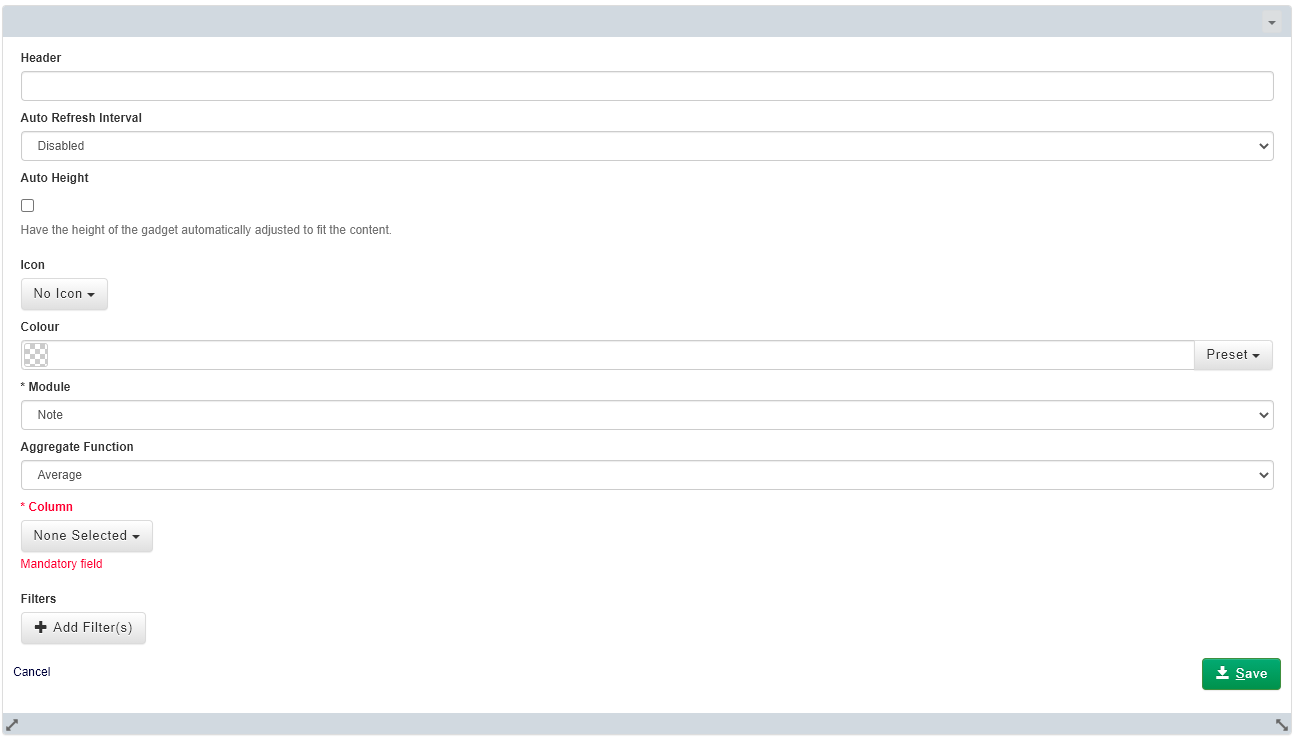 Image Added
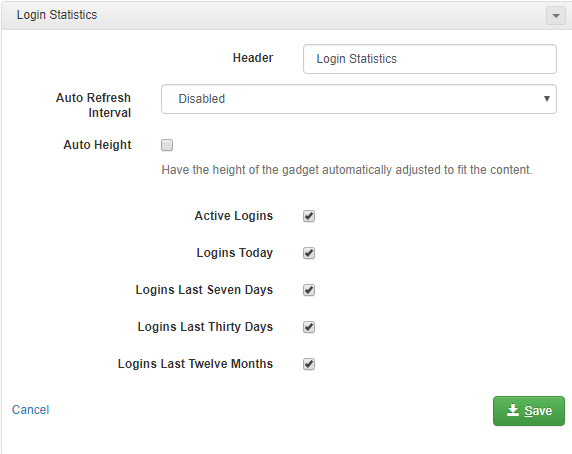
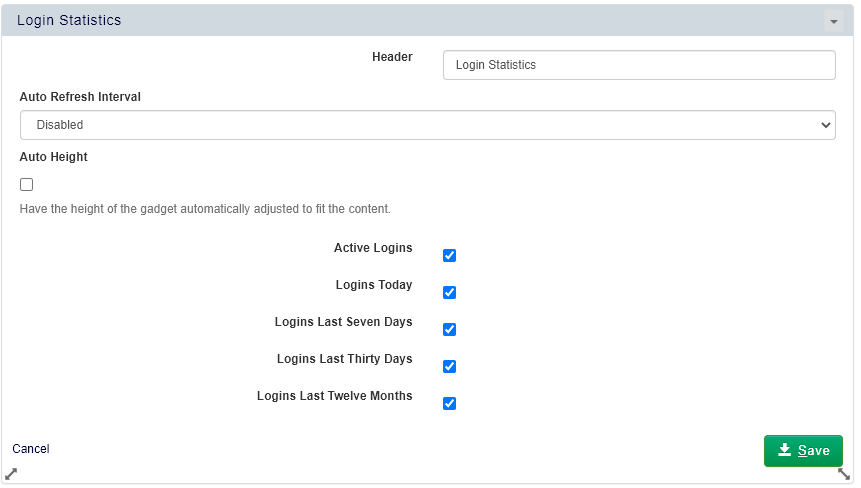
- Select Settings from the Gadget menu button.
- Enter your header, and choose the auto refresh interval from the drop-down box. From here, you can select a colour for your Gadget if you wish.
- Then, select the module that you would like the statistic from and choose the aggregate function - that is, whether you want the Gadget to display the statistic as an average, a sum, etc.
- Select the columns you would like to produce the displayed statistic from and if required, apply filters. Click Save to save your settings.
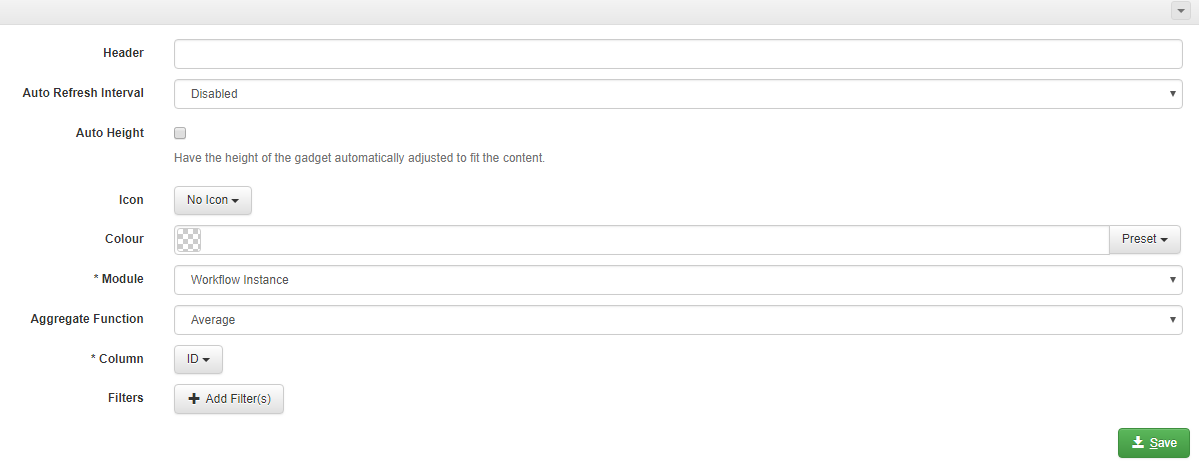 Image Removed
Image Added
How to add the Summary Dashboard Gadget
- Click Add Gadget, and select the Summary Gadget from the window.
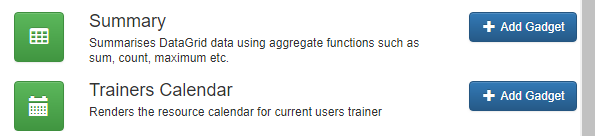 Image Removed
 Image Added
- Select Settings from the Gadget menu button.
- Enter the header, and choose the auto refresh interval from the drop-down box. Here, you can also add the full URL for the DataGrid if necessary.
- Then, select the module that you want the Gadget to retrieve the information from. Choose what aspect(s) of the module you want the Summary Gadget to summarise by selecting them from the columns drop-down, and decide whether you want the table to display results in ascending or descending order.
- Choose how you want the information to display (by group, as an average, a sum etc.). Finally, add any filters that are relevant to the Gadget and click Save.
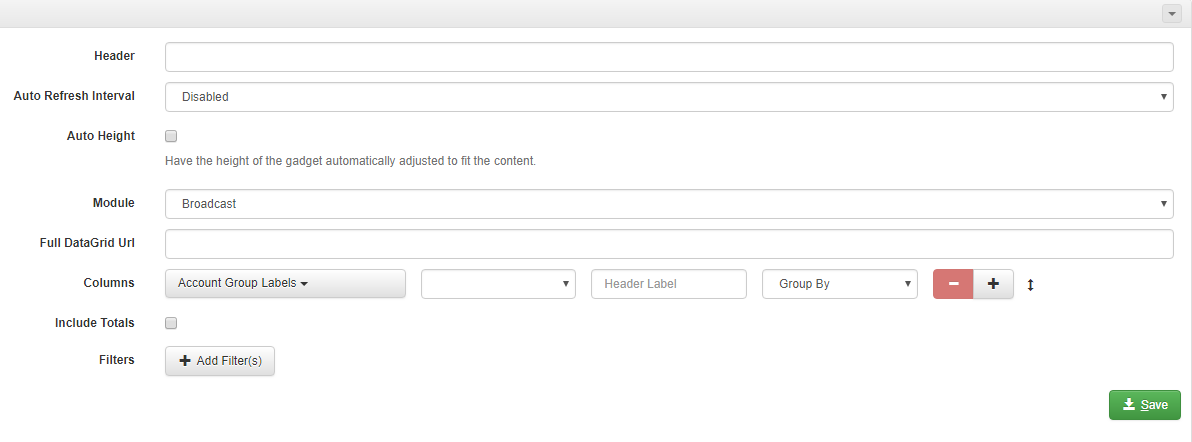 Image Removed
 Image Added
How to add the Trainers Calendar Dashboard Gadget
- Click Add Gadget, and select the Trainers Calendar Gadget from the window.
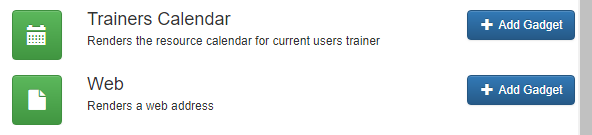 Image Removed
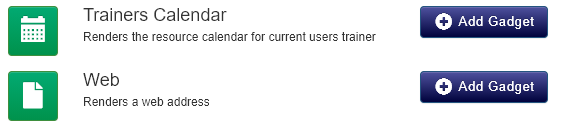 Image Added
- Select Settings from the Gadget menu button.
- Enter your header, choose the auto refresh interval from the drop-down box, and click Save.
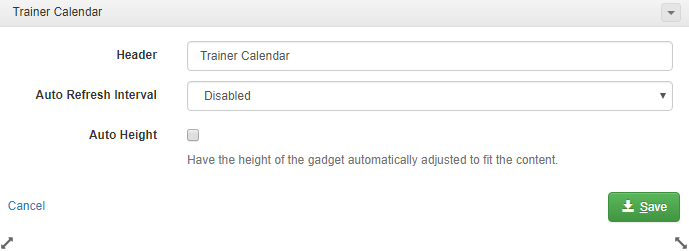 Image Removed
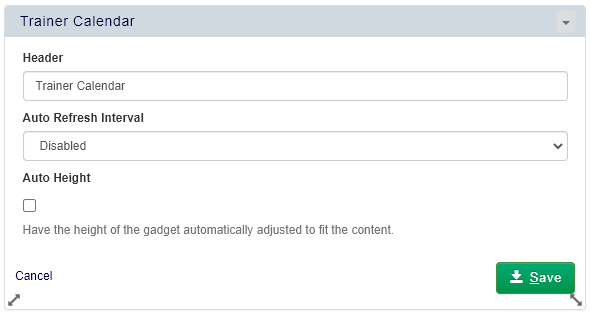 Image Added
How to add the Web Dashboard Gadget
- Click Add Gadget, and select the Web Gadget from the window.
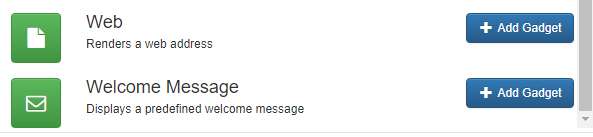 Image Removed
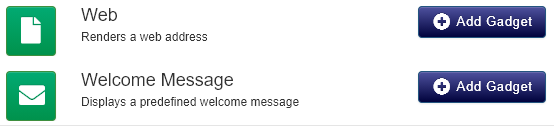 Image Added
- Select Settings from the Gadget menu button.
- Enter your header, and choose the auto refresh interval from the drop-down box. Enter the website's URL and click Save.
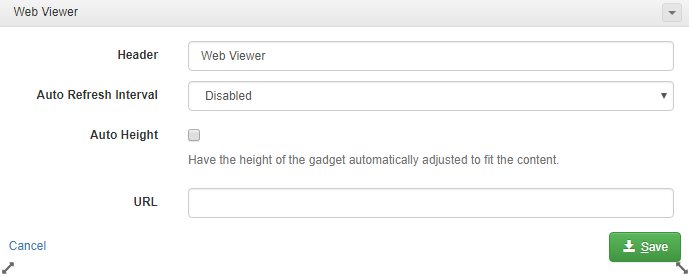 Image Removed
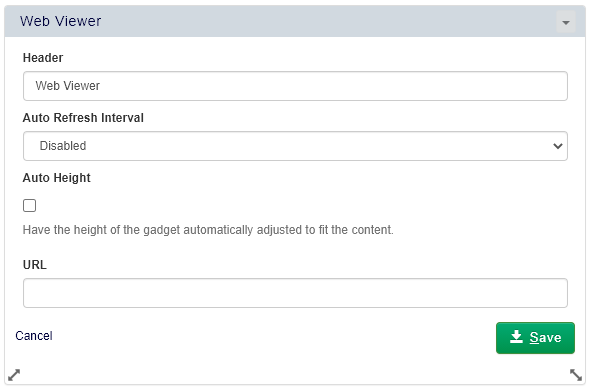 Image Added
How to add a Welcome Message Dashboard Gadget
- Click Add Gadget, and select the Welcome Message Gadget from the window.
 Image Removed
 Image Added
- The welcome message will now display on your Dashboard. To edit its settings, select Settings from the Gadget menu button.
- Change your header if you wish, choose the auto refresh interval from the drop-down box, and click Save.
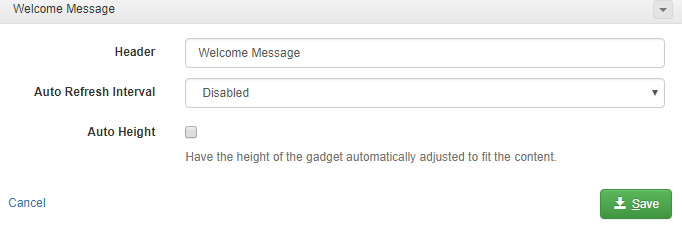 Image Removed
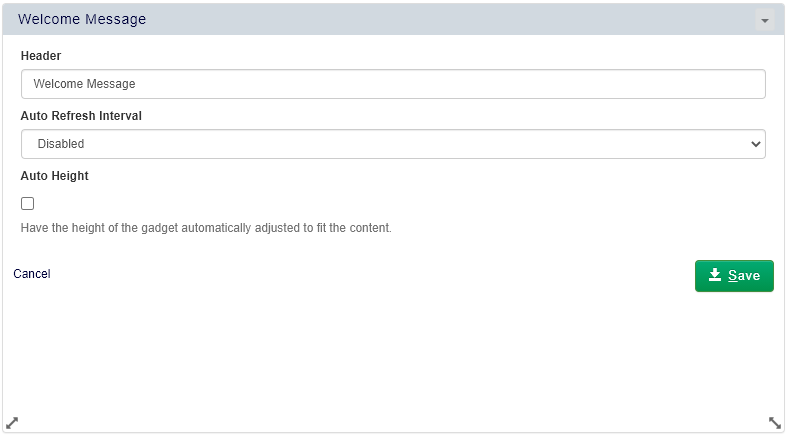 Image Added
How to refresh a Gadget
- To manually refresh a Gadget, click the Gadget menu button and select Refresh.
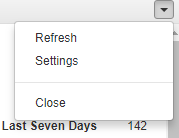 Image Removed
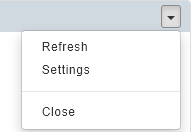 Image Added
How to update the settings of a Gadget
- To update the settings of a Gadget, click the Gadget menu button and select Settings.
Image Removed
Image Added
How to remove a Gadget
- To remove a Gadget, click the Gadget menu button and select Close.
Image Removed
Image Added
How to add a new Dashboard area and navigate between Dashboards
- Go to the top of the Dashboard areas, and click the first arrow to the right of the currently-displayed Dashboard.
- From here, you can change which Dashboard is being displayed by selecting the Dashboard from the drop-down list.
.png?version=1&modificationDate=1557398402510&cacheVersion=1&api=v2) Image Removed
Image Removed
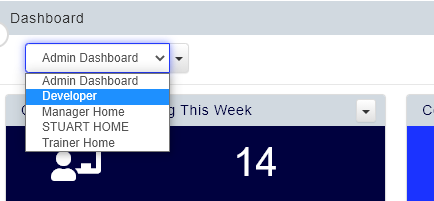 Image Added
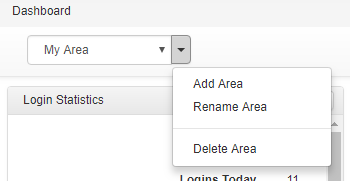
- To add a new Dashboard area, go to the top of the Dashboard area, click the second arrow to the right of the currently-displayed Dashboard, and select Add Area.
 Image Removed
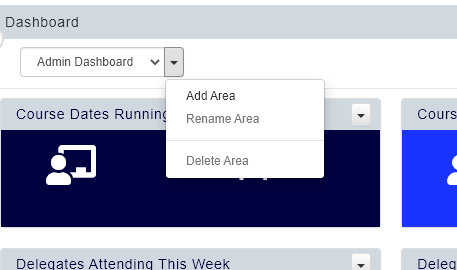 Image Added
How to rename a Dashboard area
- To rename a Dashboard area, select the Dashboard you wish to rename from the drop-down list.
Image Removed
Image Added
- Click the second arrow to the right of the Dashboard, and select Rename Area.
 Image Removed
Image Added
How to delete a Dashboard area
- To delete a Dashboard area, select the Dashboard you wish to delete from the drop-down list.
Image Removed
Image Added
- Click the second arrow to the right of the Dashboard, and select Delete Area.
Image Added