| Live Search | ||||||||
|---|---|---|---|---|---|---|---|---|
|
This page will instruct you on how to integrate your Xero financial software with accessplanit.
You must be within the Advanced band or higher to integrate with Zynk/Xero as this is a chargeable module/integration. Please speak to your CSM if you are unsure whether you should have access to this feature.
Xero Integration Preparation
Before starting the integration process to connect accessplanit to your Xero account, please review the following questions and provide the answers to the accessplanit team member that will be supporting you with the set-up of Xero integration
- Would you like any negative valued invoice items (such as a -£10 discount) to be merged into your positive valued invoice items?
If you do not handle negative valued invoice items in Xero, this option will evenly absorb any minus figures into the positive values - What would you like your default nominal code to be for your invoices? Within Xero this is typically '200'
- What would you like your default nominal code to be for your transactions? Within Xero this is typically '970'
- Do you use Xero's Tracking Categories?
Integrating with Xero
To integrate with Xero you will need to download the middleware Zynk. This service has its own charges so please get in touch with Zynk to find out about their annual charge. Zynk converts the Invoices and associated information stored in accessplanit into information that can be processed and imported into your Xero account.
You will need to download and set up Zynk in the correct way so that it interprets your accessplanit data for Xero, and this guide will walk you through this process. Zynk does not have a download option for Macs (.dmg) so please ensure that you have access to Windows to use this middleware.
Please note that Xero integration is an additional module. If you do not have this module or you are unsure, please get in touch with your Customer Success Manager.
Downloading Zynk
A trial of Zynk can be obtained from the following website: http://zynk.com/download-trial/
Once you have completed the form, you will receive an email with your Licence Key and a link to download Zynk, click this link to go to your Browser and Download Zynk.
Once you have downloaded and installed Zynk you’ll be asked for your Licence Key.
Click Activate to open Zynk.
Guide to configuring Xero to receive Zynk data
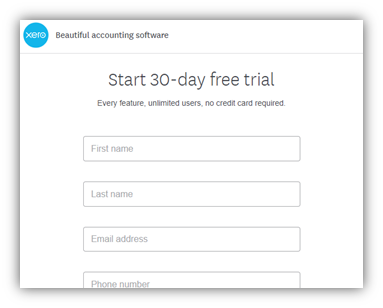
- Sign up for a Xero trial at https://www.xero.com/uk/signup/
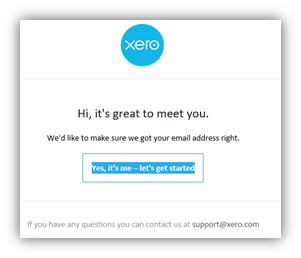
- You will receive an email to confirm your email address. Click on the confirmation to continue.
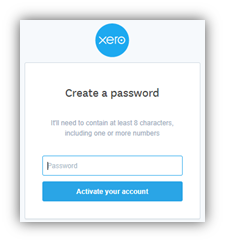
- You will be taken to a page where you be asked to create a password for your Xero account.
- You’ll then need to complete a small form with your company’s information, then click on ‘Start Trial’. You can use the demo company if you like, as a fresh organisation makes it clearer to see if data has been imported. However, doing this rather than connecting to your actual organisation means that you’re not testing the nominal code/bank account links.
- You will then need to set up a Developer Account for Zynk at https://developer.xero.com/myapps/
- Click "New App" in the top right of the page.
- Add a name for your application, such as "accessplanit integration" or "Zynk integration"
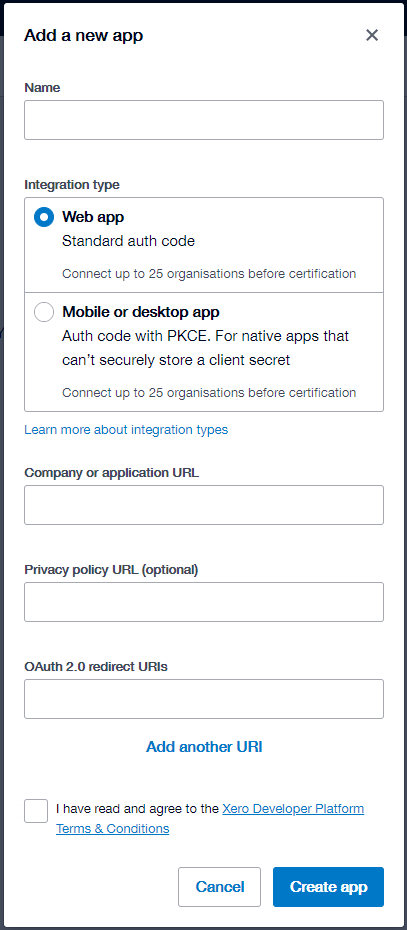
- In the "Company or Application URL" enter https://zynk.com
- Leave the "Privacy Policy URL" empty.
- In the "OAuth2.0 redirect URL" enter https://zynk.com
Your form should now look like this: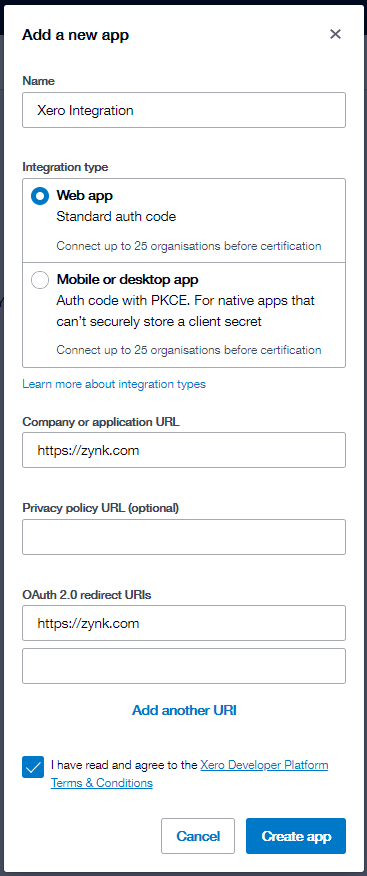
- Finally, click the "Create App" button.
- Now click the "Generate A Secret" link, once generated, you'll need to copy the "Client ID" and "Client Secret" details into your Zynk connection.
- To set up your Zynk - Xero connection, you'll need to have set up a Zynk workflow. There's a guide on how to do this further down this page.
- After you've set up your workflow, select one of the Import tasks to gain access to the Xero Connection property on the right.
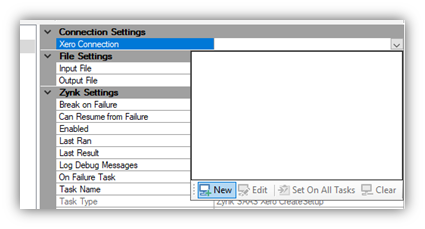
- Click in the property and click the New button.
- Give the connection a name such as “Xero Connection” and continue.
- Supply the Client ID and Client Secret keys we copied from Xero earlier
- To get a Refresh Token, click "Generate" after entering your Client ID and Client Secret keys.
- Select an Organisation from the list, if none appear, click the refresh button.
- Click "Finish" and your connection is set up.
- You should be able to test your workflow from there, either with a local test file or a connection to accessplanit . Make sure you have the latest version of Zynk (http://zynk.com/download/), or the updated file format we supply from our platform may not import correctly.
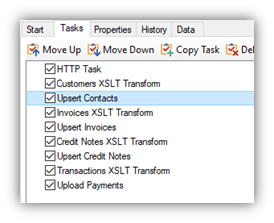
How to set up a Zynk Workflow for Xero
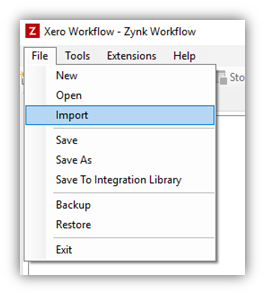
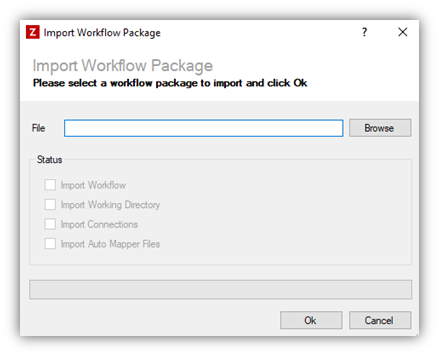
- Within Zynk go to File and select “Import”.
- Click Browse to find the Template Workflow provided by accessplanit. If you have not yet been provided with this please speak to your Implementation Manager or your Customer Success Manager).
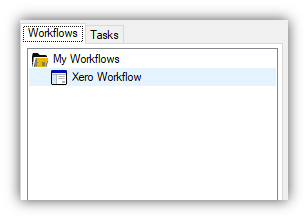
- Double Click on the Xero Workflow to open the settings for this workflow.
- Click on the first HTTP Task.
- Within the settings on the right, add the following URL. Make sure you change the ‘your system name here’ to your platform’s name and change the encrypted code. Your implementation manager will be able to provide you with this:
https://yoursystemnamehere.accessplanit.com/accessplantest/services/sageintegration.asmx/GetInvoices?encrypted=1234567890123456789mode=2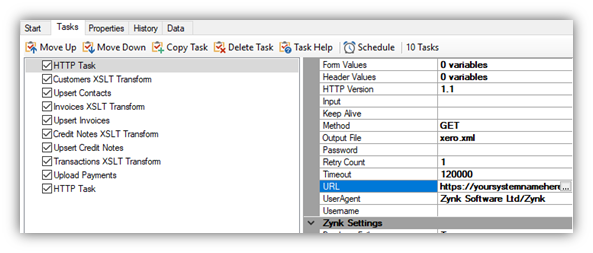
Please be careful when inputting URLs into Zynk as it will not validate what you have entered is correct.
If you are unsure, copy and paste yourplatform’s URL up to:
https://yoursystemnamehere.accessplanit.com/
You will then need: /accessplan/ or /accessplantest/
depending on if you are using the test or live environment at this point.Then add: /services/sageintegration.asmx/GetInvoices?encrypted=
Then add the encrypted ID for your training provider which your Implementation Manager or CSM at accessplanit will provide to you, followed by
&mode=2.
Select the last “HTTP Task” from your workflow task list and change options in the right panel as follows
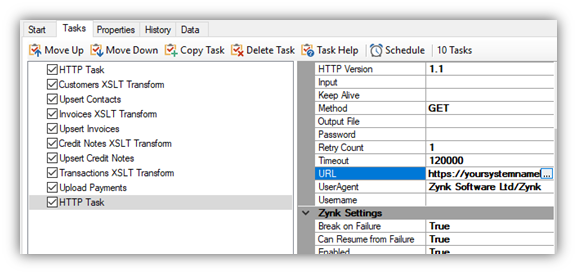
Within the settings on the right, add the following URL. Make sure you change the ‘your system name here’ to your platform’s name and change the encrypted code. Your implementation manager will be able to provide you with this:https://yoursystemnamehere.accessplanit.com/accessplantest/services/sageintegration.asmx/GetInvoices?encrypted=1234567890123456789&dm=2&changeExportStatus=1&mode=2
Note that if you want to keep testing the output fromaccessplanit, rather than only new customers/invoices/transactions created since the last export, you should use the following URL instead to reset the last export date:
https://yoursystemnamehere.accessplanit.com/accessplantest/services/sageintegration.asmx/ResetLastExportTime?encrypted=1234567890123456789&dm=2&mode=2Before continuing, ensure that Xero is not open on any machine, otherwise the files will be locked and the imports will fail.
Click Run, which will prompt you to name and save your workflow.

If you wish to save the workflow and not run it at this time, click Save.

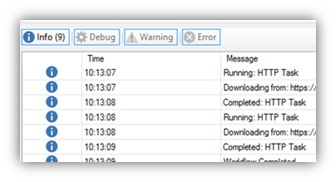
After the workflow has been run, status messages and errors/issues can be found in the footer section on Zynk:
What information is sent to Xero from accessplanit?
There are four sets of data in the Xero XML feed
- Contact Data
- Invoice Data
- Credit Note Data
- Payment Data
Contact Data
| Field in Feed | From (accessplanit) | To (Xero) |
|---|---|---|
Name | Account name OR User name (forename, surname) | Contact Name |
EmailAddress | Account email address OR User email address | Primary Person > Email |
AddressLine1 | Account Main Address OR User Main Address | Address > Address |
City | Account Main Town OR User Main Town | Address > City/Town |
Region | Account Main County OR User Main County | Address > State/Region |
PostalCode | Account Main Postcode OR User Main Postcode | Address > Postal/Zip Code |
Country | Account Main Country OR User Main Country | Address > Country |
PhoneNumber | Main phone number (Accounts only) | Phone/Fax/Mobile/Direct Dial > Number |
Invoice Data
Field in Feed | From (accessplanit) | To (Xero) |
|---|---|---|
Number | Invoice Reference | Invoice # |
LineAmountTypes | Exclusive if tax is not included, Inclusive if tax is included, or NoTax | Amounts Are |
Date | Date Generated | Date |
DueDate | Due Date | Due Date |
CurrencyCode | Currency Code | Currency |
Status | Always 'Authorised' | Status |
Name | Contact Name | Contact |
Type | AccountsReceivable OR AccountsPayable | ‘AccountsReceivable’ creates an invoice, |
Description | Invoice line item label | Description |
Quantity | Always 1 unless a placeholder has been booked | Qty |
UnitAmount | Value of the invoice item net | Unit Price |
TaxAmount | Value of the invoice item tax | Can be used to override the tax amount if the value calculated based on the TaxType and LineAmount is not correct |
AccountCode | Defaults to '200' | Account |
Credit Note Data
Field in Feed | From (accessplanit) | To (Xero) |
|---|---|---|
| ExternalID | Credit note ID | Credit Note ID |
| Number | Credit note reference | Credit Note # |
| LineAmountTypes | Exclusive if tax is not included, Inclusive if tax is included, or NoTax | Amounts Are |
| Date | Date generated | Date |
| DueDate | Date due | Due Date |
| CurrencyCode | Currency code | Currency |
| Status | Always 'Authorised' | Status |
| Name | Contact Name | Contact |
| Description | Credit note line item label | Description |
| Quantity | Always 1 | Qty |
| UnitAmount | Value of the credit note item net | Unit Price |
| TaxAmount | Value of the credit note item tax | Can be used to override the tax amount if the value calculated based on the TaxType and LineAmount is not correct. |
Payment Data
Field in Feed | From (accessplanit) |
|---|---|
Date | Transaction date |
Amount | Transaction amount |
Reference | Does not include external trans ID, always blank |
Invoice |
|
Number | Invoice Reference |
Status | Always 'authorised' |
Account |
|
Code | Defaults to 200 |
Troubleshooting Errors
Here are some common errors which crop up which implementing Zynk/Xero
- No connection to Xero
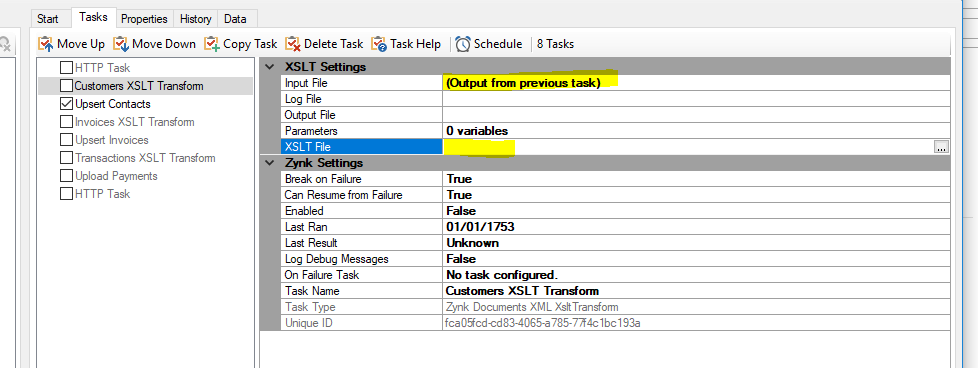
This usually means that step 7 in Guide to configuring Xero to receive Zynk data has not yet been completed. You will need to select each Import task and update the Xero Connection property on the right with your Xero connection details (full instructions above). - XLST Compile Error
The XLST files have not been referenced correctly. You will need to get a copy of the four standard XLST files from your key contact at accessplanit, store these on your machine in a place where they cannot be accidentally be sent to Delegates (such as in a dedicated folder in My Documents), then link each XLST task to the file using the XLST File property on the right.