| Live Search | ||||||||
|---|---|---|---|---|---|---|---|---|
|
How to set your Checkout billing address to mandatory
- Select Checkout Options from the Administration menu. This will take you to the core Options page for Checkout Options.
- Check the Billing Address is Mandatory checkbox
Please note that this setting will be applied to all bookings, if you use a payment gateway (such as Stripe & Opayo) they quite often require this information for payments.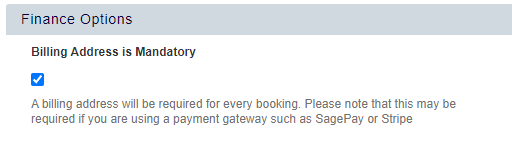
How to change the information that is captured about new delegates
- Select Checkout Options from the Administration menu. This will take you to the core Options page for Checkout Options.
- Use the checkbox options to change which information is required for new delegates
Please note that these will be mandatory for new creating a new delegate.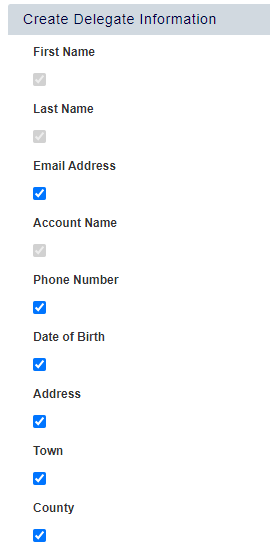
How to brand your Checkout basket
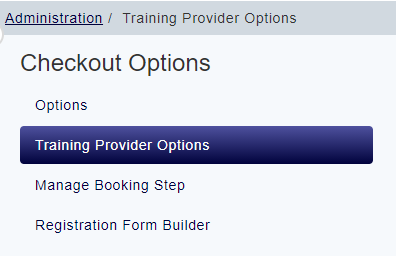
- Select Checkout Options from the Administration menu
- Open the Training Provider Options tab
- Right click on your Training Provider and select the option Branding
- At the top of the Branding page check the Branding Enabled checkbox
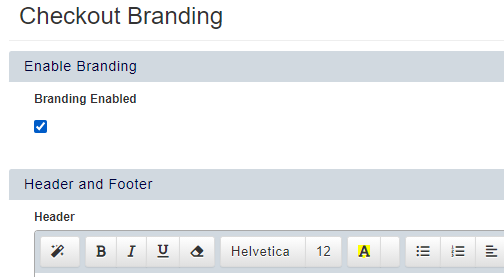
- Add / edit the content within your Header and Footer rich-text boxes, this content is positioned at the top of bottom of your basket
Best practice is to match your Header and Footer as closely as you can to your website, so give your customers a seamless booking experience from website to basket. Your website developers may be able to provide you with HTML to place in these two sections.
We recommend including your contact information within one of these to support any customers that have issues when booking. - Add in your colours, choice of font, and sizes into the rest of the branding options to tailor your Checkout basket to your brand.
When making changes, we recommend having your Checkout basket open in another tab so that you can refresh to see your changes and you save them.
You can use the attached guide as a glossary of the options availableView file name Checkout+Branding+Knowledge.doc.pdf height 250
How to update your Checkout Registration Form
- Select Checkout Options from the Administration menu.
- Open the Registration Form Builder tab to view your current Registration Form
- To add extra items into your Registration Form, either drag-and-drop the options on the left into where you would like to see them in your Registration Form on the right, or click on the the Add button to add these options to the bottom of your Registration Form
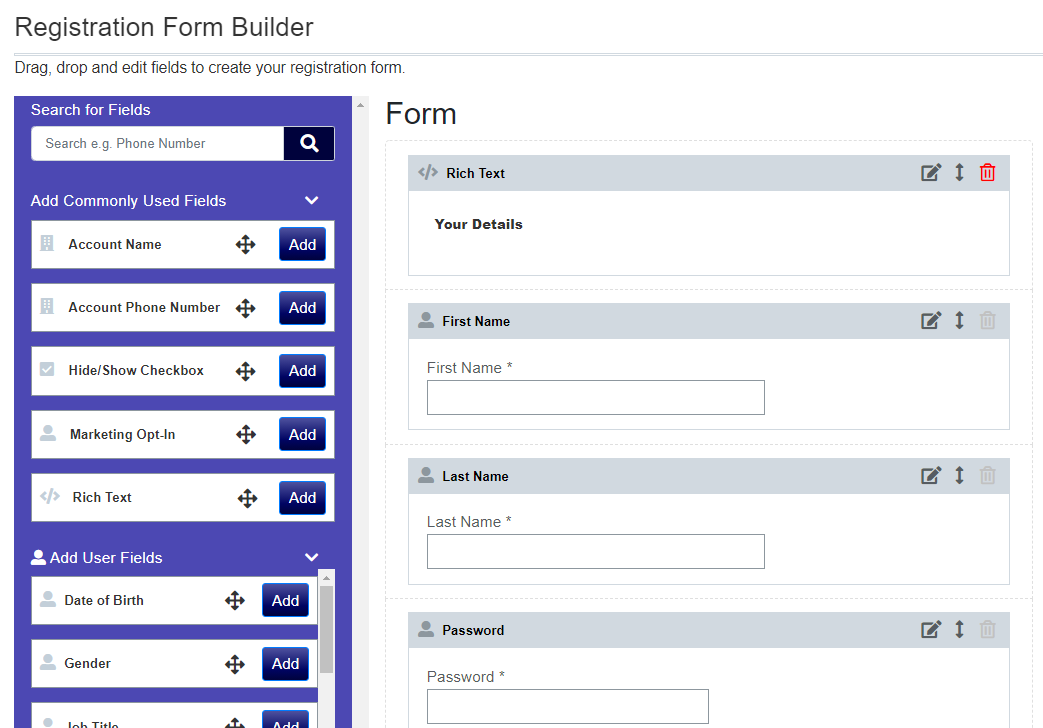
Click the Save button at the top of the page to save your changes. - To remove items from your Registration Form, use the Delete icon on the top right of the item
Please note that you cannot remove items that your accessplanit platform requires for users; this includes first name, last name, email address, and password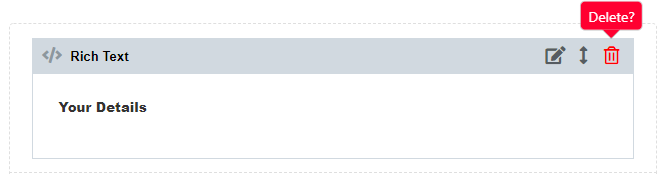
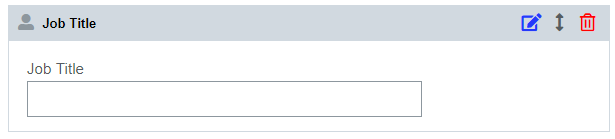
Click the Save button at the top of the page to save your changes. - To rename an item in your Registration Form, use the Edit icon along the top of the item
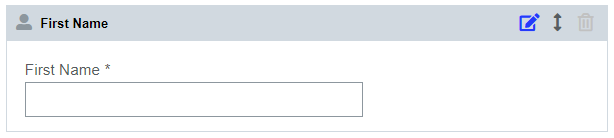
This will put the item into Edit Mode where you can change the name of the label, click Apply to return to the view mode.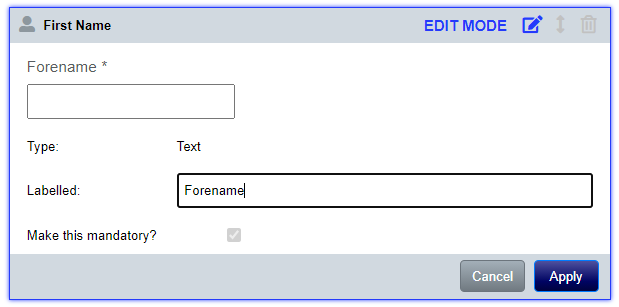
Click the Save button at the top of the page to save your changes. - To set a question/field as mandatory in your Registration Form, use the Edit icon along the top of the item
This will put the item into Edit Mode where you can check the Make this mandatory? checkbox, click Apply to return to the view mode.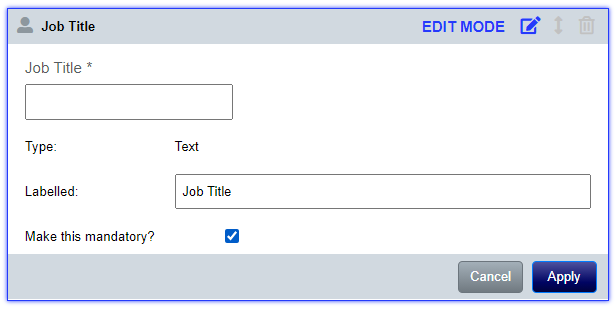
Click the Save button at the top of the page to save your changes. - To control whether items are displayed or hidden based on a Checkbox (i.e. do you have dietary requirements? / are you registering with company information), add the item Hide/Show Checkbox to your Registration Form and click on the Edit icon along the top of the item
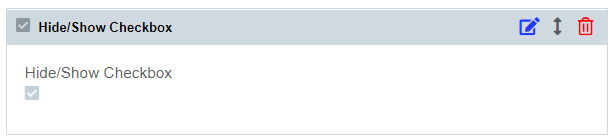
This will put the item into Edit Mode where you can provide a label for the item, and select which other items are hidden or displayed, depending on the status of the checkbox
Please note that you cannot include an item (such as Job Title) in more than one Hide/Show Checkbox option, you can also not include any items that are required by accessplanit (this includes first name, last name, email address, and password)
Click the Save button at the top of the page to save your changes. - To add headers, supporting text, and any other rich-text content into your Registration Form, add the item Rich Text to your Registration Form and click on the Edit icon along the top of the item
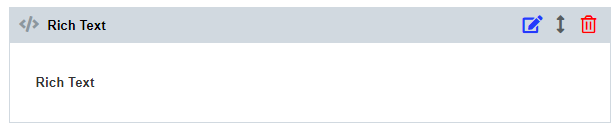
This will display an Edit Window where you can type in and format your text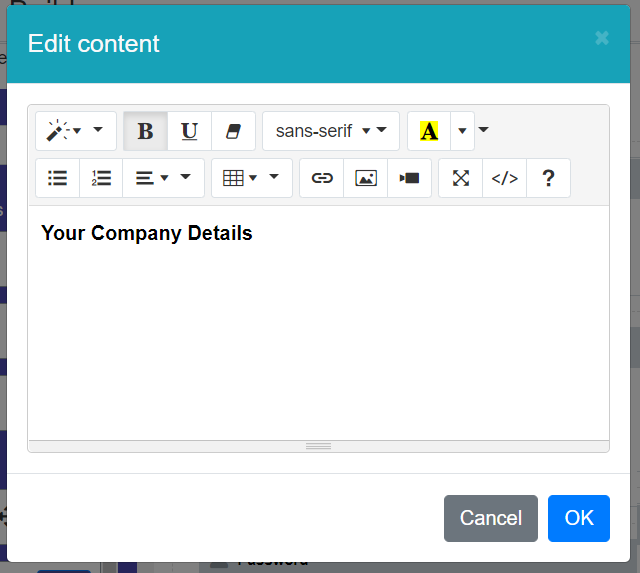
Click OK to return to the view mode
Click the Save button at the top of the page to save your changes.
How to manage your PO Number settings in your Checkout basket
- Select Checkout Options from the Administration menu.
- Open the Training Provider Options tab
- Right click on your Training Provider and select the option Finance Options
- Scroll to the PO Number options section
To include the PO Number field on your Payment step of your Checkout basket, check the Include PO Number on Payment Page option
To display the PO Number field for all payment types, select the For All Payment Methods option from the PO Number Displayed drop down box
To display the PO Number field only for all invoice payments, select the Only Invoice Payments option from the PO Number Displayed drop down box
To make your PO Number field mandatory, check the PO Number is Mandatory option
To rename your PO Number field, enter a label into the PO Number Label option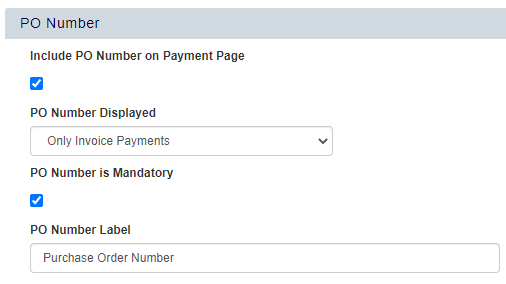
- Click the Save button at the top of the page to save your changes.
How to set up Google Analytics within your Checkout basket
- Select Checkout Options from the Administration menu.
- Open the Training Provider Options tab
- Right click on your Training Provider and select the option Google Analytics Options
- Enter your Google Analytics' Tracking ID into the Google Analytics Tracking ID field
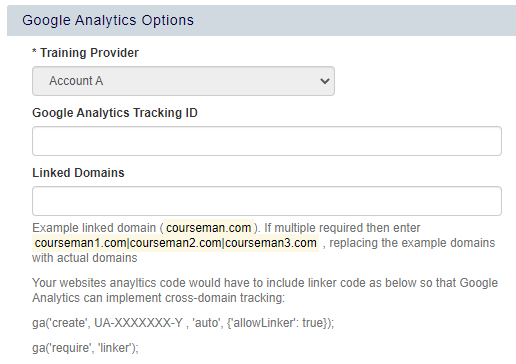
If you have Google Tag Manager enabled, copy your Tag Manager code and paste it into the five Google Tag Manager Options at the bottom of this page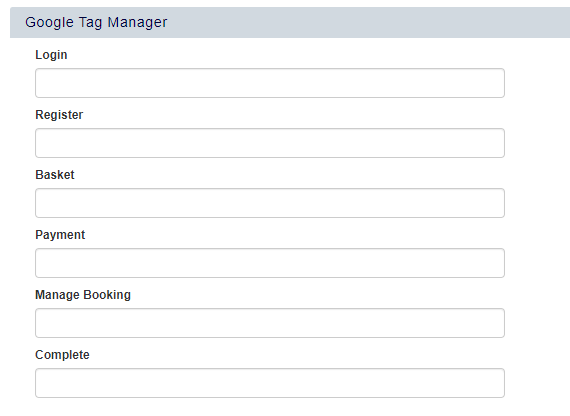
FAQs
Can I include different contact information in my basket for my different training providers?
Yes, branding options (including headers and footers) are set up per training provider! You can access this within the 'Branding' option in the Training Provider Options page.