| Live Search | ||||||||
|---|---|---|---|---|---|---|---|---|
|
| Info | ||
|---|---|---|
| ||
It is normal to be able to access and view the placeholders DataGrid even if placeholders have been disabled on your platform. This is to allow training administrators like you to view and manage any existing placeholders before they are disabled.
|
How to add a Placeholder to a course through the Shopping Basket
- Navigate to the Courses-Class or Courses-Web DataGrid.
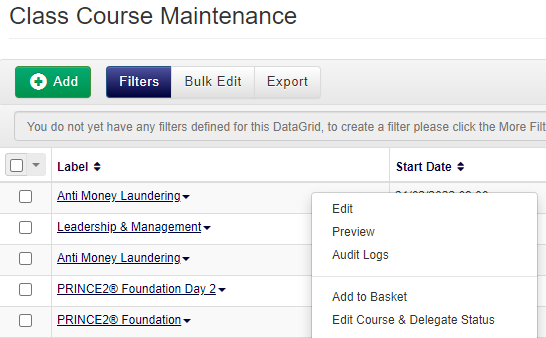
- Right click the course, and select Add to Basket from the context menu.

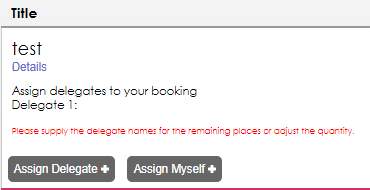
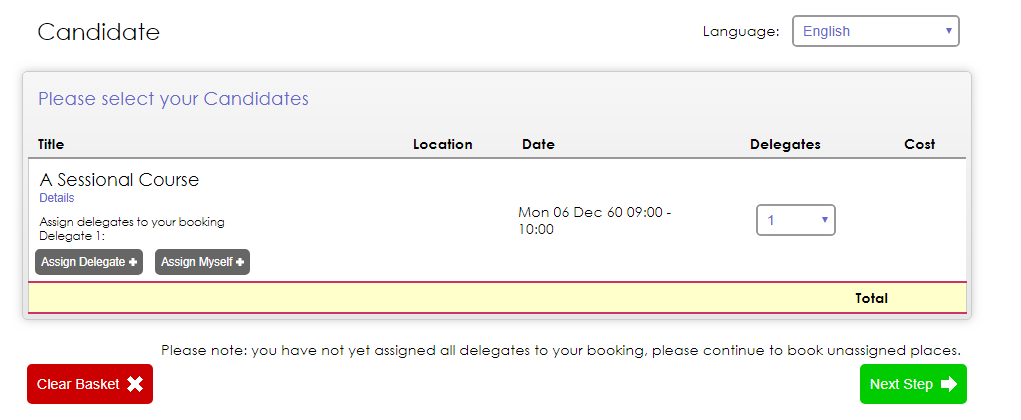
- Progress through the Shopping Basket. When you reach the Assign Delegates stage, do not assign any Delegates. Instead, progress through the rest of the basket.

- Complete the booking. The Placeholders will now be able to be viewed within the Placeholders tab within the course.
How to add a Placeholder through the DataGrid
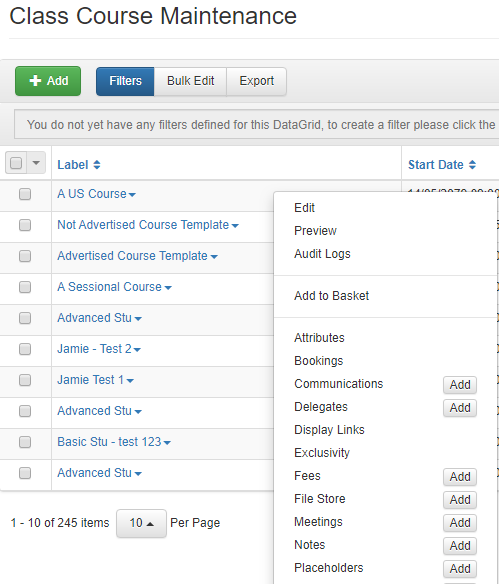
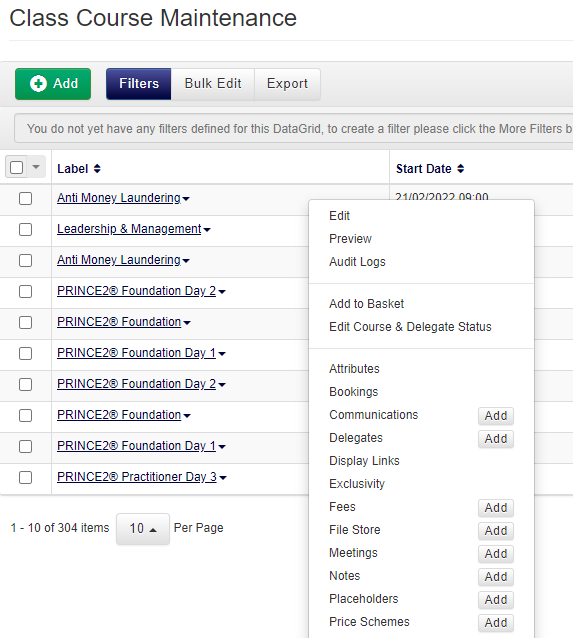
- Right click the course you want to add a Placeholder to, and select Placeholders from the context menu.

- Click the Add button at the top of the DataGrid.
- Select whether the Owner of the Placeholder(s) will be an Account or a User using the dropdown, and then click the Select button to select the Owner from the list. Adjust the quantity of Places Reserved. If the course is sessional, select the subsessions you wish the Placeholders to be booked onto by clicking Select.
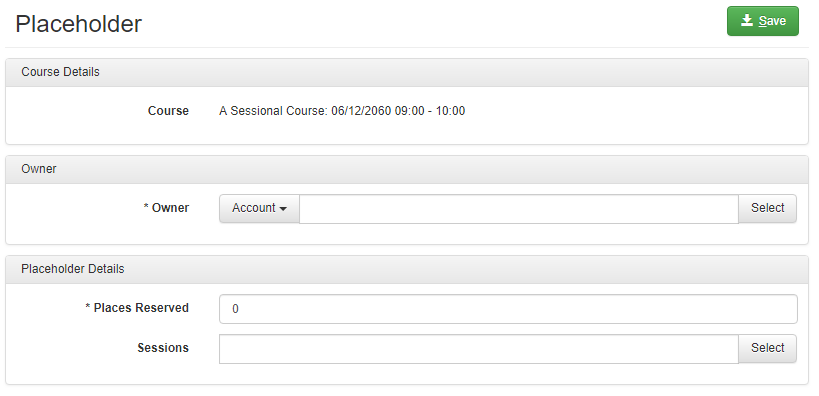
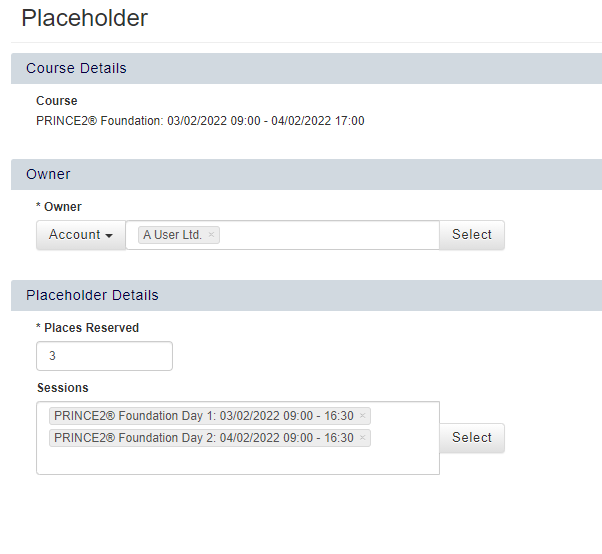
- Click Save to add the Placeholders to the course.
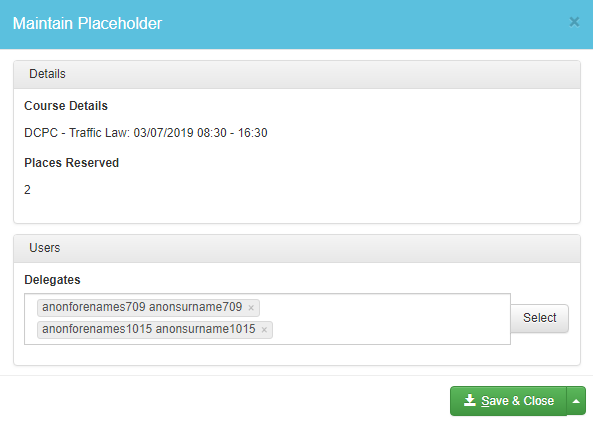
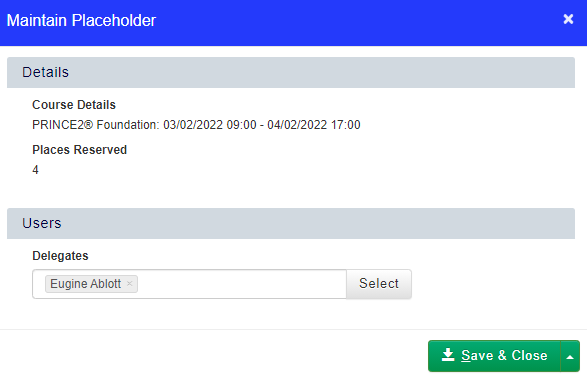
How to assign a Delegate to a Placeholder place
- Right click the course you want to add assign a Delegate to, and select Placeholders from the context menu.
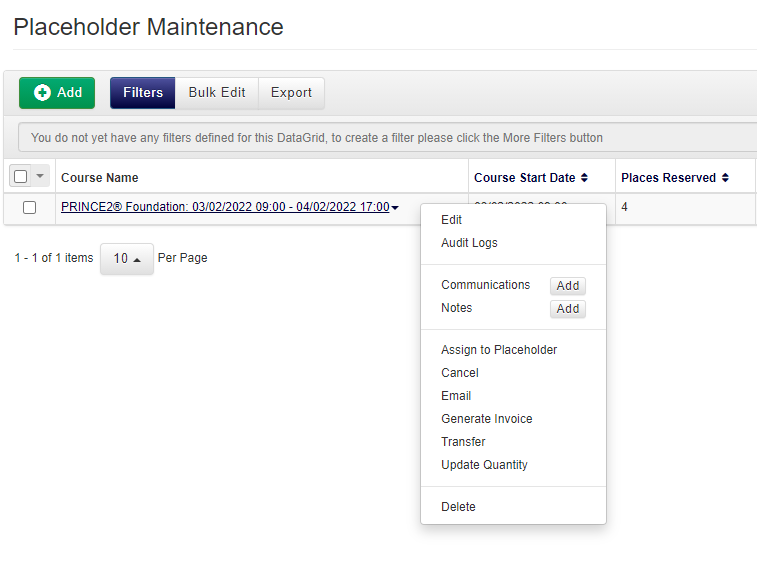
- Right click the Placeholder booking and select Assign to Placeholder from the context menu.

- Click Select to choose Users to assign as Placeholder Delegates.
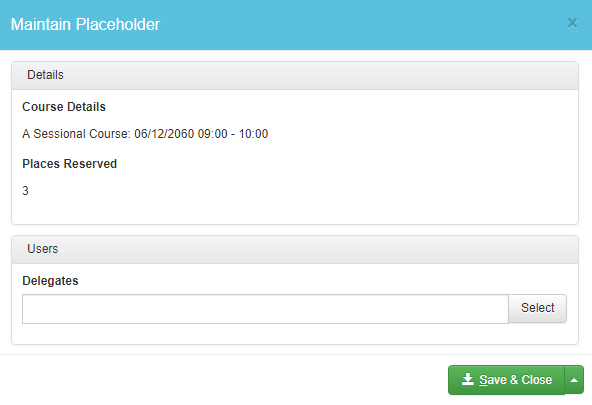
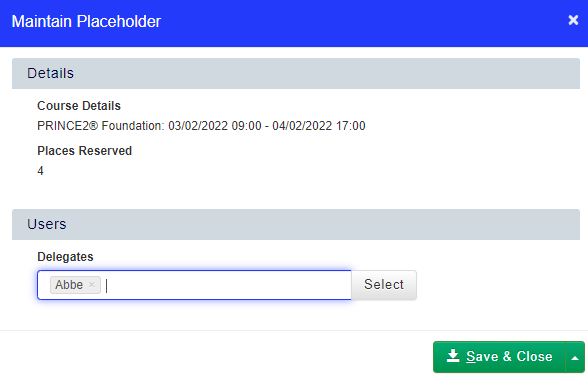
- Once you have chosen all of the Delegates you wish to assign at this time, click Save & Close.
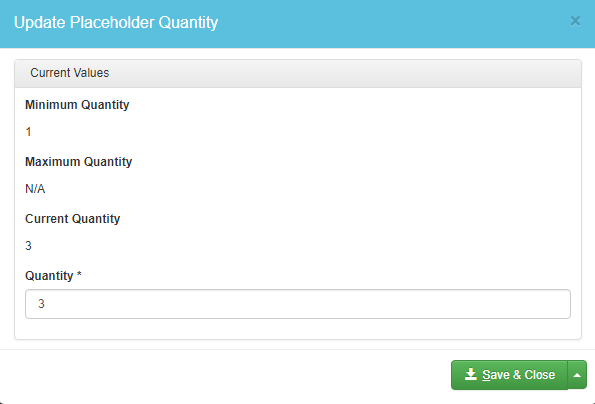
How to add additional places to a Placeholder booking.
- Right click the course you want to add additional Placeholders to, and select Placeholders from the context menu.
- Right click the Placeholder booking and select Update Quantity from the context menu.
- In the dialog box, enter the total quantity of places this booking has for this course and click Save & Close.
How to Cancel all Placeholders on a Placeholder Booking
- Right click the Placeholder booking and select Cancel from the context menu.
- This will bring up a dialog box, which will allow you to choose whether to refund the cancellation or add a charge etc.
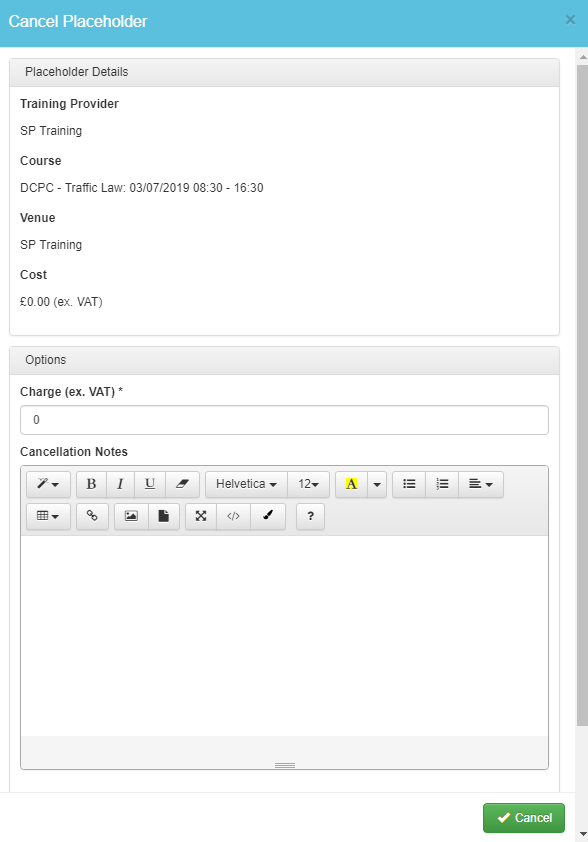

- Click Cancel to confirm the cancellation.
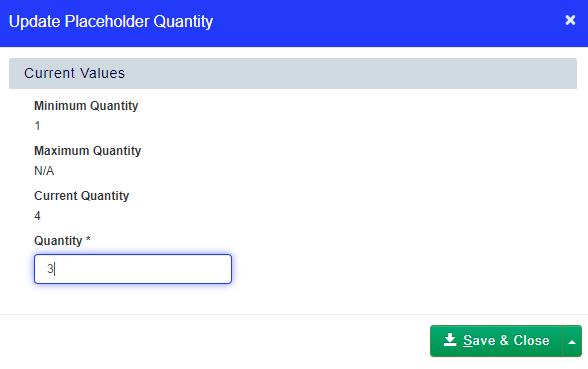
How to Cancel an unassigned Placeholder on a Multi-Placeholder booking
- To cancel one unassigned Placeholder on a Placeholder booking, right click the Placeholder booking and select Update Quantity from the context menu.
- Adjust the number of Placeholders the booker has booked. If the booker has been invoiced, you'll get the option to Create a Credit Note in the cancellation dialog box.
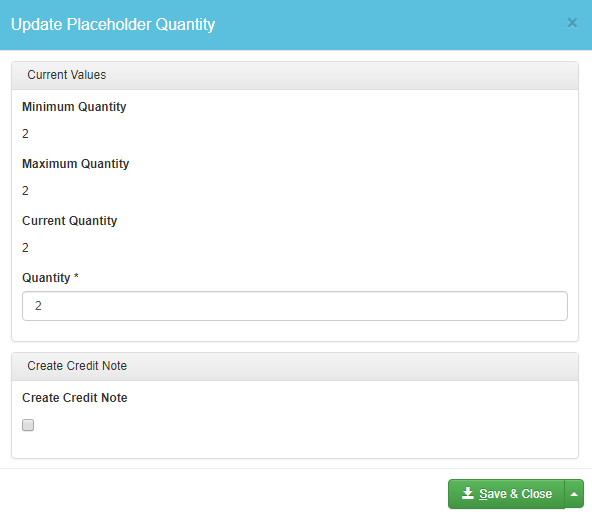

- Click Save & Close to confirm your changes.
How to cancel a Delegate who is an assigned Placeholder
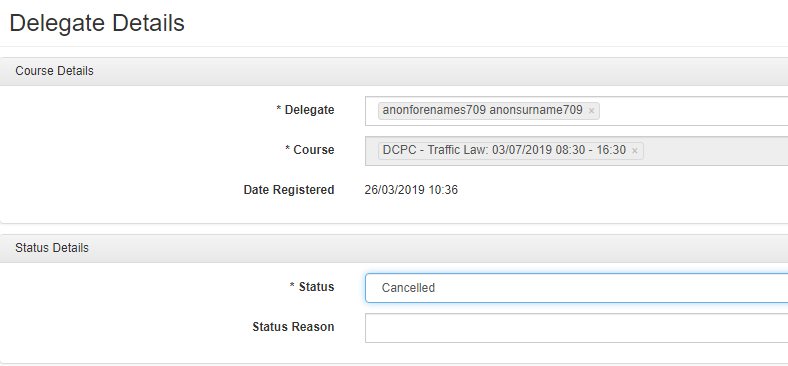
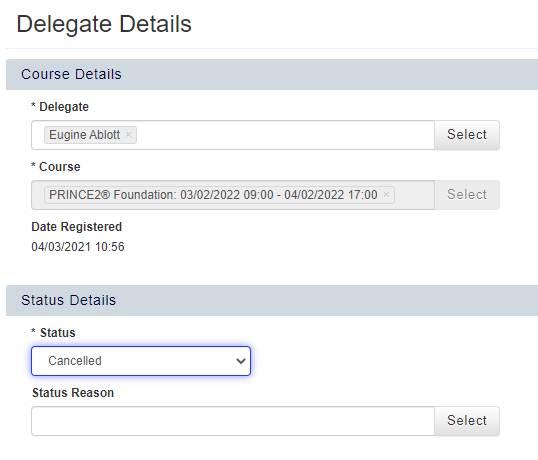
- To cancel an assigned Placeholder place (ie. a Delegate booked on initially booked on as a Placeholder), navigate to Delegate Maintenance DataGrid for that course.
- Right click the Delegate and select edit from the context menu. From there, change the Delegate's status to Cancelled. Click Save to save your changes. This will ensure that the Delegate or booker receives any cancellation-related Workflow emails.
- Navigate to the Placeholders tab. Right click the tab, and select Assign to Placeholder from the context menu.
- In the Assign to Placeholder dialog box, click the small x next to the name of the Delegate you wish to cancel, and then click Save & Close. Please note, this will remove their Delegate record from this course.
- If you wish to replace the cancelled Delegate with another Delegate, add the new Delegate to Placeholder booking after cancelling off the old one by clicking Select and choosing them from the list. If you wish to cancel the Placeholder entirely, right click the Placeholder booking, and select Update Quantity. From here, you can reduce the number of Placeholders the booking has.
Please note, there will be no Delegate record for this Delegate on the course after completing the cancellation.